


In today's digital and as the saying goes, “the best camera, is the one that you have on you.” The evolution of smartphone cameras, especially the iPhone, has been nothing short of revolutionary, making it a perfect companion for photographers of all levels. In this Light Tip, we dive into five essential tips to help you unlock the full potential of your iPhone's camera.
Tip 1: Understand the Best Focal Lengths
The iPhone 15 Pro Max boasts an impressive array of seven lenses, offering a variety of focal lengths to choose from. Knowing which lens to use and when can significantly enhance your photography. For capturing vast environments or establishing a scene, the wide-angle lens (0.5x) is perfect. Alternatively, if you want to focus on a specific subject or capture distant details, opt for the telephoto lens. Common favorites among iPhone users include the standard 1x (24mm) and the 5x (120mm) lenses, both known for their sharpness and versatility.
Tip 2: Master Your Exposure
Achieving the right exposure can dramatically improve the quality of your photos. Many photographers find that slightly decreasing the exposure on their iPhones leads to better color accuracy and overall image quality. You can adjust the exposure by tapping on your screen and dragging the exposure icon (represented by a sun) downwards. This method allows for consistent exposure settings across different shots, making it easier to maintain a uniform look in your photos.
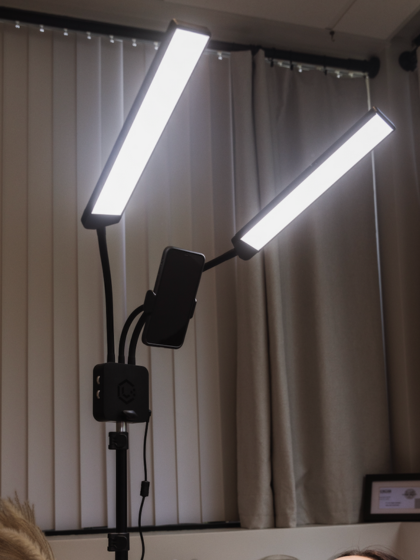
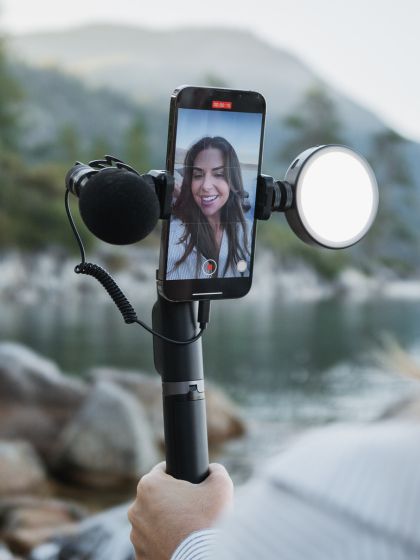
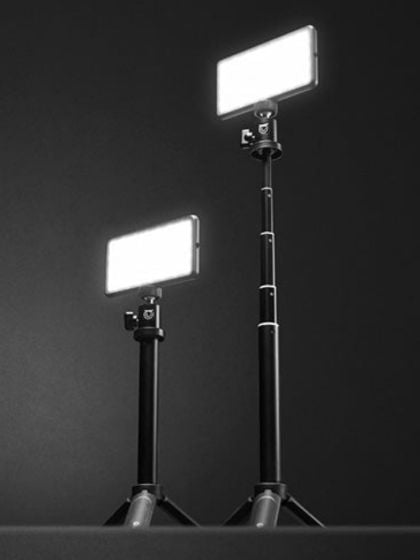
Tip 3: Invest in a Smartphone Remote
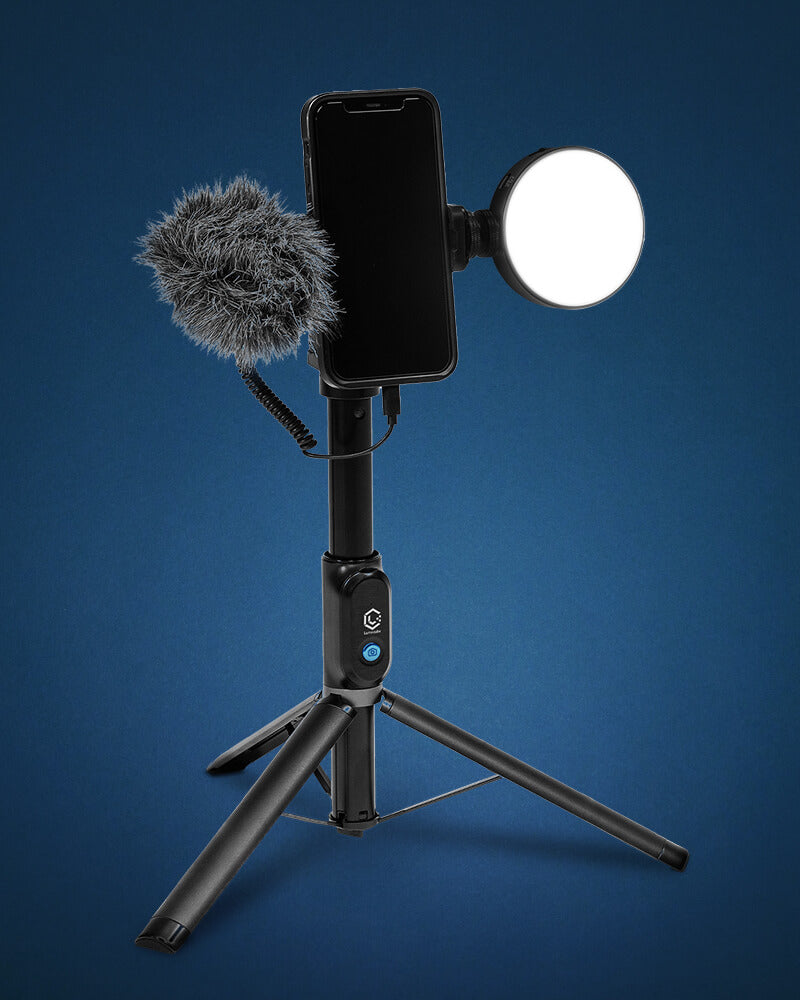
If you often take photos by yourself, a smartphone remote can be one of the best accessories for you to get. Instead of setting a timer on your phone, scrambling into position and taking one photo at a time, a remote allows you to control the camera from a distance. This can be particularly useful for taking multiple shots in quick succession and nailing the end shot much easier. Lume Cube's Mobile Creator Kit, for example, includes a remote integrated into the tripod base, making the process easier and enhancing your ability to capture photos efficiently.
Tip 4: Utilize Focus Lock
The iPhone’s autofocus is pretty dang good but it is active. So if you’re shooting something and someone walks into your frame, it will typically shift focus. To prevent this, use the focus lock feature by pressing and holding on your screen until the "AE/AF Lock" notification appears. This locks the focus to a specific part of your scene, ensuring that moving subjects don't affect the focus. This feature is also helpful when adjusting the exposure after setting the focus, offering greater control over the final image.
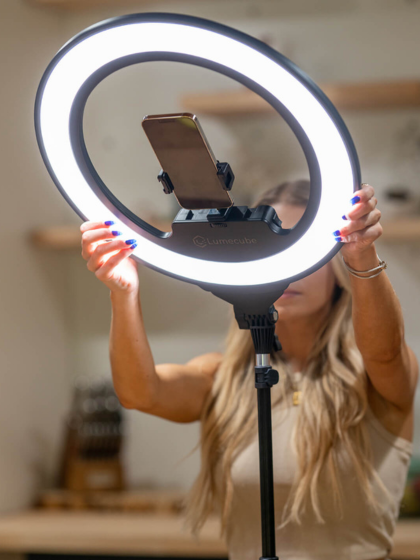
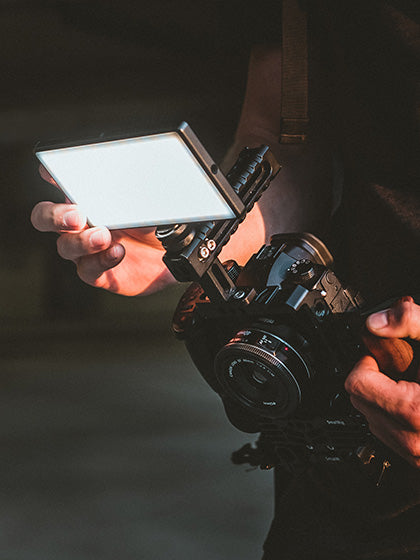
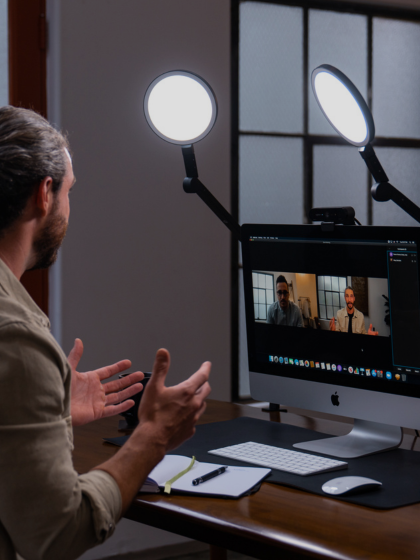
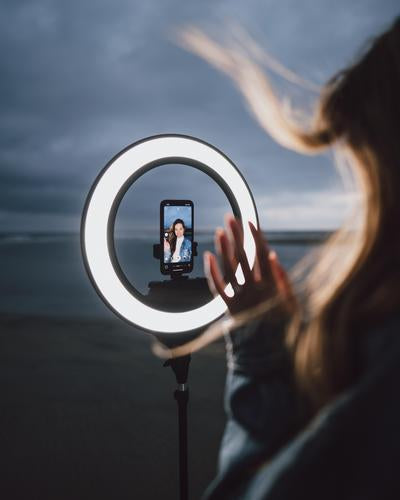
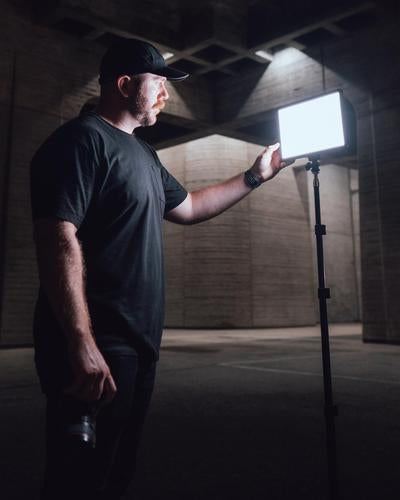
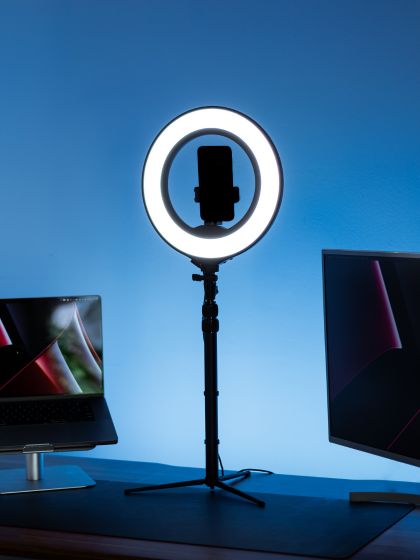
Tip 5: Supplement with External Smartphone Lighting
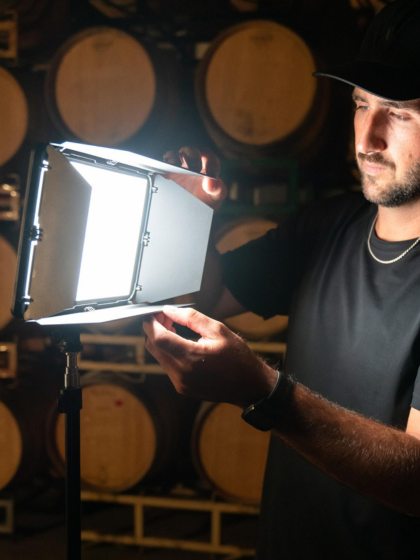
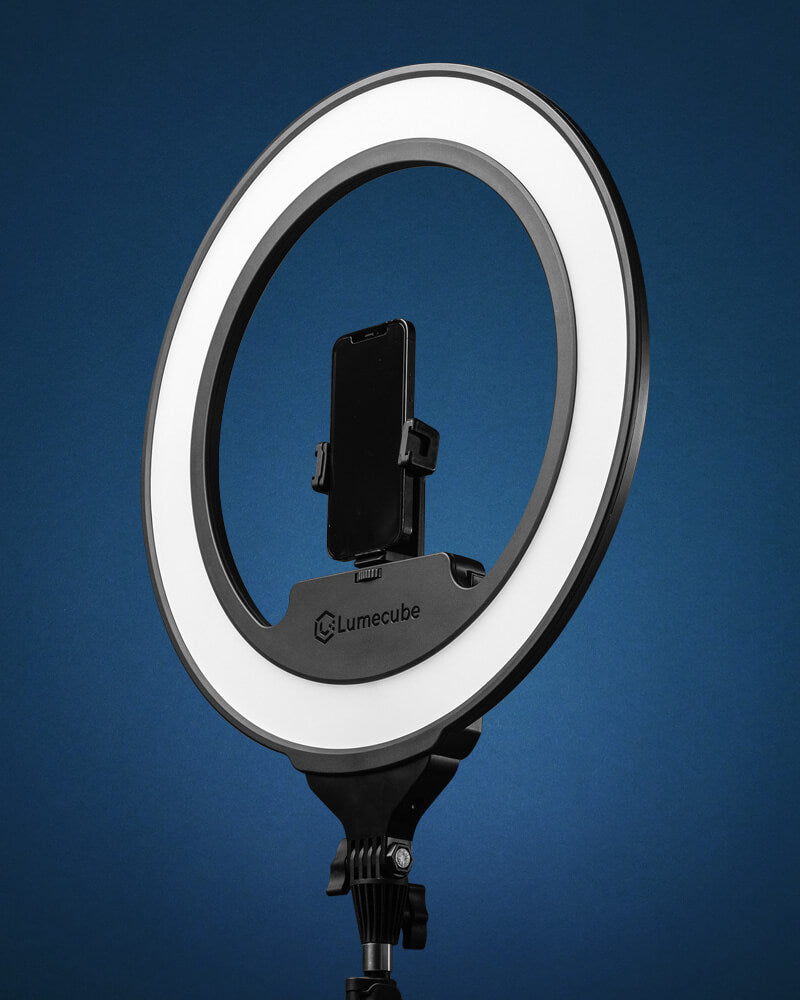
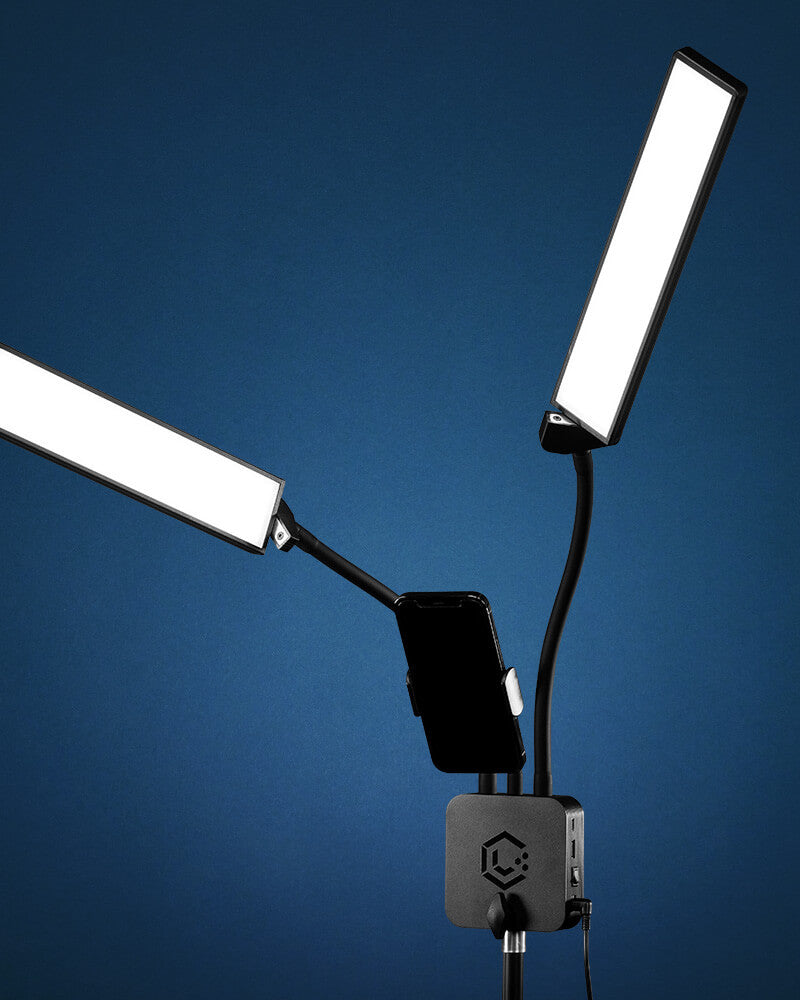
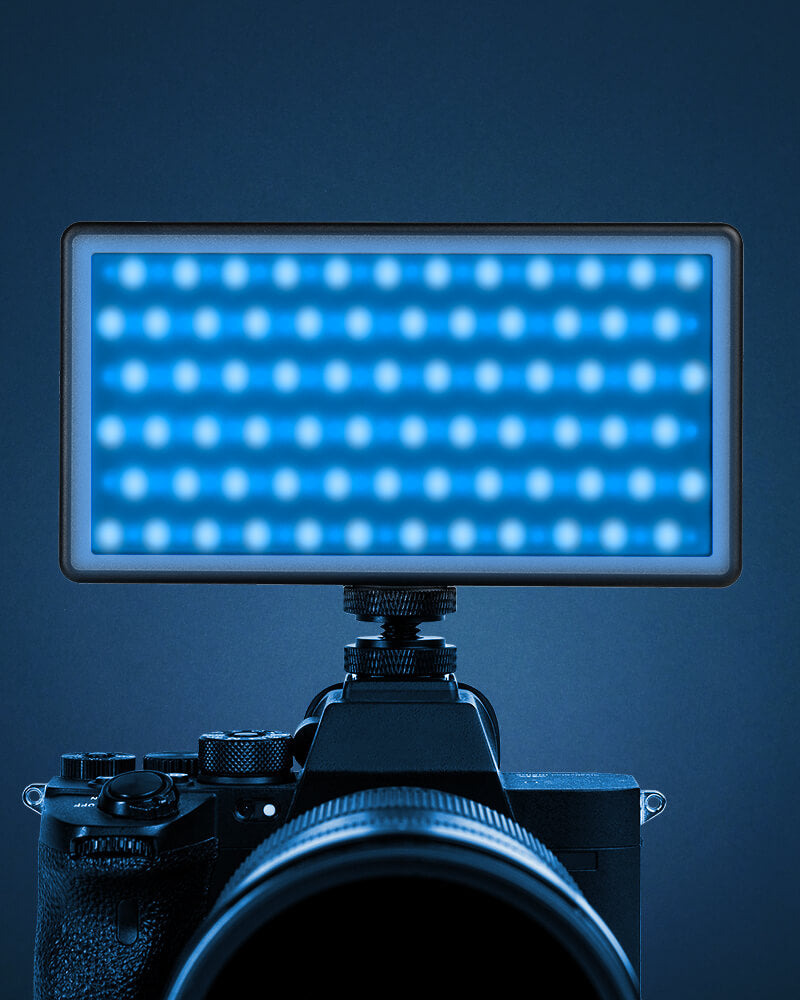
While the iPhone's built-in dynamic range is impressive but there are situations where the onboard iPhone flash just won't cut it. This is where our smartphone lighting solutions come into play. Our range of portable, adjustable LED lighting products like our Panel Pro 2.0, Ring Lights, and Mobile Creator Kit can enhance your photos by providing additional light where needed. Whether you need to adjust brightness, warmth, or even color, an external light source can elevate your iPhone photography, particularly in low-light conditions.
Get After It
So next time you set out to take some sweet photos with your iPhone, keep these 5 tips in ind and we promise you, you will end up with some better shots and continue to grow your skillsets. Happy shooting, and don’t forget to shed some light on your work with #LitByLume.