




6 Video Lighting Mistakes That Make Your Videos Look Cheap (And How to Fix Them)
You don't need an expensive camera or complicated lighting setup to make your videos look professional. In fact, some of the biggest video lighting mistakes have nothing to do with your camera or lens.
Small changes to the position, brightness, and color of your lights can make a huge difference in how your videos look.
Below are six common lighting mistakes that can make videos look cheap or unprofessional—and how to fix them.
6. Lighting Yourself From Below
One of the most common lighting mistakes is placing your light below your face.
A laptop, phone, or small light sitting on a desk can illuminate your face from underneath, creating shadows that travel upward across your cheeks, nose, and eye sockets.
The result looks unnatural because we're used to light coming from above. When shadows fall upward instead of downward, something immediately feels off.
How to Fix It
Raise your light above eye level and angle it slightly downward toward your face.
You don't necessarily need a brighter light. Simply changing the position of the light can create more natural and flattering shadows.
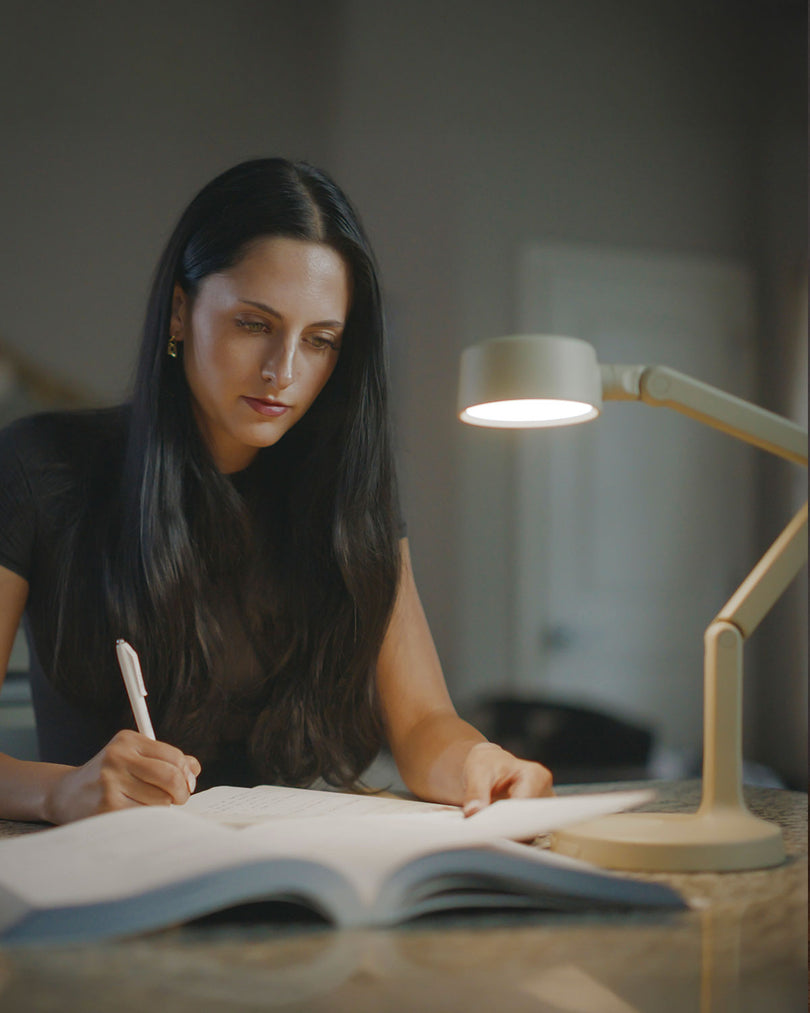
For a simple video lighting setup, start with your key light slightly above eye level and off to one side.

5. Leaving Overhead Lights On
Overhead lights may make a room look perfectly fine in person, but they can create unflattering shadows on camera.
Ceiling lights send light directly downward, often creating dark shadows underneath your eyes, nose, and chin.
And the easiest part about fixing this lighting mistake? You don't need to buy anything.
How to Fix It
Turn off unnecessary overhead lights and start with a blank canvas.
Instead of allowing every light in the room to affect your shot, intentionally decide where you want your light to come from.
Professional lighting isn't always about using more lights. It's about making sure the lights you use are doing exactly what you want them to do.

4. Placing Your Light Too Far Away
After buying a powerful video light, it can be tempting to put it across the room and turn it up to 100%.
But brightness isn't the only factor that determines how your lighting looks.
When a light is far away, it appears smaller from your subject's point of view. A smaller light source creates harder shadows and sharper edges.
You may notice harsh shadows underneath the nose, bright hotspots on the forehead, and less flattering light across the face.
How to Get Softer Lighting for Video
Try moving your light closer to your subject and lowering the brightness.
Bringing the light closer makes it appear larger relative to your subject, which helps create softer, more natural-looking light.
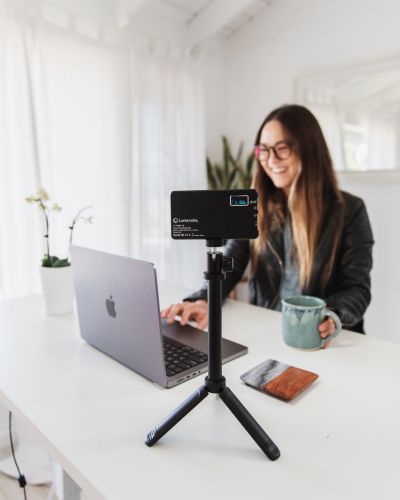
This is one reason adjustable LED video lights are useful for creators. You can position the light close to your subject, just outside the frame, and adjust the brightness to get the look you want.
If you can't move the light closer because of your framing, try bouncing it off a white wall. This can also make the light appear larger and softer.

3. Mixing Different Color Temperatures
If one side of your face looks warm while the other looks blue, you may be dealing with mixed color temperatures.
Different light sources produce different colors. Household lights are often warmer, while daylight coming through a window tends to be cooler and bluer.
When these different light sources hit your face at the same time, your camera has to capture all of them, which can result in inconsistent or unnatural-looking skin tones.
How to Fix Mixed Lighting
Try to match the color temperature of your lights to the environment.
Many household lights are around 3,200K, while midday daylight is often around 5,600K. Neither is necessarily better—the problem is when they are competing with each other.
A bi-color LED light can make this easier by allowing you to adjust the color temperature to match your surroundings.
Don't worry about memorizing exact numbers, though. Use them as a starting point, then look at your camera or monitor and adjust until everything looks natural.

2. Not Creating Separation From the Background
Even when your face is well lit, your video can still look flat if you're sitting directly against a wall.
Your camera turns a three-dimensional space into a two-dimensional image, so creating separation between you and your background helps restore some of that depth.

How to Create More Depth
Start with the simplest solution: move away from the wall.
If you have the space, try sitting two or three feet away from your background. The background will naturally become softer and darker, helping separate you from the wall.
You can also add a light to the background to create more visual interest and depth.
Good video lighting isn't only about lighting your subject. It's also about deciding what you want the background to do.
1. Putting Your Light Directly Behind the Camera
A light positioned directly beside the camera can make your face evenly illuminated, but it can also make your lighting look flat.
When light comes from exactly where the camera is positioned, many of the shadows created by your face fall directly behind your features, where the camera can't see them.
The result is a face without much shape or dimension.
How to Position Your Key Light
As a starting point, position your key light approximately 45 degrees to one side of the camera, slightly above eye level, and angle it downward.
This creates a brighter side and a shadow side, bringing back definition in your cheekbones and jawline.
You can adjust the position from there based on your face, camera angle, and the look you're trying to create.

How to Improve Your Video Lighting
Before buying new equipment, look at the lighting you already have.
Ask yourself:
-
Is my light coming from below?
-
Are overhead lights creating unwanted shadows?
-
Is my light too far away?
-
Am I mixing warm and cool light?
-
Am I sitting directly against my background?
-
Is my key light directly beside the camera?
These simple adjustments can solve many of the most common video lighting problems.
The biggest difference between amateur and professional lighting usually isn't the amount of money spent on gear. It's being intentional about where the light comes from, how soft it is, how much shadow you want, and what your background is doing.
Start by fixing one lighting mistake today. Move a light, turn one off, change the angle, or step away from the wall.
You may be surprised by how much better your videos look without buying anything new.
If you're ready to take your lighting setup further, Lume Cube offers adjustable lighting solutions designed to give creators more control over brightness, color, and placement.
The best lighting setup isn't necessarily the most complicated one. It's the one that gives you control over the look you're creating.