




Creator Guide
Same Room.
Completely Different Look.
See how four lights, a desk and a few simple adjustments turn an ordinary room into a polished YouTube home studio.
A professional-looking YouTube setup does not require a dedicated studio. The real difference comes from controlling what the camera sees and understanding what each light contributes to the image. In this guide, we are building an amber and cobalt four-light setup one light at a time so you can see exactly how the final shot comes together.
Setup
Start With the Shot, Not the Lights
Before adding a single light, decide what your camera is actually going to see. Block uncontrolled daylight, turn off the room lights, position your desk and chair, and establish your frame.
Keep yourself far enough away from the wall that you can light your face and background separately. Then check the shot from the position where you will actually be filming. Camera height, subject placement, table position and the amount of background visible all affect the finished image.
You do not need to decorate the entire room. Build the space that exists inside your camera frame.

Light 1 / Key Light
Build Your Key Light
Your key light does most of the work on your face, so start here. Position it off to one side, slightly above eye level, and angle it down toward your subject.
For this setup, the XL Studio Light was initially tested around 50%, but that was already brighter than needed. Bringing the output down to roughly 35% created a much better starting point with a bright side, a defined shadow side and visible detail across the face.
That does not mean 35% is the magic setting for every studio. Distance, modifiers and camera settings all change the result. Watch your camera monitor and adjust for the image in front of you.

XL Studio Lighting Kit
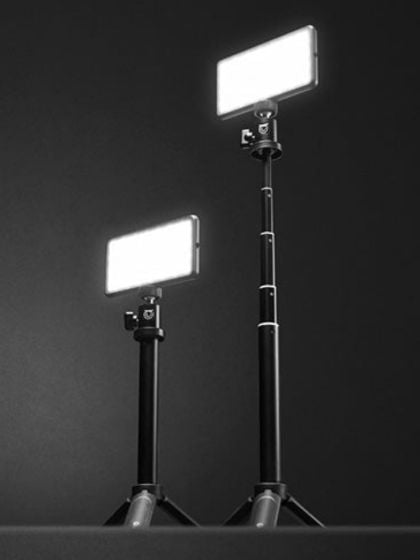
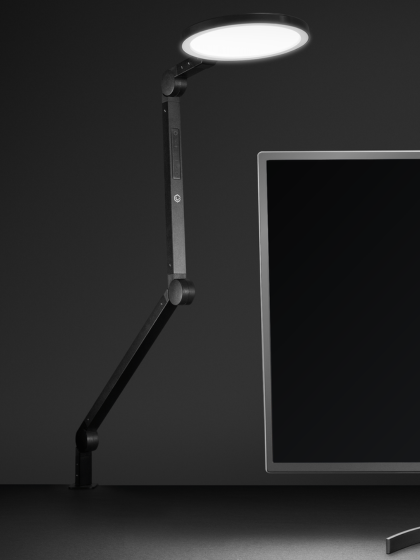
A large, soft source gives you control over the primary light on your face while helping create flattering shape and dimension.
Shop XL Studio Lighting Kit →More brightness does not automatically create a better image. If your key light is spilling onto the background, adjust its position or use a grid to keep the light focused where you want it.
Light 2 / Fill Light
Fill the Shadows, Don't Flatten Them

Once the key is creating the shape you want, look at the shadow side of your face. If it feels too dark, add a fill light to gently bring back detail.
In this room, even 15% on the Studio Panel was too much. At higher output, the fill started removing the contrast created by the key. The final setup brought the Studio Panel all the way down to about 1%.
The goal is not to eliminate the shadows. It is to keep them from hiding important detail.
How Much Fill Light Do You Need?

Studio Panel 2-Pack
Use a controllable fill light to gently lift shadows without overpowering the shape created by your key.
Shop Studio Panel 2-Pack →Lights 3 + 4 / Background
Add Color and Separation
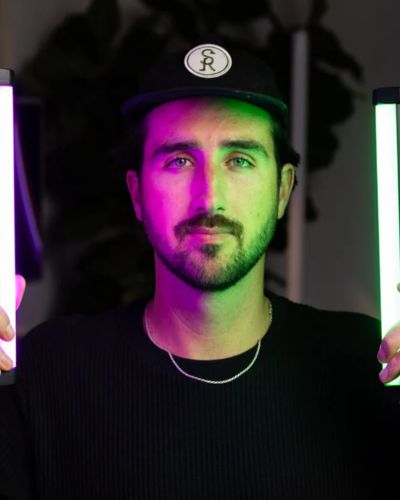
With the subject lighting established, it is time to give the background some personality. For this setup, two Tube Light Minis create an amber and cobalt color palette.
The blue light creates a cool wash across one side of the background. The amber Tube Mini adds warmth on the opposite side and can be aimed so it catches the edge of the subject at the same time.


Aim the warm Tube Mini so it creates color on the wall while catching the edge of your subject. That edge light helps visually separate you from the background.

Tube Light Mini
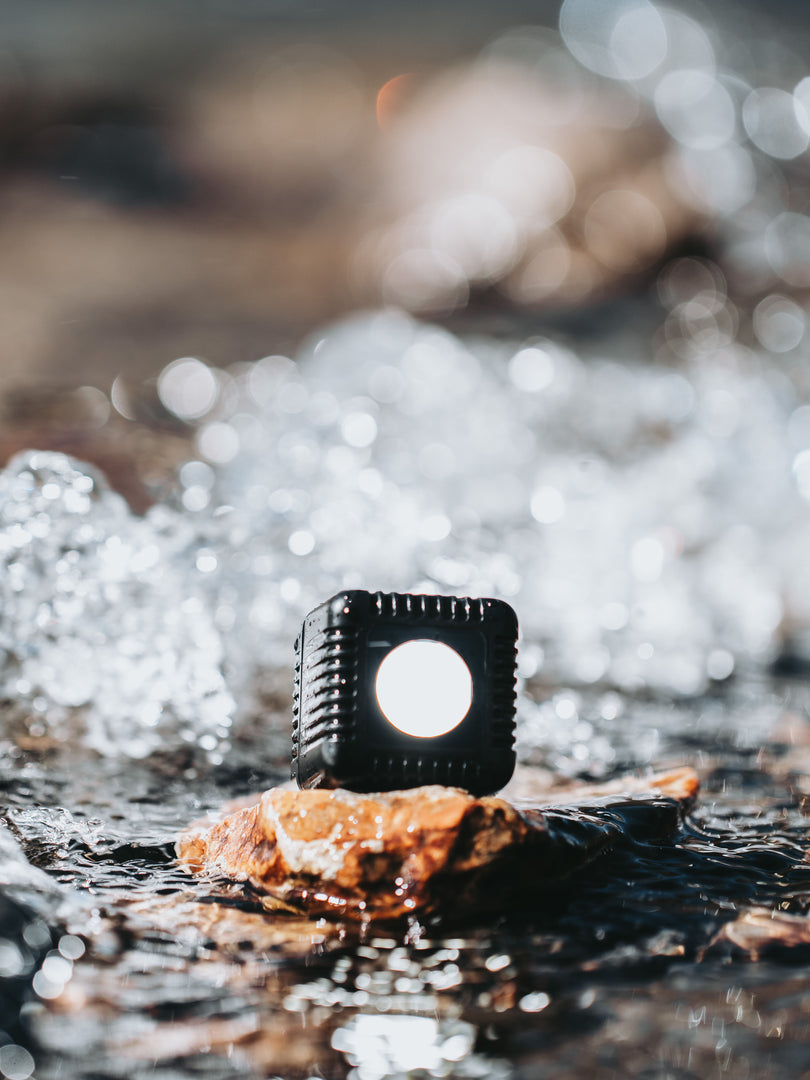
Add color to your background, create separation around your subject, or combine both jobs with one compact RGB light.
Shop Tube Light Mini →The Transformation
Same Room. Different Light.
This is why lighting matters more than the room itself. Nothing about the space was remodeled. The difference comes from removing uncontrolled room lighting, building intentional color into the background, and then lighting the subject separately.


The Complete Setup
Four Lights. One Simple Studio Setup.
When you step behind the camera, the final setup is surprisingly simple. Each light has a specific job, and none of them needs to do everything.

Fine Tuning
Small Adjustments Make a Big Difference
Once all four lights are in place, do not assume the setup is finished. Make one adjustment, sit back down, check the camera and decide whether the image actually improved.
Moving a Tube Mini slightly farther from the center can change the gradient on the wall. Rotating it can strengthen an edge light while reducing a distracting bright spot. Even moving a prop a few inches can make the background composition work better from the camera's perspective.
The camera result is all that matters.
Make Your Setup Repeatable
Once the shot looks right, save your settings and make a note of where everything goes. Record the position of your desk, chair, camera and lights, then take a photo of the entire room.
The next time you film, you will have a reliable starting point instead of rebuilding the setup from memory.
Shop the Setup
Get the Gear
Start Creating
Build Yours One Light at a Time
You do not need to build a four-light studio overnight. Start with your key light and get it right. Then ask what the image is missing. Maybe you need fill. Maybe you want more separation. Maybe a little color is all it takes.
Add one light, look at what it changes, and build from there. Once you understand what each light is doing, you can create a home studio that feels completely your own.