




How to Create a Professional Home Studio Lighting Setup
You don't need a dedicated studio, expensive renovations, or a massive room to create professional-looking video content at home.
In fact, you can transform something as simple as a blank wall in your living room into a polished home video studio with the right lighting techniques. The secret isn't necessarily having more lights. It's understanding where to put them, how bright they should be, and what each light contributes to the final image.
In this guide, we're breaking down a complete home studio lighting setup one light at a time. From your key and fill lights to practical lighting, background texture, and color temperature, you'll learn how to build a professional video lighting setup that can work almost anywhere.
Start With the Room, Not the Lights
Before adding studio lights, start by removing the lighting you can't control.
In our setup, that meant clearing a blank wall, removing distracting objects, and covering the windows so outside light wouldn't affect the scene. This gives you complete control over where your light comes from and how it interacts with your subject.
Then, turn off the overhead lights.
Standard ceiling lights tend to cast light downward, which can create unflattering shadows underneath the eyes and nose. Even after adding professional lights, those overhead shadows can remain visible and interfere with the look you're trying to create.
Starting with a darker room gives you a blank canvas.
Every light you add from that point forward has a purpose.

Step 1: Build Your Key Light
The key light is the primary light illuminating your subject, making it the foundation of almost any professional video lighting setup.
A common beginner mistake is putting the key light directly beside or above the camera. While that certainly makes your face brighter, it can flatten facial features and create distracting shadows on the wall behind you.
Instead, move your key light approximately 45 degrees to one side of the camera and position it slightly above your subject. This allows shadows to fall more naturally across the face and creates significantly more dimension.
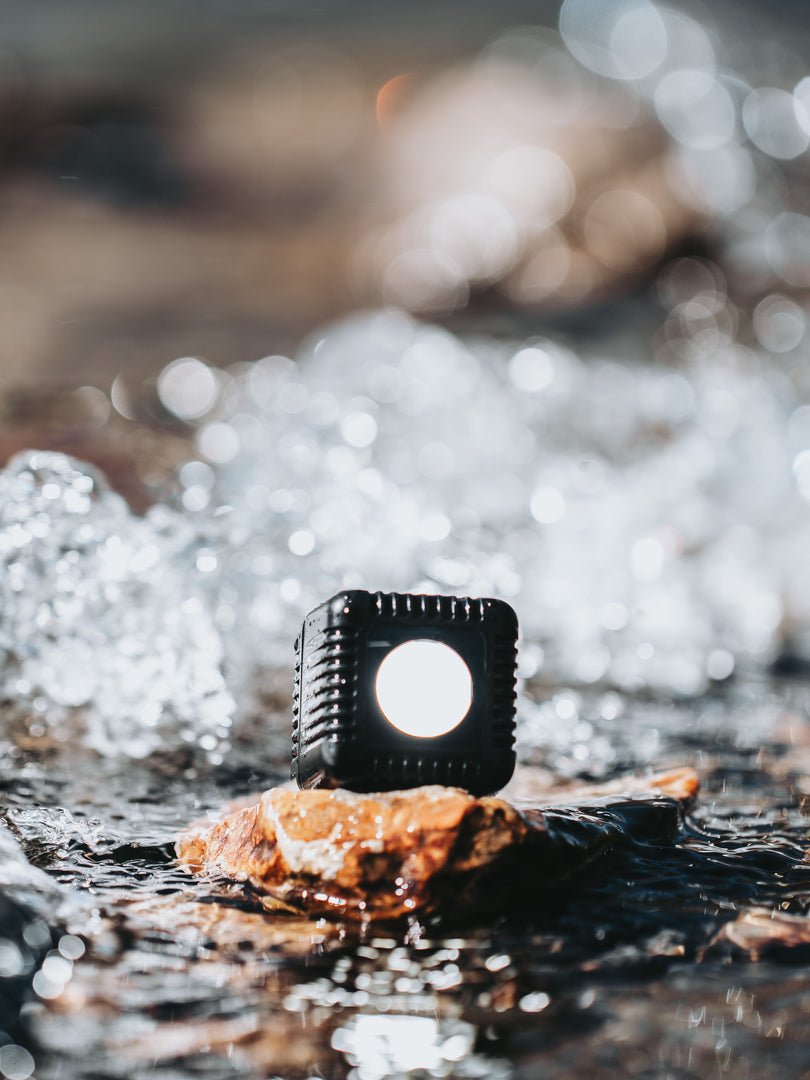
For this setup, we're using the Lume Cube XL as the key light.
Soften Your Key Light With Diffusion
A bare light source produces relatively hard light, which means more defined shadows.
For softer, more flattering lighting, add diffusion.
Using the Bowens mount adapter on the Lume Cube XL allows a larger softbox to be attached. Adding a grid to the softbox gives you even more control by helping keep the light focused on your subject rather than spilling onto the background.
Another important trick is to bring your light closer.
Whenever possible, position your key light close to your subject while keeping it just outside the camera frame. Moving the light closer helps produce softer shadows while the grid keeps the light focused.

Step 2: Understand Color Temperature
Lighting isn't just about brightness. Color temperature has a huge impact on how professional your video looks.
Color temperature is measured in Kelvin (K). Lower Kelvin values produce warmer, more orange light, while higher values create cooler, daylight-like light.
For example, 2700K creates a warm tone similar to many household lamps or candlelight, while 5500K creates a cooler tone that more closely resembles daylight.
For this home studio, the key light is set to 5500K to mimic daylight coming through a nearby window.
This is also why bi-color and RGB lights can be particularly useful when upgrading your home studio. Rather than being locked into a single color temperature, you can adjust your lighting to match your camera settings and the look you're trying to achieve.

Step 3: Add a Fill Light
Once your key light is positioned correctly, look at the opposite side of your face.
You'll probably see shadows.
That's not necessarily a bad thing.
Shadows create depth and dimension. The goal of a fill light isn't to eliminate every shadow. It is to control how dark those shadows become.
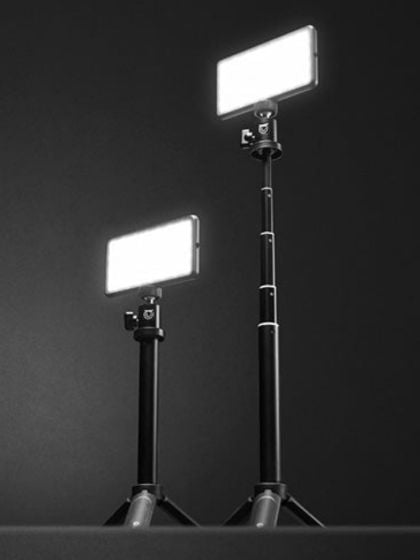
For this setup, a Lume Cube Studio Panel is positioned opposite the key light. Its color temperature is also set to 5500K, ensuring the two lights aren't creating competing colors.
Start your fill light at a very low brightness and slowly increase it until you've softened the darkest shadows.
If your fill becomes too bright, your lighting can start looking flat again.
With the fill off, the image has considerably more drama. Adding just a small amount of fill softens the shadows without completely removing that dimension.

Step 4: Use Practical Lights to Create Color Contrast
Now that the subject is properly lit, it's time to start building the background.
One of the easiest ways to make a home studio lighting setup feel more cinematic is using practical lights.
A practical light is simply a visible light source within your scene, like the table lamp used in this setup.
While the subject is illuminated with daylight-balanced lighting around 5500K, the lamp in the background produces a much warmer orange tone.
That combination creates color contrast.
The cooler light on the subject separates them visually from the warmer environment behind them, immediately giving the shot more depth.
A Tube Light placed near the plant adds another subtle layer of warm light. The key here is subtlety.
Your background shouldn't compete with your subject.
Making the background lighting too bright quickly becomes distracting. Your subject should generally remain brighter than the background.

Step 5: Create Background Texture With Light
A blank wall doesn't have to look boring.
Instead of hanging artwork or permanently changing the room, you can create visual interest entirely with lighting.
For this setup, another Lume Cube XL is paired with a Bowens mount adapter and spotlight attachment to project a pattern resembling light coming through window blinds.
This creates depth and texture without physically decorating the wall.
There's an important detail here, though. The direction of the projected light needs to make sense.
Because the key light is creating the illusion that daylight is coming from one side of the room, the projected window light should originate from that same general direction. Otherwise, the different light sources can make the scene feel unnatural.

Step 6: Create Depth in Your Background
Professional-looking studio setups rarely feel completely flat.
Creating physical distance between your background elements and the wall can help.
In this setup, simply moving a plant slightly away from the wall creates more separation. Once the background light hits it from the side, the plant produces natural highlights and shadows that add another layer of depth to the shot.
This is an important reminder when creating a home video studio: not everything has to come from lighting equipment.
Plants, lamps, furniture, picture frames, and other objects already in your home can become part of your set.
Lighting simply helps shape them.

Step 7: Add a Hair Light or Backlight
The final piece of the subject lighting is separation.
A hair light or backlight illuminates the edge of your subject, helping separate them from the background.
For this scene, another Studio Panel is positioned behind and to the side of the subject.
Rather than making that light daylight-balanced, it can mimic the warm practical lamp visible in the background. Your brain naturally associates that warm edge light hitting the subject with the lamp in the scene, even though the lamp itself isn't actually producing enough light to illuminate the subject.
That small detail makes the overall lighting feel more intentional and cinematic.
Don't Be Afraid to Adjust Your Lighting
One of the biggest lessons when learning studio lighting for beginners is that there isn't one perfect brightness percentage, color temperature, or light position.
Build your scene and then adjust.
Move your lights. Dim them. Change your color temperature. Move objects farther away from the wall. Turn individual lights on and off and look at what each one is actually contributing.
Portable lighting makes experimentation especially easy because you aren't designing your entire room around permanent fixtures or outlets.
The Lume Control app also allows compatible lights within the setup to be adjusted without constantly walking between your camera and each individual light. You can adjust brightness, color temperature, and experiment with different colors until you find the look that works best for your scene.
Your Home Studio Lighting Setup, Explained
What started as an ordinary room with a blank wall ultimately uses several simple layers of light:
Key light: Provides the primary illumination on your subject.
Fill light: Gently controls shadows created by the key.
Practical light: Introduces visible light and warm color into the background.
Background light: Creates texture and visual interest.
Hair or backlight: Separates your subject from the background.
Accent lighting: Adds subtle color and dimension to background objects.
Together, these elements turn an ordinary room into a dramatically more polished home content creation studio.
You don't necessarily need every light to get started, either. Begin with your key light and build your setup one layer at a time. Understanding what each light contributes is more important than simply adding as many lights as possible.

Create Better Videos From Anywhere
You don't need a dedicated production studio to make professional-looking content.
The biggest difference comes from understanding how light shapes your subject and your environment.
Start by controlling the existing light in your room. Build your key light first. Add just enough fill to control your shadows. Then begin layering practical lights, background texture, and separation until the scene has the depth and mood you're looking for.
Whether you're creating YouTube videos, social content, interviews, tutorials, podcasts, or professional video from home, learning these basic home studio lighting techniques can dramatically change how your content looks on camera.
And the best part?
The room itself doesn't need to be anything special.
Sometimes, all you need is a blank wall and the right light