



Lighting Basics: 7 Essential Lighting Setups Every Photographer & Content Creator Should Master
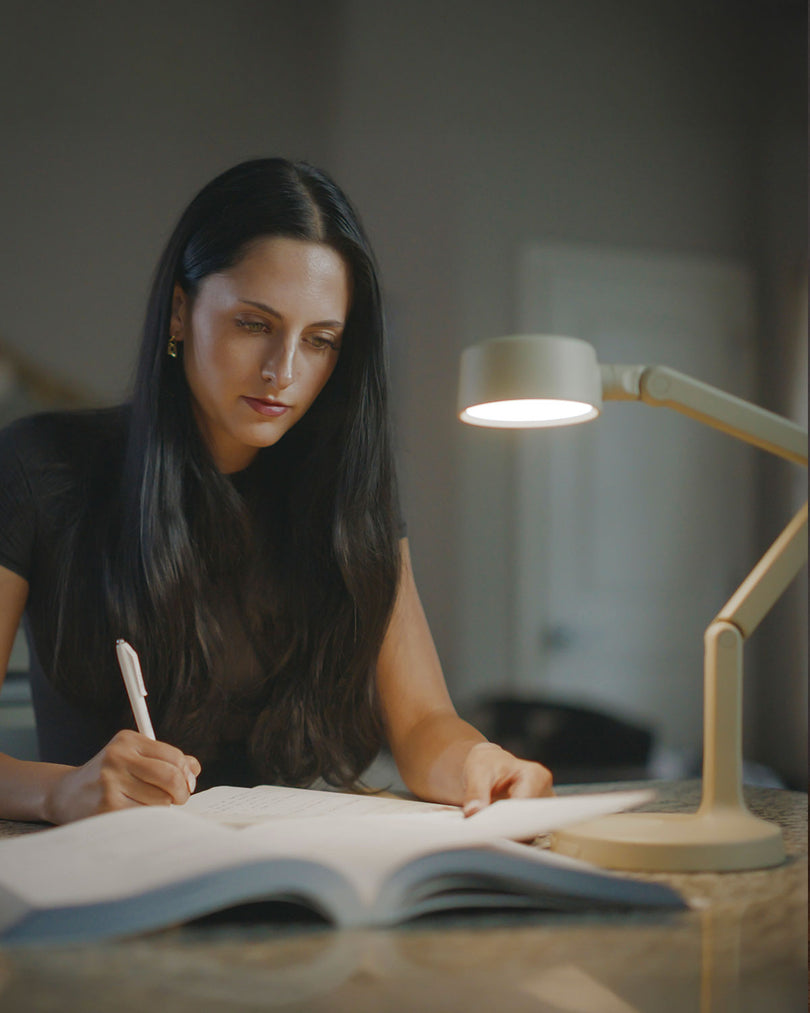
If you've ever watched a video and thought, "How does this look so cinematic?", the answer probably isn't the camera.
It's the lighting.
One of the biggest misconceptions among new photographers and filmmakers is that buying an expensive camera automatically produces professional-looking results. In reality, lighting has a much greater impact on the final image than the camera itself.
The same subject, in the same location, using the same camera, can look completely different simply by changing where the light is placed.
Once you understand how light shapes a subject, creates depth, and controls emotion, you'll start producing more professional photos and videos—without spending thousands of dollars on new gear.
In this guide, we'll walk through seven classic lighting setups that every creator should know, explain when to use each one, and show you how a single light can create dramatically different results.
Why Lighting Is More Important Than Your Camera
Lighting is what gives an image dimension.
It defines facial features, separates your subject from the background, softens or exaggerates shadows, and ultimately sets the mood of your shot.
Great lighting can make an entry-level camera look like a cinema camera.
Poor lighting can make even the most expensive camera produce flat, lifeless footage.
The goal isn't to own more lights.
It's to understand what one light is capable of.
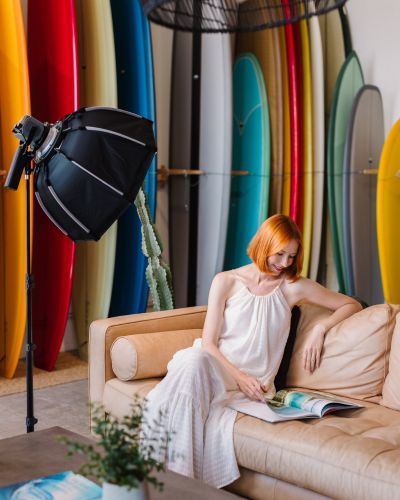
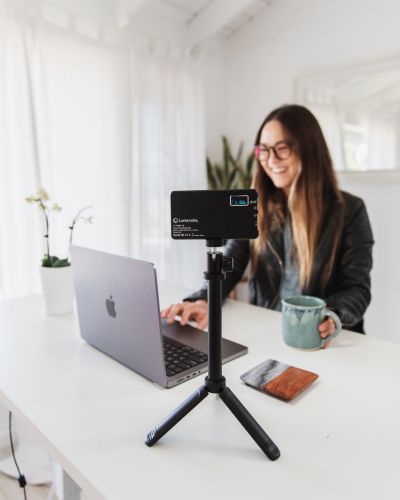
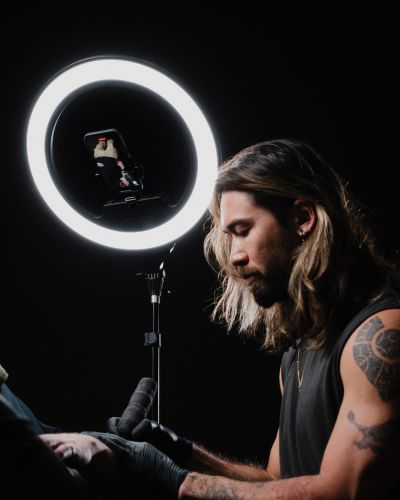
For these demonstrations, we used the Lume Cube XL COB Light paired with a softbox modifier. The softbox creates beautiful, soft illumination while reducing harsh shadows. Adding the optional honeycomb grid provides even more control by directing the light exactly where you want it instead of allowing it to spill throughout the room.
1. Front Lighting

Front lighting is the simplest lighting setup to learn and one of the most forgiving for beginners.
By positioning the light directly in front of your subject, the face receives even illumination, minimizing harsh shadows and creating a clean, polished appearance. This setup is especially popular for YouTube videos, beauty tutorials, livestreams, product demonstrations, and corporate interviews because it flatters most skin tones while keeping distractions to a minimum.
While front lighting is incredibly versatile, it can sometimes appear a little flat if overused. As you become more comfortable with lighting, you'll begin introducing shadows to create additional depth and drama.
2. Butterfly Lighting

Raise the light slightly above eye level and angle it downward toward your subject.
You'll notice a small shadow forming directly beneath the nose—that distinctive shape is what gives Butterfly Lighting its name.
This classic Hollywood lighting style has been used for decades because it naturally emphasizes cheekbones, slims the face, and creates beautiful catchlights in the eyes. It's one of the most flattering lighting patterns available, making it a favorite among beauty photographers, makeup artists, and fashion creators.
3. Rembrandt Lighting

Move your light approximately 45 degrees to one side while keeping it elevated.
As the light shifts, you'll notice a small triangle of light appear beneath the eye opposite the light source. This signature highlight identifies Rembrandt Lighting.
Named after the famous Dutch painter, this lighting pattern creates significantly more depth than front lighting by allowing part of the face to fall naturally into shadow. The result feels dramatic, cinematic, and timeless, making it ideal for interviews, portraits, documentaries, and narrative filmmaking.
4. Side Lighting

Move the light even farther to the side until roughly half of the face is illuminated and the other half falls into shadow.
This dramatic lighting pattern immediately increases contrast and emotion within the frame.
Side lighting works exceptionally well for athlete portraits, musicians, fitness photography, movie scenes, and editorial work where mood plays an important role in the final image.
Sometimes, allowing the shadows to tell part of the story creates a much stronger visual impact than evenly lighting every detail.
5. Silhouette Lighting

Now reverse everything.
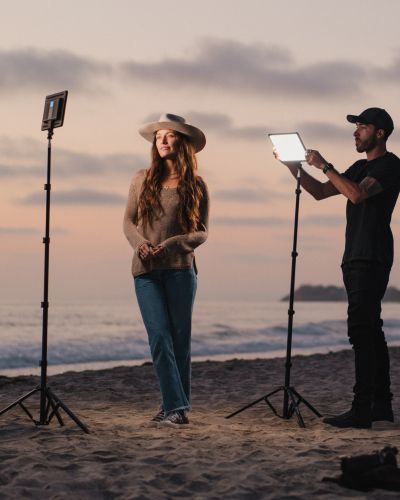
Instead of lighting your subject, place the light behind them.
This creates a silhouette that emphasizes shape and composition rather than facial detail. Silhouette lighting is a powerful storytelling tool because it encourages viewers to focus on emotion, posture, and movement rather than expression.
Whether you're introducing a subject, teasing a product, or creating dramatic B-roll, silhouettes often produce some of the most memorable images.
6. Add a Hair Light for Separation
Rather than inserting another portrait here, I would use a behind-the-scenes image in the future showing the tube light placement. Until then, leave this section without an image.
One of the easiest ways to make your subject look more professional is by adding a small light behind them.
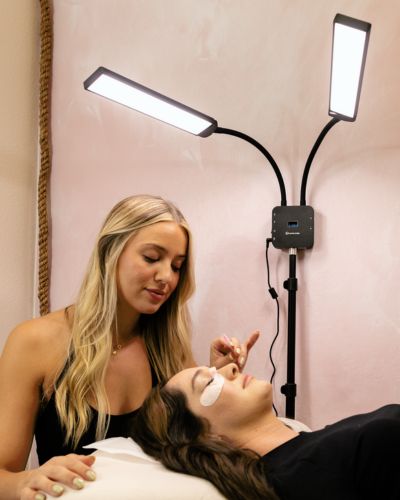
Often called a hair light or rim light, this secondary light creates subtle highlights along the hair and shoulders, helping separate the subject from the background.
Without it, darker clothing or hair can blend into the background. Even a small tube light can dramatically improve depth and create a more polished, three-dimensional image.
7. Bringing It All Together

Professional lighting isn't about using dozens of lights.
It's about combining a few simple techniques.
In this final setup, we've layered everything we've learned:
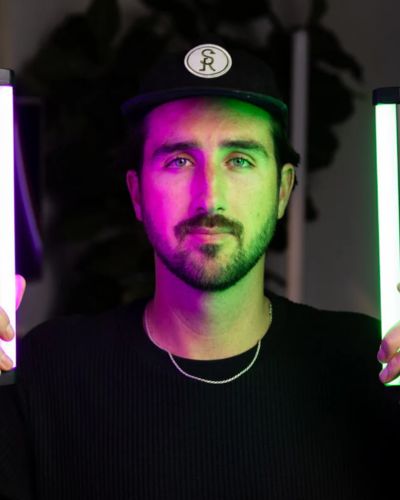
- A soft key light shapes the face.
- A hair light separates the subject from the background.
- A honeycomb grid controls unwanted light spill.
- Background lighting adds color, depth, and atmosphere.
Together, these elements transform a simple portrait into an image that feels cinematic, polished, and intentionally crafted.
Final Thoughts
The biggest lesson isn't learning seven different lighting setups.
It's understanding that light placement changes everything.
You don't need an expensive studio full of equipment to create professional-looking photos and videos. By learning how to control direction, softness, contrast, and separation, you'll be able to create nearly any look you can imagine with just one quality light.
Master these fundamentals first, and every future lighting setup becomes easier.
Whether you're creating YouTube videos, photographing portraits, producing commercial work, or filming your next short film, lighting will always be one of the most valuable skills you can develop.
Shop all Lume Cube Lighting >