





Why Your Videos Look Amateur: 3 Video Lighting Mistakes and How to Fix Them
You can upgrade your camera, invest in a better lens, learn color grading, and perfect your settings—and still end up with videos that don't look as professional as you expected.
The problem might not be your camera. It might be your video lighting.


Lighting has a major impact on how professional and cinematic your footage looks. The softness of your light, where you position it, and the amount of separation between your subject and background can completely transform an image without changing a single camera setting.
Better yet, improving your lighting doesn't necessarily require an expensive studio setup. Understanding a few basic video lighting techniques can help you get more from the equipment you already have.
Here are three common lighting mistakes that can make videos look amateur—and how to fix them.
Why Video Lighting Matters More Than You Think
When footage doesn't look professional, it's easy to assume you need better gear. But a new camera or lens can't automatically fix poor lighting.
Three lighting principles make an especially big difference:
-
The softness of your light
-
The position of your key light
-
The depth and separation in your frame
Understanding these fundamentals can help you create more intentional, professional-looking videos whether you're filming YouTube content, interviews, tutorials, products, or talking-head videos.
Lighting Mistake #1: Using Hard Light Instead of Soft Light
One of the biggest differences between amateur and professional-looking video is the quality of light.
Understanding Hard Light vs. Soft Light
Hard light creates sharp, clearly defined shadows. Think about a phone flashlight, bare LED panel, or the sun on a bright day. If the transition between light and shadow has a sharp edge, you're seeing hard light.
Hard light isn't necessarily bad. It can be an intentional creative choice when you want dramatic shadows, contrast, mystery, or mood.
For interviews, YouTube videos, tutorials, portraits, and talking-head content, however, soft light will often create a more flattering result.
Soft light produces smoother transitions between highlights and shadows. It allows light to wrap around the face more naturally and can help skin appear smoother on camera.


How to Create Softer Video Lighting
One of the easiest ways to soften an LED video light is to use diffusion.
When light passes through a larger diffusion surface, the apparent size of the light source increases. Instead of your subject seeing one small, concentrated source, they're being illuminated by a larger glowing surface.
The basic principle is simple:
The larger a light source appears to your subject, the softer the light will look.
You can accomplish this with a diffuser, by bouncing your light off a white wall or ceiling, or through other methods that increase the apparent size of your light source.


There's another easy trick: move your light closer to your subject.
As a light moves closer, it appears larger from the subject's perspective, creating softer shadows. That's why professional photographers and filmmakers often position lights surprisingly close to their subjects.
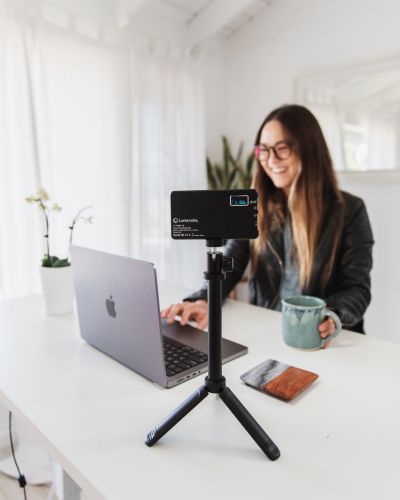
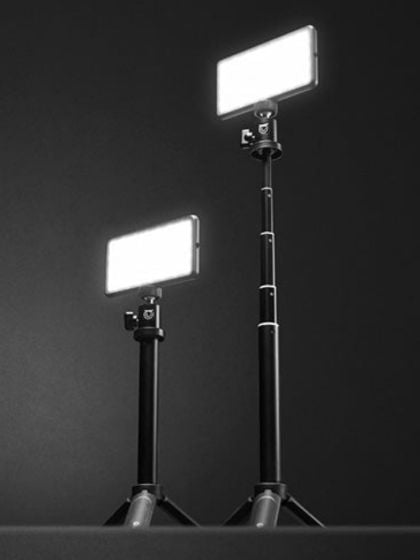
Moving the light closer will also make it brighter. Instead of moving it farther away again, reduce its brightness. Keeping an adjustable LED panel light like the Lume Cube Panel Pro close while dimming its output lets you maintain softer lighting without overexposing your subject.


Lighting Mistake #2: Putting Your Key Light in the Wrong Position
Even beautifully soft lighting can make an image look flat when it comes from the wrong direction.
A common beginner mistake is placing the key light directly in front of the subject, close to the camera. Everything becomes evenly illuminated, but the face can lose shape and dimension.
Start With a 45-Degree Key Light
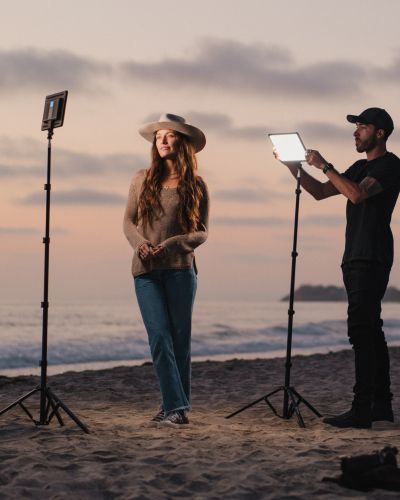
Try moving your key light approximately 45 degrees to one side of your subject.
A more powerful video light, such as the Lume Cube XL, can work especially well as the key light when you need greater control over the direction and intensity of your light.
You don't need to measure the angle. Forty-five degrees is simply a good starting point.
Moving the light off-camera allows one side of the face to remain brighter while the other gently falls into shadow. Those subtle shadows create shape and help your image feel more dimensional.
Watch the shadow beside the nose as you adjust your light. If it disappears completely, your light may be too close to the camera's position. If the shadow stretches too far across the cheek, you've probably moved the light too far to the side.
Small adjustments can make a surprisingly big difference.
Raise Your Key Light Slightly Above Eye Level
After moving your light to one side, raise it slightly above eye level.
We're used to seeing light come from above us—from the sun, windows, ceiling fixtures, and other everyday light sources. Positioning your key light slightly above your subject's eyes therefore tends to feel more natural.
For a simple talking-head video lighting setup, start with your key light slightly off to one side and above eye level. Then make small adjustments while watching your monitor until the shadows and highlights look natural.
Lighting Mistake #3: Creating a Flat Background
Professional video lighting isn't only about your face. What's happening behind your subject can have a major effect on the final image.
When someone stands directly against a wall or backdrop, the subject and background exist on nearly the same visual plane. That lack of separation can make the entire shot feel flat.
Create Separation From Your Background
One of the easiest ways to create depth doesn't require another light.
Simply move your subject farther away from the background.
If your space allows, even three or four feet of separation can make a noticeable difference. Suddenly, the frame has layers and your subject no longer appears visually attached to the wall behind them.
It's a simple adjustment that can make a basic video lighting setup feel much more intentional.

Use Background Lighting to Add Depth
You can take that separation even further by introducing subtle light into the background.
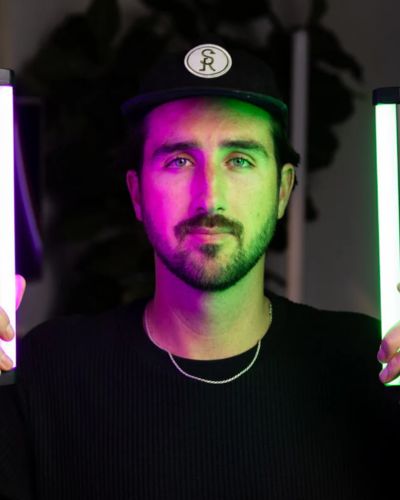
A Lume Cube Mini Tube Light is particularly useful because of how easily it can be positioned around a set. Hide one behind a plant, chair, desk, or another object and allow some light to spill onto the wall. You can also place a tube light within the frame when it complements your setup.


The goal isn't to make the background extremely bright. You're simply adding another visual layer.
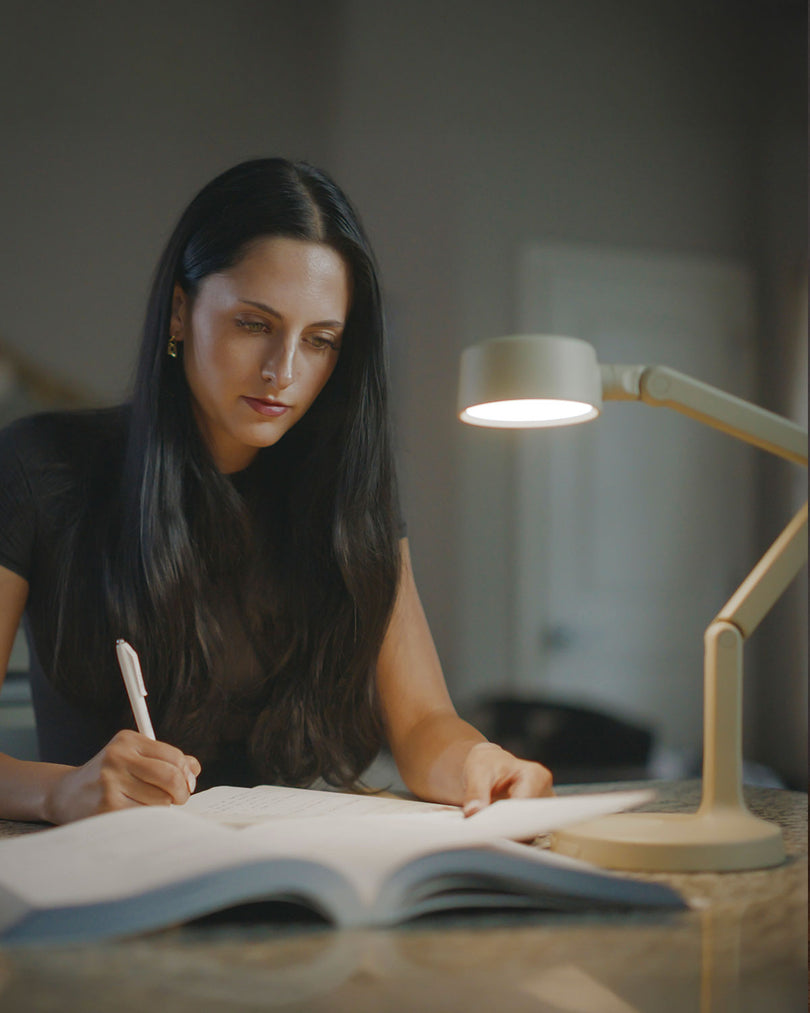
You don't necessarily need a dedicated background light, either. A lamp, practical light on a shelf, string lights, or even light spilling through a doorway can help create depth.
A Simple Video Lighting Setup for More Professional Videos
If you're learning video lighting for beginners, you don't need complicated lighting diagrams or a studio full of equipment.
Start with five simple adjustments:
-
Soften your key light with diffusion or bounce.
-
Move the light closer to your subject.
-
Dim the light instead of moving it farther away when it's too bright.
-
Position your key light off to one side and slightly above eye level.
-
Move away from the background and add subtle visual interest behind you.
These changes can dramatically affect your footage without changing your camera, lens, or settings.
More importantly, they'll help you understand why certain lighting setups work.
How to Make Your Videos Look More Cinematic
Creating cinematic lighting isn't necessarily about owning more equipment. It's about learning how to control the light you already have.
Pay attention to the softness of your shadows. Look at the direction your key light is coming from. Notice how much separation exists between your subject and background.
Once you understand those fundamentals, you'll start recognizing them everywhere—from movies and commercials to professional YouTube videos.
Before buying a new camera because your footage doesn't look professional enough, try changing your lighting first.
Soften your light. Move it closer. Position it intentionally. Create depth.
Those simple video lighting techniques can make a bigger difference than you might expect—and help you create cleaner, more professional, and more cinematic-looking videos with the gear you already have.