
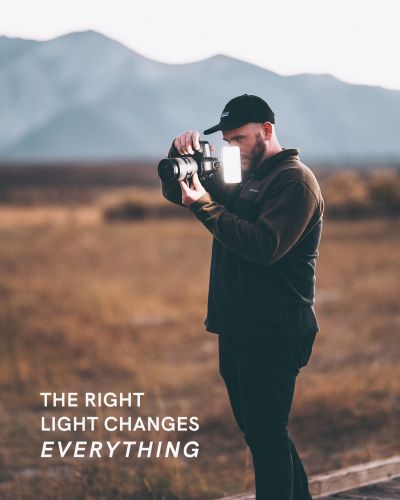


Your light source can make all the difference between good and truly great food photography. The right food photography lighting setup can shift the entire mood of your shot and make textures really pop. While natural light is a popular option for food photography, artificial light opens up more creative possibilities, looks more polished and professional, and gives you complete control over your shot. It’s also important to get comfortable with a variety of food photography lighting setups to improve your skills as a photographer and add diversity to your portfolio. Take your food photography lighting to the next level with these practical tips for using artificial light.

Food Photography Gear
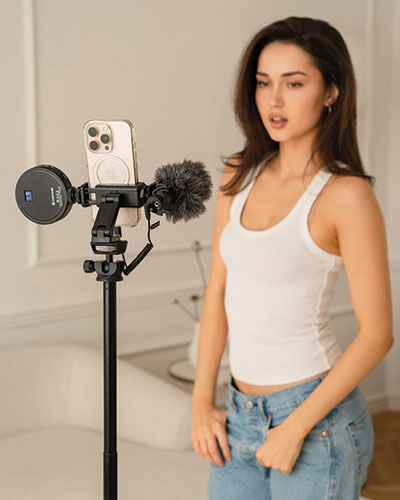
Food photography doesn’t require a whole lot of gear to get started - for a basic setup, you really only need 1-2 light sources! Here are some must-haves to include in your food photography lighting setup.
Constant Lighting vs. Strobe Lighting
First, you need to choose your key light source. There are two main choices of lighting for food photography: constant lighting and strobe lighting.
If you’re first starting out with food photography lighting, we’d recommend constant lighting. A constant light source lights up your whole scene for as long as you need. This makes it easy for you to see exactly how your shadows are falling so you can make adjustments. It’s also easier to replicate natural light with constant lighting. Constant lighting is what content creators typically use for shooting food blog or social media content.
With strobe lighting, on the other hand, you’ll only see how the light falls on your food the moment you snap the picture. If you’re working with commercial food photography, a strobe light is typically the industry standard. Note that strobe lighting typically requires a bit more experience than constant lighting, so it may be something you work up to as you get more practice.
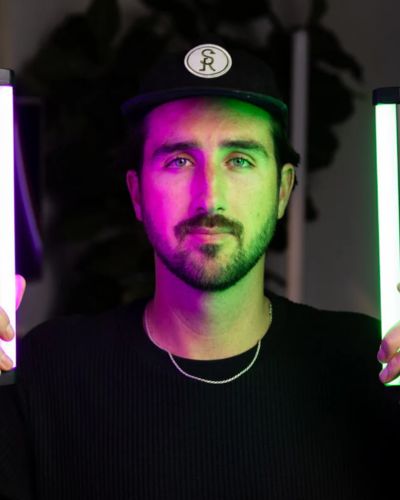
If you’re just getting started with food photography, the Lume Cube RGB Panel Pro has both constant and strobe lighting settings and is ideal for use as a key light source. Try it out to see which lighting method works best for you!
Diffusers
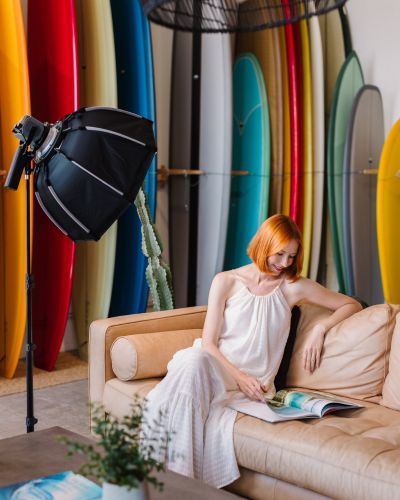
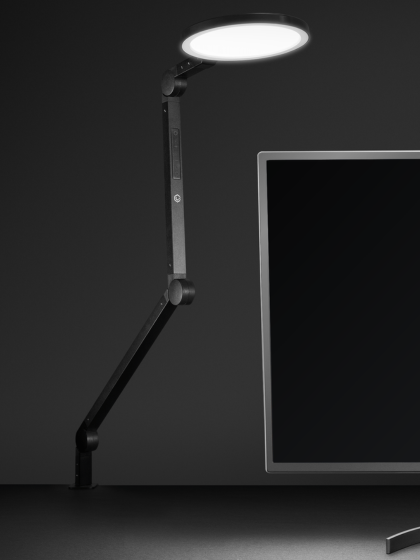
Once you have your light source for your food photography lighting, you’ll want to make sure you have a way to diffuse your light. Although there are some exceptions, soft lighting is key to give your food photography an inviting, multi-dimensional look. Diffusers also help you achieve that soft, glowy natural light look when there’s no natural light available. We love using the Lume Cube RGB Panel Pro or Lume Cube RGB Panel Go, which both come with a built-in diffuser to diminish shadows and give your shots a softer look.
Modifiers
While an artificial light source will take you a long way for food photography lighting, light sometimes needs to be controlled to be useful. That’s where modifiers come in handy.
The greater the contrast between dark and light in your shot, the more dramatic your shot will be. If you’re looking to amp up the drama, we love using barn doors to create strips or sections of light for more creative shots. If you need more of a soft contrast in your shot, use a honeycomb grid to narrow your light source for a bit more subtlety.

Food Photography Tricks
Getting the Right Food Photography Lighting Setup
When selecting your food photography lighting, avoid front lighting (where your light is in front of your scene), or overhead lighting, as these techniques will cause flat, one-dimensional images. Instead, you’ll want to light your scene from behind or from the side for soft, natural-looking shots.
Using Backlighting
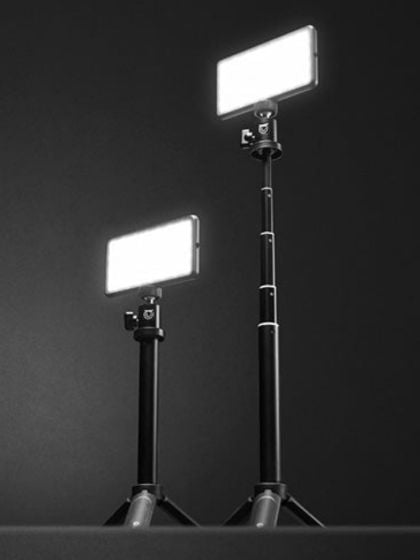
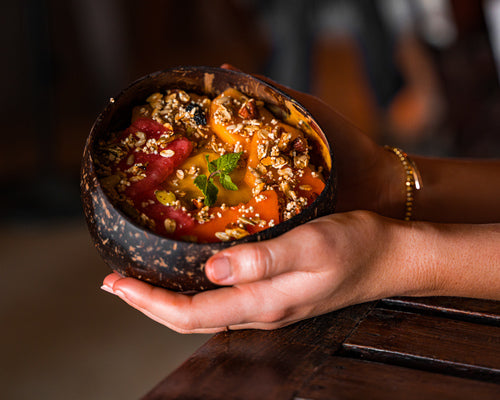
Backlighting is an especially good technique for highlighting shine and textures on top of food. (Just be wary of creating too much shine, as artificial light doesn’t fall off as quickly as natural light.) To use a backlight, set up your light source behind your food and raise it up several inches using an adjustable stand . Make sure your light is tilted downward slightly onto your scene so you’re not creating a harsh silhouette.
When you’re using a backlight, you’ll also want to use a reflector or fill light at the front of your scene to avoid overexposure (i.e. producing an image that’s too bright at the back and too dark at the front). If you’re using a reflector, angle it toward the front of your scene to let the light bounce directly onto your food. If you don’t have a reflector, you can also use a second Lume Cube RGB Panel Go as a fill light to soften any harsh shadows.
Using Side Lighting
Side lighting is a versatile technique that works in most food scenes. For this technique, you’ll want to position your light on a diagonal to your scene to direct your shadows where you want them. Just like in backlighting, raise your light up slightly above your scene and angle it downward. To adjust the amount of shadow on your food, experiment with different angles and moving your light source closer and farther away from your scene.
Soft vs. Hard Food Photography Lighting
Before you start shooting, you should have a vision for what you’d like your final shot to look like. Some scenes call for soft lighting (like a wedding cake shot), while others might call for more dramatic, structured lighting to highlight texture (like a still life of vegetables). The type of light and modifiers you choose will often depend on your subject, and it often takes some experimentation to find just the right light for your shot. No matter which type of light you choose, always make sure to use a diffuser to create a softened, natural line where the light and shadows meet.
Getting the Right Lighting Temperature
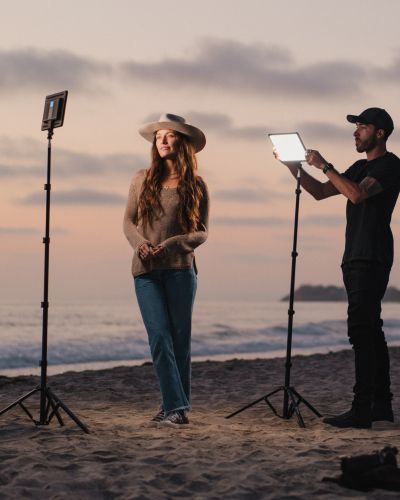
For both back lighting and side lighting, you’ll want to use a panel light that has adjustable temperature and brightness for maximum control over your scene, like the Lume Cube RGB Panel Pro or Lume Cube RGB Panel Go. Also make sure to turn off all indoor lights, especially if you’re using a constant light source. The color temperature of your indoor lighting might not match your light source, which could cause a color cast to seep into your images.
Our Favorite Food Photography Lighting Setup
Ready to get started with food photography? Here’s our favorite setup that produces high-quality, polished shots every time.
Key Light: RGB Panel Pro
Fill Light: RGB Panel Pro or RGB Panel Go
Modifiers: Panel Pro Accessories (honeycomb grid, barn doors)
Accessories: 5 ft Adjustable Light Stand