


Light painting photography is one of the most creative ways to transform an ordinary photo into a stunning work of art. By combining a long exposure with a moving light source, you can create glowing circles, dramatic wings, colorful trails, and eye-catching effects that look almost impossible to capture.
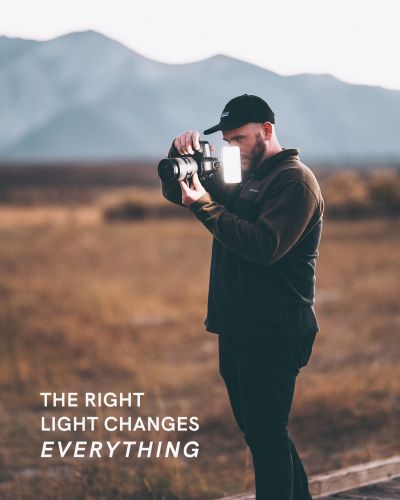
With a digital SLR, a Lume Cube Tube Light or RGB Panel Light, and a few simple techniques, you can create incredible light painting photos that stand out on social media, impress clients, and elevate your photography skills.
In this guide, we'll walk you through exactly how to create light painting images using your camera.
What Is Light Painting Photography?
Light painting is a long-exposure photography technique that captures the movement of light over time. Instead of freezing motion, the camera records the path of a moving light source, creating visible trails, patterns, and shapes within the image.
Photographers use light painting to create everything from abstract artwork and portraits to commercial photography and creative social media content.
What You'll Need
Before you begin, gather the following equipment:
- A DSLR camera
- A tripod or stable surface
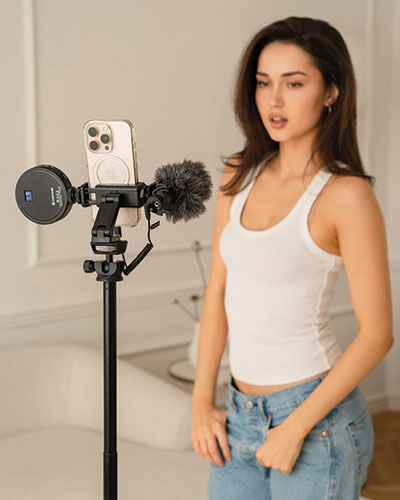
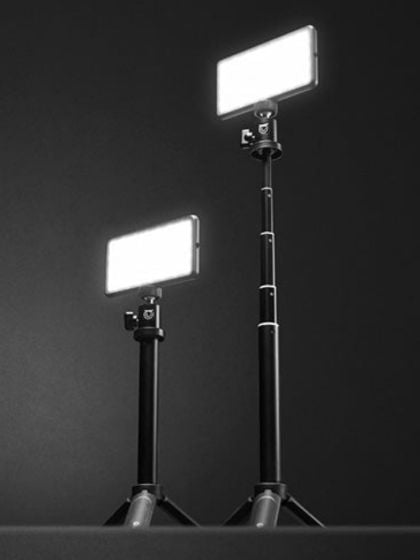
- A Lume Cube Tube Light or LED light source
- A dark environment or nighttime location
- A long-exposure camera app if needed
Keeping your camera completely still during the exposure is critical for sharp, professional-looking results.
Step 1: Set Up Your Scene
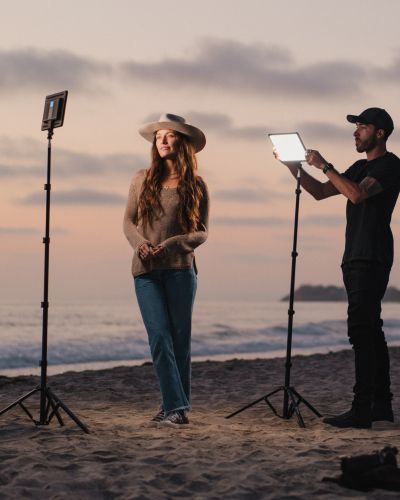
Start by choosing a location with minimal ambient light. Darker environments allow your light trails to stand out more clearly and create stronger contrast.
Position your subject in the frame and place your camera securely on a tripod.
Think about the effect you'd like to create before starting. Planning your movement path ahead of time will make it easier to create clean, consistent light trails.

Step 2: Enable Long Exposure
Light painting relies on long-exposure photography.
A longer exposure allows your camera to continuously record the movement of the light as it travels through the frame.
Many camera apps offer long-exposure modes, while some photography apps provide even greater control over shutter speed and exposure settings.
The goal is to give yourself enough time to move the light through the scene while the camera captures the entire motion.

Step 3: Create Your Light Painting Effect
Now it's time to get creative.
Turn on your Lume Cube Tube Light and begin moving it through the scene while the camera captures the exposure.
Smooth, controlled movements typically create the cleanest and most professional-looking results.
Try these popular light painting techniques:
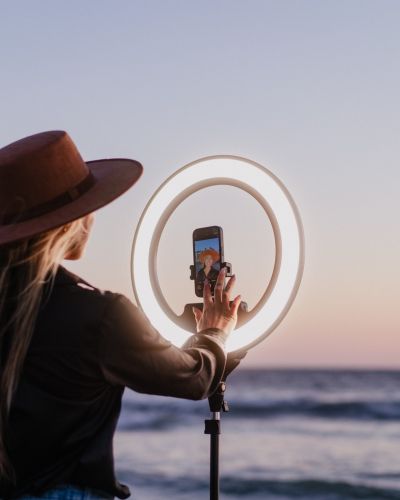
Create a Light Circle
Walk in a complete circle around your subject while holding the Tube Light vertically. This creates a glowing ring of light that surrounds the subject and instantly adds visual impact.
Create Light Wings
Move the light outward in curved motions behind your subject to create a dramatic wing-like effect.
Create Light Trails
Experiment with sweeping motions, spirals, zig-zags, and abstract shapes to create unique artistic effects.
Remember that every movement becomes part of the final image, so don't be afraid to experiment.

Step 4: Review and Refine
Light painting is often a process of experimentation.
After each photo:
- Review the shape of your light trails
- Adjust your movement speed
- Change your starting position
- Experiment with different colors
- Try longer or shorter exposures
Small adjustments can dramatically change the final result.
The more you practice, the more control you'll gain over the shapes and effects you create.

Pro Tips for Better Light Painting Photos
Shoot After Sunset
Dark environments allow your light trails to appear brighter and more vibrant.
Use a Stable Tripod
Camera movement during the exposure can introduce unwanted blur throughout the image.
Move Smoothly
Consistent motion creates cleaner and more professional-looking light trails.
Experiment With Colors
Different colors can completely change the mood and energy of the image.
Try Multiple Takes
Some of the best light painting photos happen unexpectedly. Experiment with different movements and techniques until you find a result you love.
Why Creators Love Using Lume Cube for Light Painting
The Lume Cube Tube Light is an ideal tool for light painting because it combines brightness, portability, and creative flexibility in a compact design.
Its vibrant output helps create bold, visible light trails, while its lightweight construction makes it easy to move through a scene. Whether you're shooting portraits, creating content for social media, or exploring creative photography techniques, the Tube Light gives you complete control over your lighting effects.
From glowing circles and dramatic wings to abstract patterns and artistic trails, the creative possibilities are virtually endless.
Start Creating Your Own Light Painting Photos
Light painting photography is one of the most fun and rewarding creative techniques you can learn. With just a camera and a Lume Cube Tube Light, you can create professional-looking images that capture attention and showcase your creativity.
Grab your light, find a dark location, and start experimenting. The more you practice, the more incredible your results will become.
Your next favorite photo might be just one light trail away.