How to Use a Ring Light for Video: Setup and Positioning for the Best Content Creation
When it comes to creating high-quality video content, lighting plays a critical role in the overall look and feel of your production. One of the most versatile tools for achieving professional lighting is the ring light. Popular among YouTubers, vloggers, and content creators, a ring light provides soft, even illumination that highlights your subject and minimizes unflattering shadows. Whether you're shooting videos for social media, product reviews, tutorials, or interviews, understanding how to use and position a ring light is key to producing the best content.
We’re going to walk you through some of our tips to get the best lighting from your Ring Light.
Why Use a Ring Light for Video?
A ring light is specifically designed to offer balanced lighting that surrounds your subject with soft, even light. Its design helps to eliminate shadows and adds a catchlight in the eyes, making them appear more vibrant and engaging. Here’s why it’s an ideal tool for video content creation:
- Soft, Flattering Light: A ring light reduces harsh shadows and evens out skin tones, making it perfect for beauty and makeup tutorials or talking-head videos.
- Minimal Setup: Unlike complex lighting rigs, a ring light is quick and easy to set up, making it a go-to for creators who need efficiency.
- Portable: Many ring lights, like the Ring Light Pro, are lightweight and portable, making them ideal for creators who work in different locations or need flexibility.

How to Set Up Your Ring Light for Video
Setting up your ring light is simple, but small adjustments can make a big difference in the quality of your video. Here’s how to get started:
Choose the Right Ring Light
The first step is selecting a ring light that fits your needs. The Ring Light Pro is the best cordless ring light on the market. It comes with adjustable brightness and color temperature settings, allowing you to customize the lighting for different environments.
Mount Your Camera or Phone
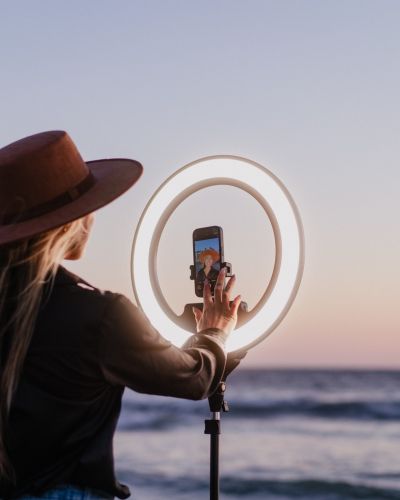
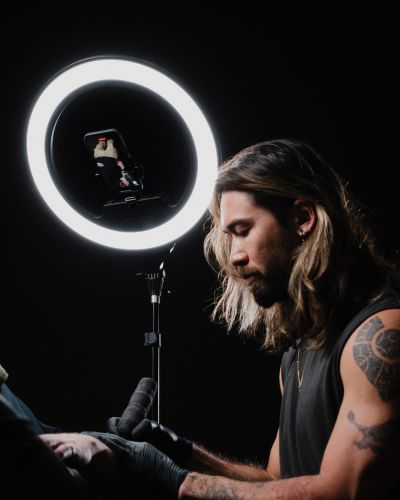
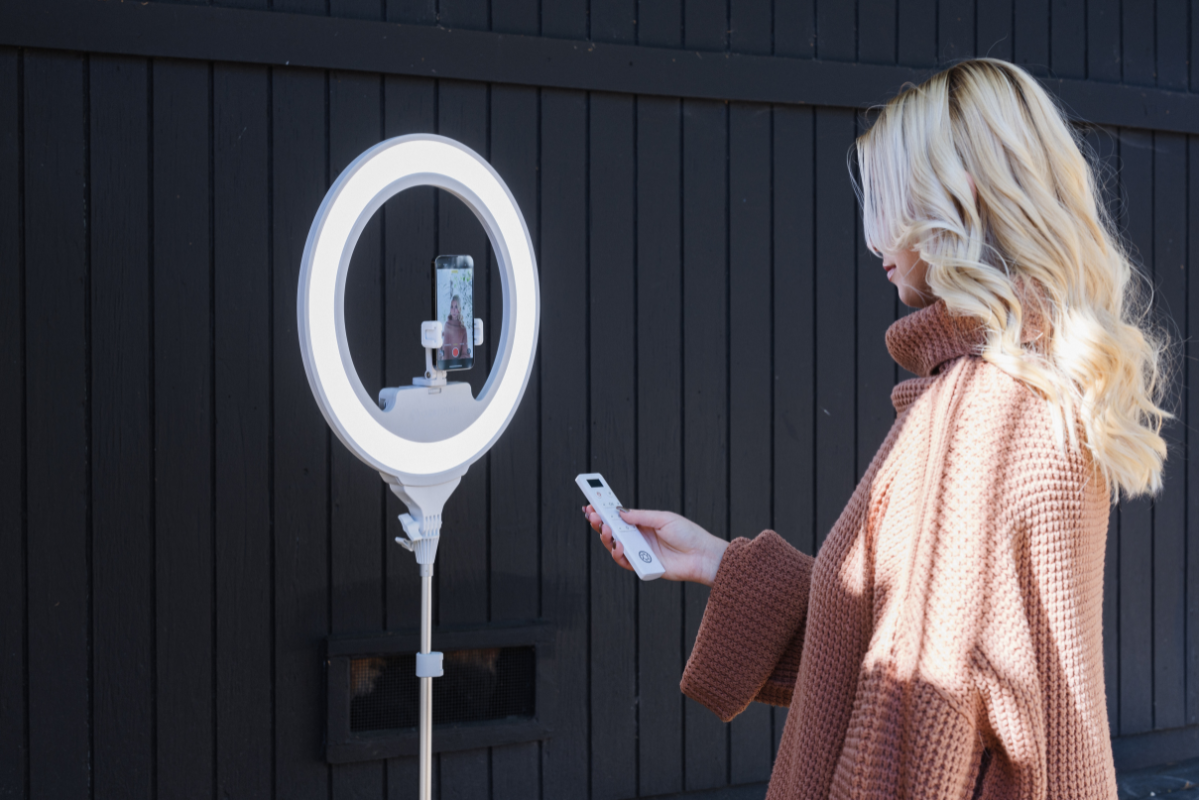
The Lume Cube Ring Light comes with a camera or phone mount in the center of the ring. This ensures that the light is evenly distributed around your subject and directly in line with your camera. If your ring light doesn’t have a built-in mount, position your camera or phone directly behind the center of the ring.
Pro Tip: Make sure your camera or phone is securely mounted and level to avoid any unwanted tilting or movement during your video shoot.
Adjust the Height
The height of your ring light should match the subject you’re filming. For portrait videos or talking-head shots, position the ring light at about eye level. If you're filming close-ups of products, adjust the height accordingly to ensure even lighting across the subject.
Pro Tip: Ensure the light is tilted slightly downward toward your subject. This creates a more flattering angle by reducing the appearance of shadows under the eyes and chin.
Set the Brightness and Color Temperature
Ring lights often come with adjustable brightness and color temperature settings, allowing you to control how much light is on your subject and the warmth or coolness of the light.
- Brightness: For well-lit rooms or daylight shooting, a lower brightness setting may suffice. In low-light environments, increase the brightness to ensure your subject is clearly visible.
- Color Temperature: Adjust the color temperature depending on your environment. For a warm, cozy look, set the light to a lower temperature (around 3200K). For a clean, professional look, set it to a higher temperature (around 5600K) to mimic daylight.

Best Ring Light Positions for Content Creation
Positioning your ring light correctly is essential for achieving the best results. Depending on the type of content you’re creating, different setups will work better. Here are some recommended positions:
Classic Front Position (Directly in Front of You)
The most common position for a ring light is directly in front of your face or subject, with the camera positioned in the center of the ring. This setup is ideal for beauty tutorials, product reviews, and any video where your face is the primary focus.
How to Set It Up:
- Place the ring light at eye level, around 1-2 feet in front of you.
- Keep your camera or phone centered within the ring for balanced lighting on your face.
- Adjust the light’s brightness and color temperature to match your environment.
Side Lighting for Depth
If you want to create more depth in your video, try positioning the ring light at a slight angle to the side of your subject. This will cast subtle shadows on one side of the face, adding dimension and a cinematic feel to your shot.
How to Set It Up:
- Place the ring light slightly off-center, at a 45-degree angle from your subject.
- Position the camera in front of the subject, but keep the ring light to one side to create contrast.
- Adjust the brightness so the shadows aren’t too harsh.
Pro Tip: This technique is great for interviews or videos where you want a more dramatic look. You can also experiment with fill lighting on the opposite side for a balanced, professional feel.
Backlighting for a Halo Effect
If you want to create a halo effect around your subject, place the ring light behind the subject. This can be useful for artistic videos or creative shots where you want to highlight the silhouette or edges of your subject.
How to Set It Up:
- Place the ring light behind your subject, with the light aimed toward the camera.
- Use a second light source in front of your subject to illuminate the face or product, as the ring light will primarily be used for backlighting.

Common Mistakes to Avoid When Using a Ring Light
While ring lights are simple to use, there are a few common mistakes to watch out for:
- Overexposure: If your ring light is too bright, it can wash out your features or overexpose your subject. Always test your lighting before recording and adjust the brightness accordingly.
- Uneven Lighting: Make sure the ring light is positioned symmetrically around your face or subject to avoid uneven shadows or hot spots.
- Incorrect Height: Placing the ring light too high or too low can create unflattering shadows. Ensure it’s positioned at or slightly above eye level for the best results.
A ring light is one of the most versatile and essential tools for video content creation, providing soft, flattering lighting that enhances your subject and eliminates harsh shadows. By properly setting up and positioning your ring light, you can take your video quality to the next level, ensuring that your content looks professional, engaging, and polished. Whether you’re filming makeup tutorials, product reviews, or interviews, a ring light like the Ring Light Pro will help you create visually stunning content that stands out from the crowd.
Explore our collection of ring lights to find the perfect lighting solution for your next project.


