

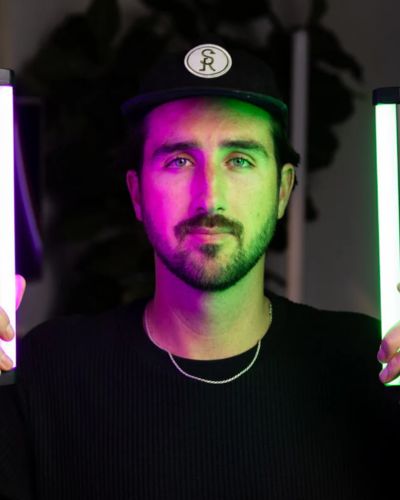

Hey guys, Trevor here from Lume Cube! We are out at the Sand Dunes waiting for the sun to go down where we will get into some long exposure photography, otherwise known as light painting photography.
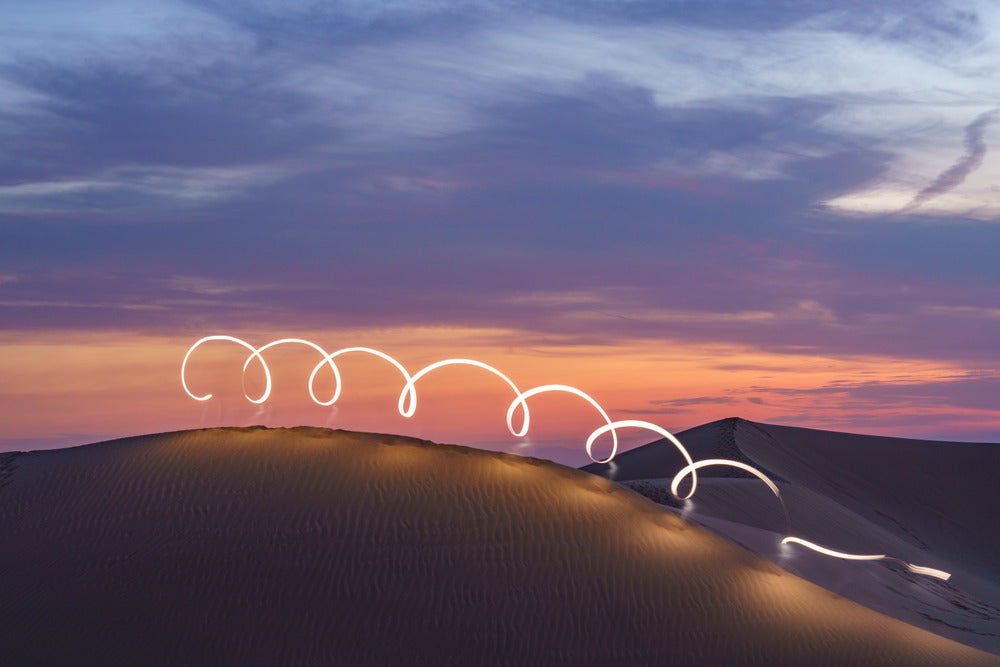
So what exactly is long exposure photography? Long exposure photography is taking a photo that lasts anywhere from one to thirty seconds, or sometimes even more. It makes all the moving objects in your photo blurred out and all the static objects sharp and in focus.
This is where light painting comes into play when you can use a light source, like a Lume Cube, to create some really fun and engaging visuals. Now, let's go over all the gear you'll need to shoot exposure photography and light painting photography!
Gear You Will Need

#1 Camera with Manual Settings
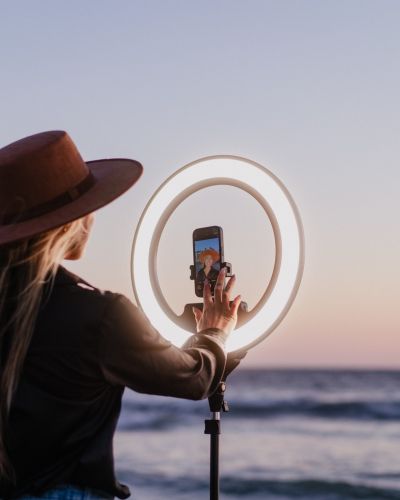
The first thing you will need is a camera that is capable of manual settings. Right now, my favorite camera for long exposure photography is a Sony a7R III, but any DSLR will likely do. Even some smartphones now can shoot long exposure photos.
#2 Tripod
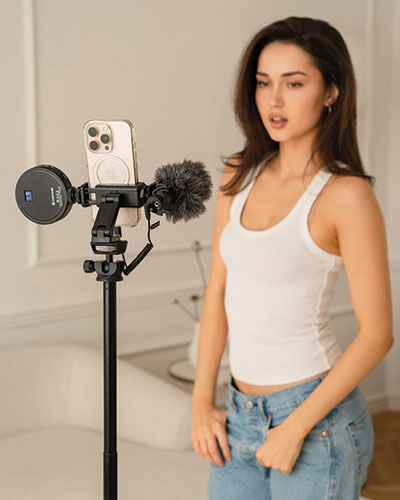
Since we are shooting longer exposures, like 30-second photos, you will need a tripod to keep your camera nice and steady or else you’ll end up with some blurry and not very good-looking photos.
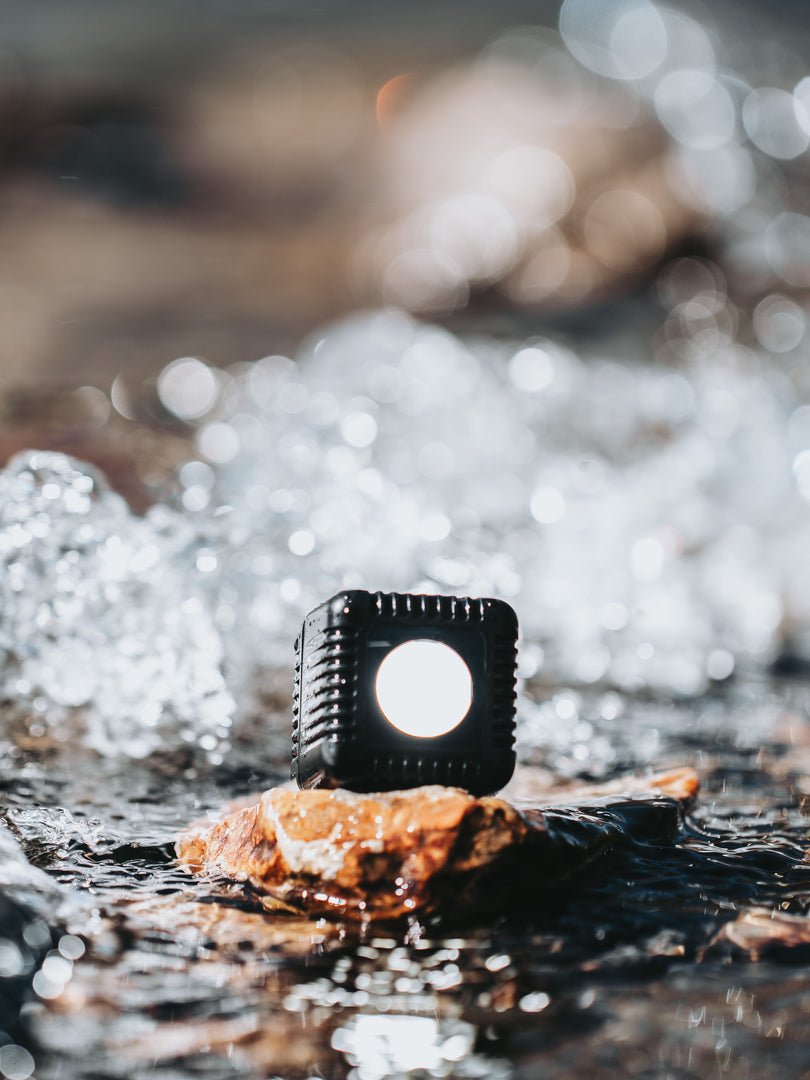
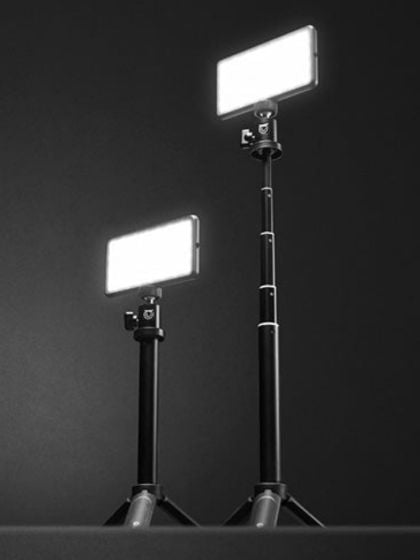
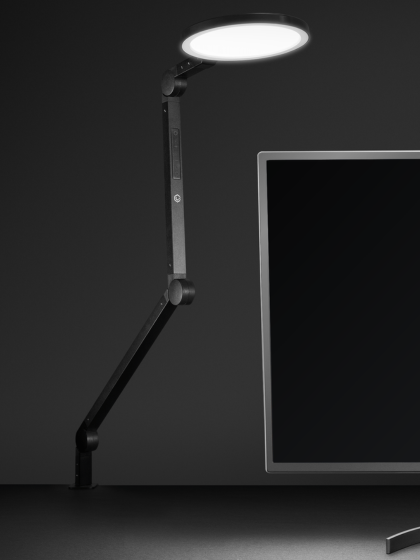
#3 Light Source
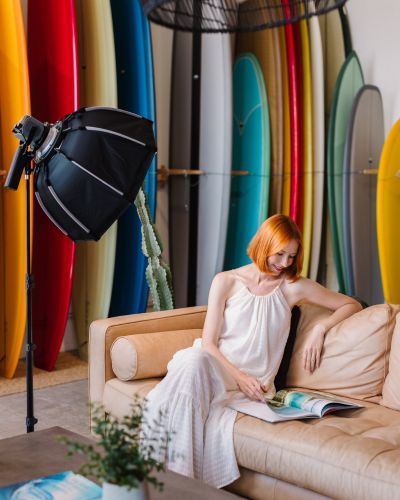
The third thing you will need is a light source, especially if you want to do light painting. Lume Cube’s LEDs are specifically designed to help creators craft incredible visuals with light, like the Lume Cube 2.0 or the Panel Pro. If you don't have any Lume Cube gear you can always use your iPhone’s flashlight or you can start out shooting car tail lights that drive by, like I did.
Now let’s dive into some basic camera settings. As a reminder, these settings are what I like to start with and are not always going to work exactly right in all situations. Long exposure photography is a game of shooting and adjusting, so these are the settings you can start with. Then when you feel comfortable, read your scene. See if you want to adjust shutter speed, ISO or aperture to get the photo that you're looking for.
#4 ISO
So first is ISO, if you don't know what ISO is, it's essentially your camera's sensitivity to light. The higher ISO, the brighter your image will be but it also introduces some noise or grain into your image.
#5 Aperture
Next is aperture. This is essentially how much light your lens is letting into your camera. The lower the aperture, the brighter the image will be or the more shallow depth of field you will have. If you shoot at f14, more things will be in focus but your image will be darker.

#6 Shutter Speed
Shutter speed is the most important setting you’ll want to focus on. You really want to think, “how much time do I need to let my subject pass through my image?” if you're doing light painting or whatever you're capturing. You can start off of the shutter speed of around 10, 15, or 20 seconds and then adjust from there.
#7 Timer Mode
Lastly, before you start shooting, make sure you put your camera timer mode. This will make sure you don't have any camera shake. Essentially, every time you press your camera’s shutter there is a little bit of movement when you pull your hand off. Putting it on a two or five second timer will ensure that you are not touching your camera anymore and you will have a smooth and sharp image.
Now that we have our camera set up and we understand the settings that we are shooting in, we can start to play with some lights. Once you introduce lighting into your image, there are endless creative possibilities and today we will focus on three different techniques that you can try right off the bat.
Light Painting Techniques

#1 Drawing with Light
For technique number one, we will be drawing with light. Find someone with good handwriting and have them write out their name, draw a picture, or create something visually pleasing with a light source. For this, you will want to find a light that has a low light setting. We used the Lume Cube 2.0 because if you hold both buttons for three seconds, it drops into a low light mode. What this allows you to do is draw with light without blowing out your image.

#2 Light Flooding
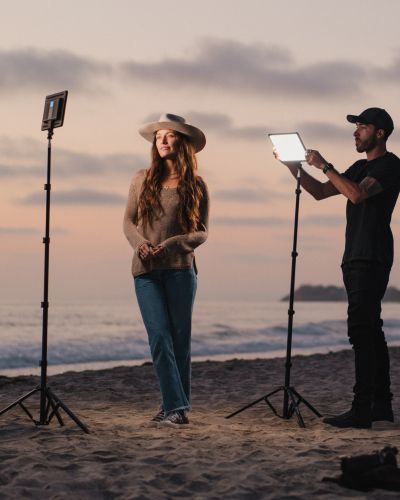
The second technique is basically flooding your scene with light. Now this is more about lighting up an entire area with an even spread of light, compared to the previous technique which was more about drawing with lines of light. For this, we will be using a Panel Pro, which is our most powerful light in our line, to light up an entire area.

#3 Light Spinning
For technique number three, we will be spinning with lights. What we did here is we tied a Lume Cube 2.0 to the end of a string and essentially spun it around in different ways. This creates a cool lighting effect where you can make halos or even create some orbs around the person that is spinning them.
Well there you have it, long exposure photography and light painting 101! We hope this helped you to get a better understanding of long exposure photography and light painting, probably the most fun you can have with a camera. If you go out there and creative long exposure photos, be sure to tag us on Instagram (@lumecube), we would love to see what you create!