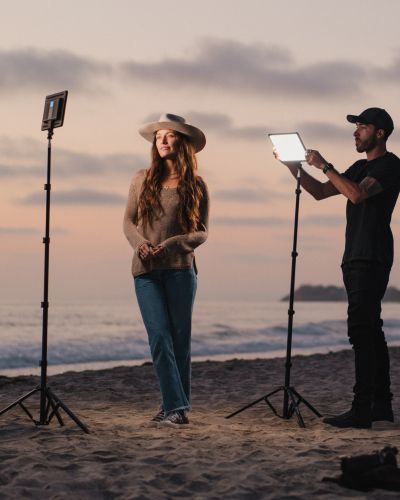

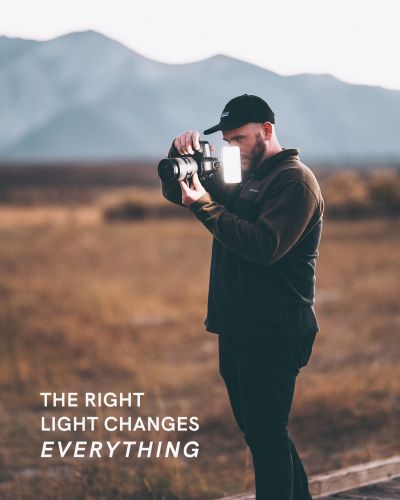

When I’m creating travel visuals, lighting is never an afterthought — it’s part of the story. And the best part is, I do all of this with just one light.
Whether I’m shooting in snow, mountains, or remote locations, these are the three lighting techniques I rely on to add depth, emotion, and intention to my travel content.
1. Create Depth With Light Placement
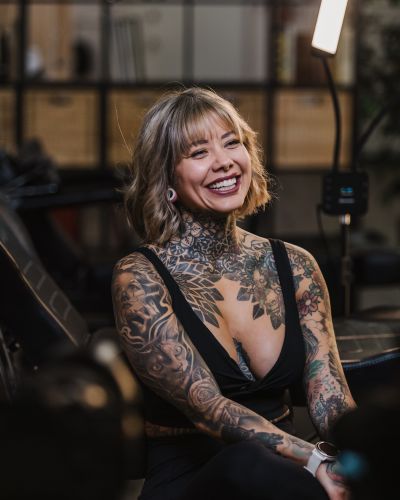
One of the biggest differences I see in my visuals comes down to where I place my light.
If I light my subject straight on, it does the job — but the result feels flat. Everything is evenly lit, and there’s very little dimension.

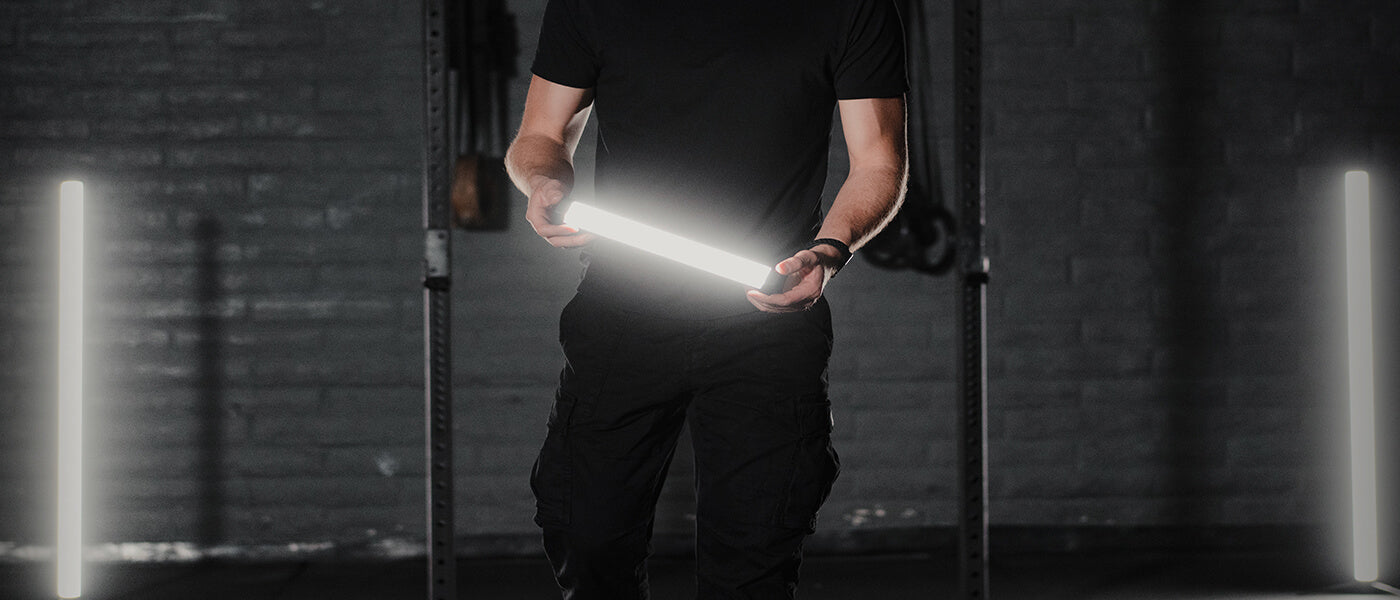
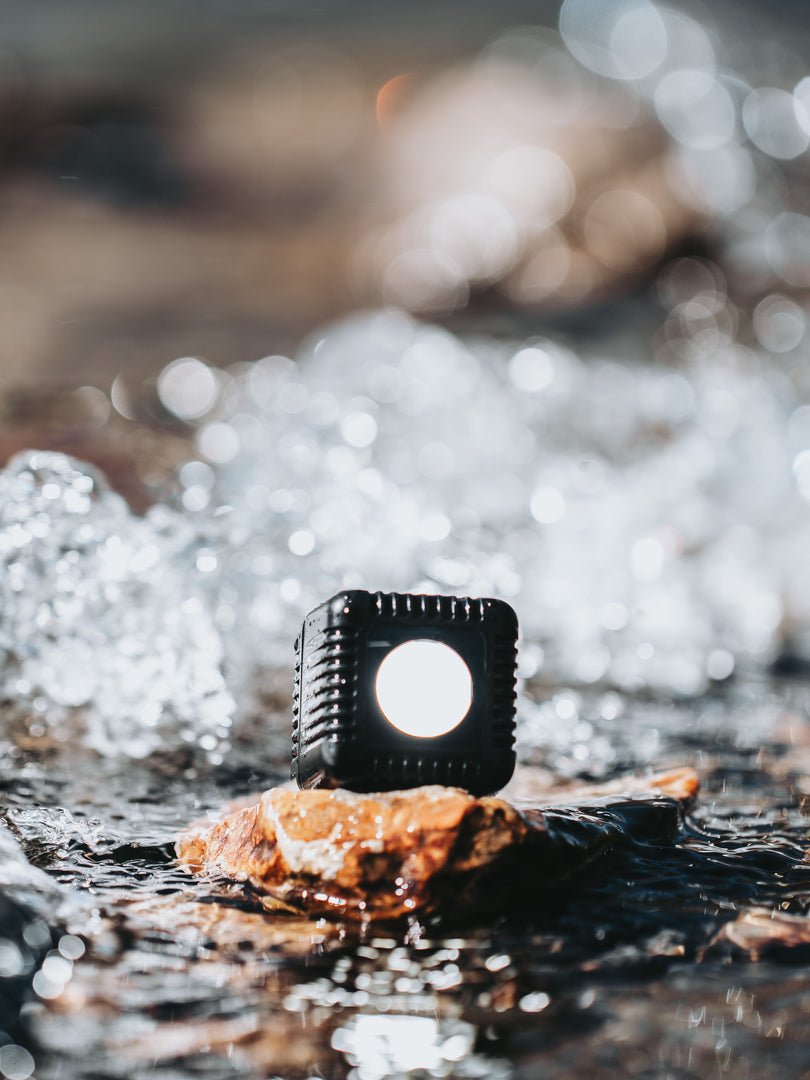
Instead, I’ll usually place my Lume Cube RGB Tube Light Mini at around a 45-degree angle to the face. This instantly creates more depth. One side of the face is lit, the other falls into shadow, and I often get a subtle Rembrandt triangle on the shadow side.
That small shift:
-
Adds shape to the face
-
Creates contrast naturally
-
Produces a soft eye light without lighting the whole face
It’s a simple change, but it completely transforms the shot.

2. Match or Contrast Color Temperature Depending on the Scene
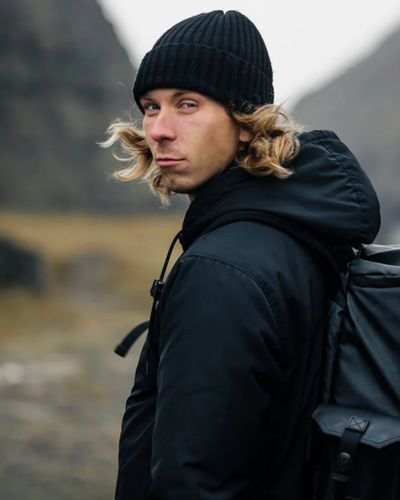
Color temperature is something I’m always thinking about, especially when I’m shooting in environments like snow.
In one scene, the background was completely white, so I set my Lume Cube RGB Tube Light Mini to white as well. I used it as a practical light — something that exists naturally within the frame. In this case, the light acted as a metaphor for lighting the way, which was the theme of the video.
Because the light matched the environment, it blended into the scene rather than competing with it.
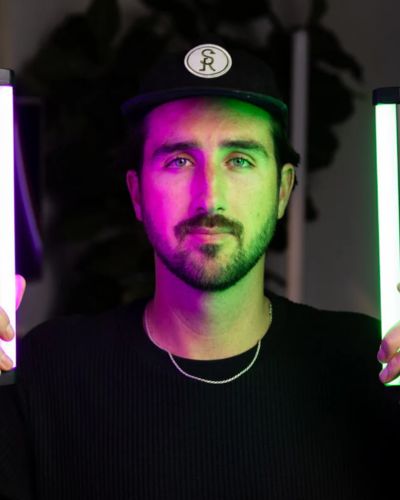
In another shot, the environment was still a whiteout — snow everywhere — but this time I chose to contrast instead. I set the Lume Cube to a warm orange hue, which immediately drew attention to the center of the frame.
With a cool, blue-toned background and a warm light in the middle:
-
The subject stands out
-
The frame feels more intentional
-
The viewer’s eye knows exactly where to look

3. Use Light Intentionally to Support the Story
For me, lighting isn’t just about exposure — it’s about meaning.
Before I place a light, I always ask myself what I’m trying to say with the shot. How can the light support the story I’m telling?
In one of my scenes, the theme was lighting the way. I placed the light above me and looked up toward it. Yes, it added detail and gently lit my face — but more importantly, it became a symbol within the frame.
The light wasn’t just lighting the scene. It was part of the narrative.
That’s what intentional lighting looks like.

The Key Takeaway: You Only Need One Light
Everything you’ve seen here — creating depth, controlling color, and using light with purpose — can be done with one portable light.
It’s not about how much gear you have. It’s about:
-
Where you place the light
-
How you use color
-
And why the light is there in the first place
When lighting serves the story, your visuals instantly feel more cinematic — no matter where you’re shooting.
To see more of Lucy's incredible work, check out her Instagram or her YouTube Channel