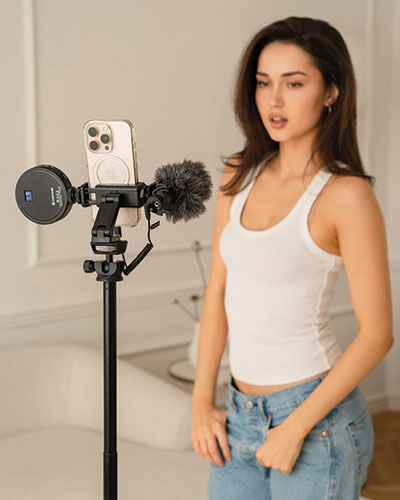

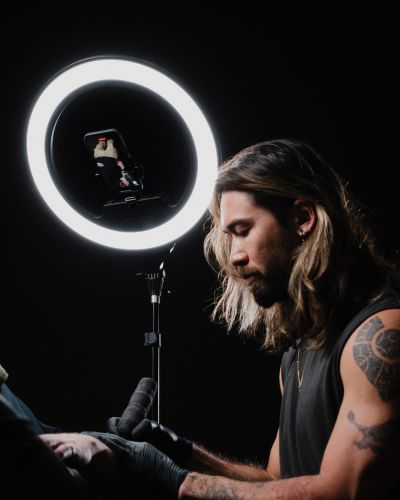
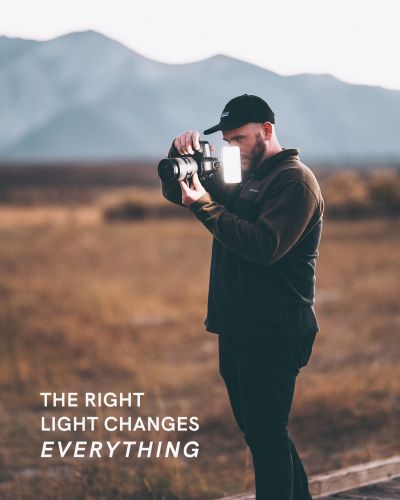


Light has the ability to be a literal paintbrush when it comes to filmmaking. Whether you're recording a dramatic moment or adding stylized VFX later in post production, lighting is always where the story truly begins. Here are a few simple lighting tips from Filmmaker and Storyteller, Jason Neistadt, on how to use his favorite Lume Cube gear to elevate his visuals and create everything from cinematic portraits to full-on superhero energy.
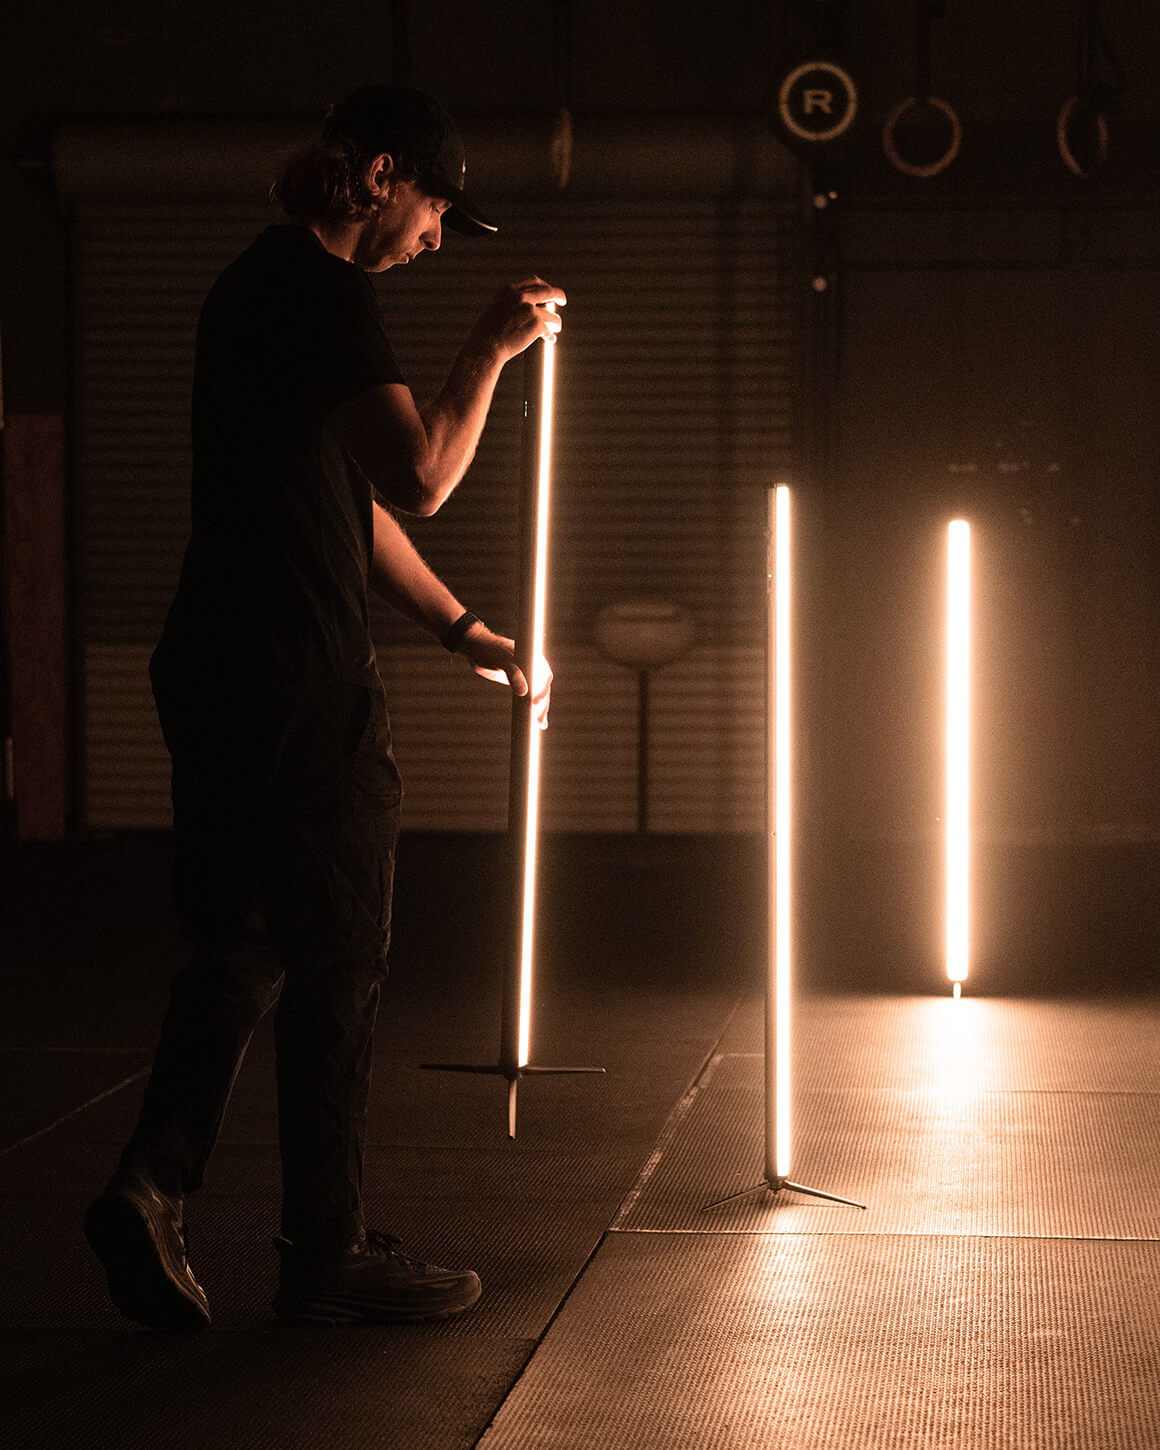
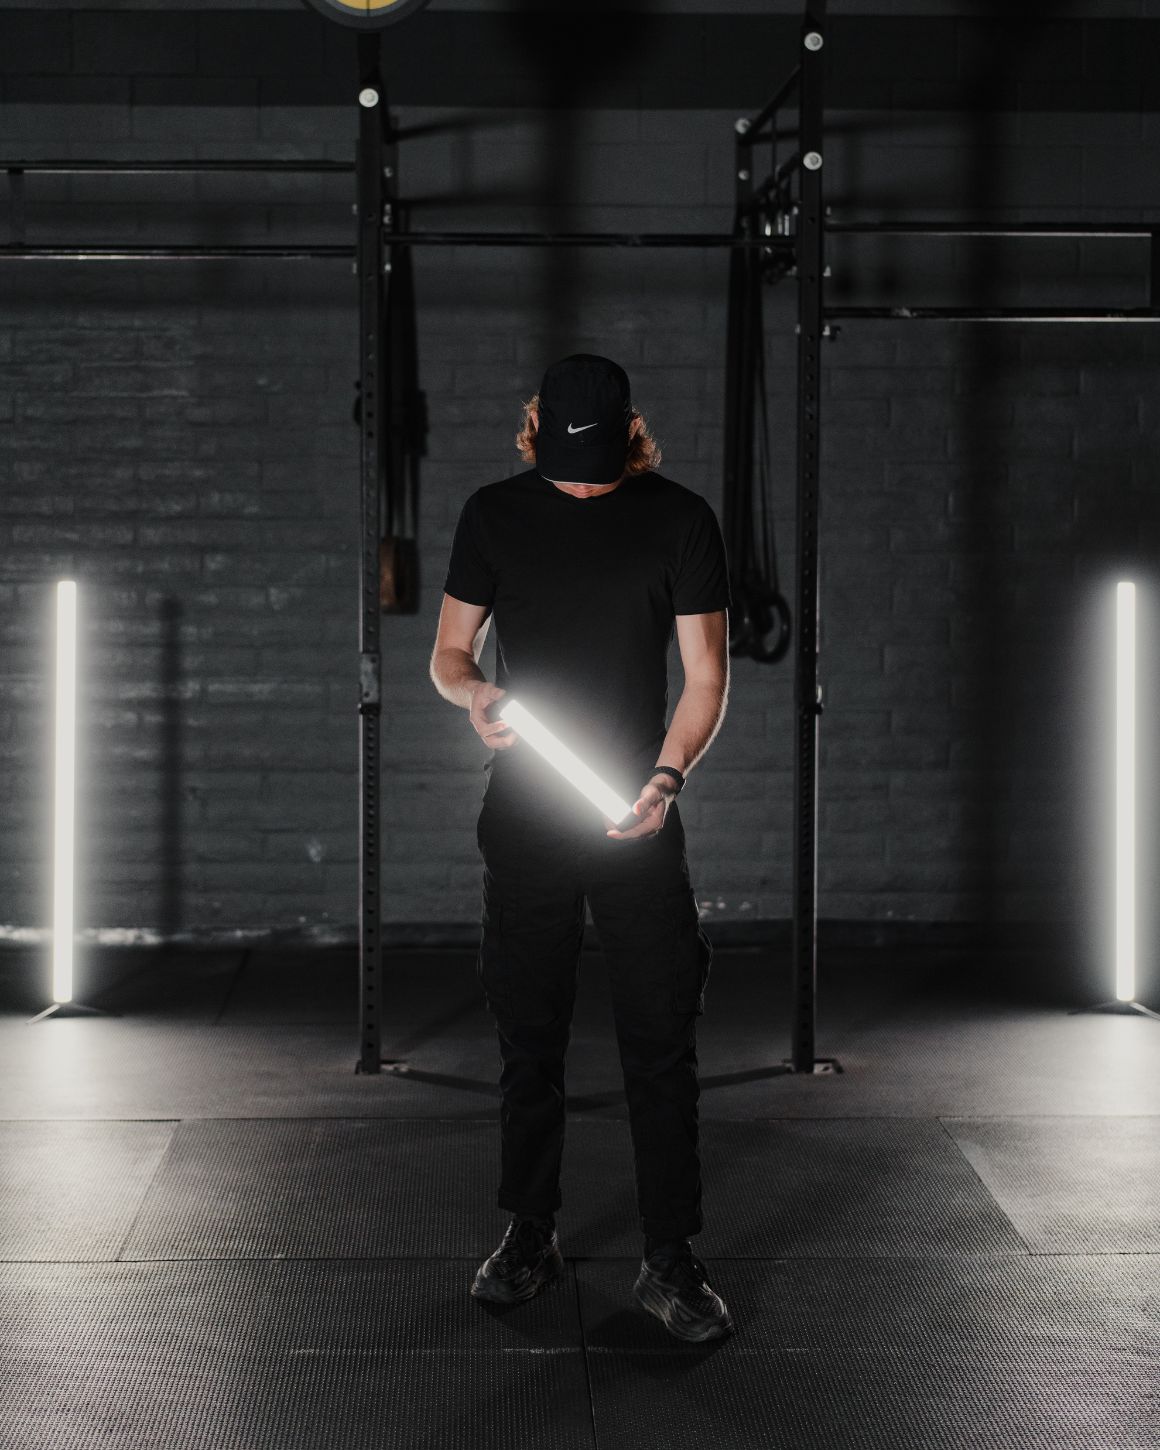
Tip #1 - Start With A Single Tube Light
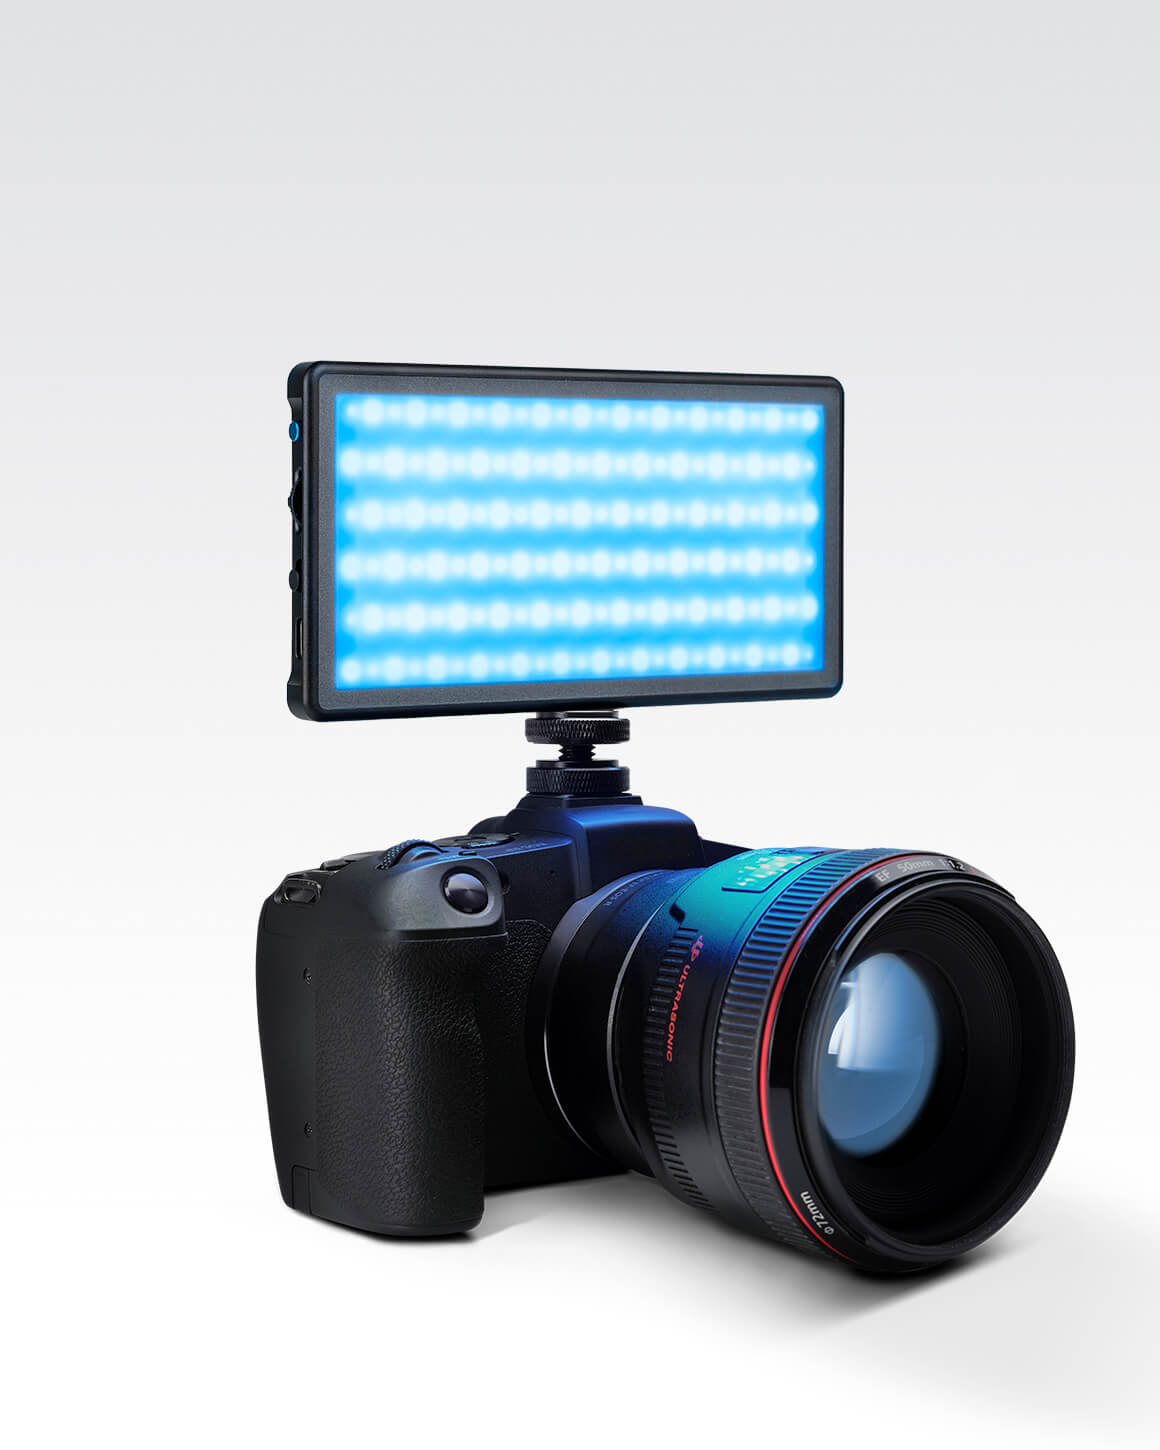
One light can dramatically shape your subjects face. For most close-ups, Jason will position a Tube Light Mini and a Tube Light XL slightly off to the side - which acts as a beautiful key light with soft fall-off. In a recent scene, he used Tube Lights as a practical light on his face. Then in post-production, he transformed it into a glowing lightsaber. Though trial and error, Jason discovered that the Lume Cube Tube Lights make it incredibly easy to create visual effects that look amazing. The Lesson: Light realistically first and style after.

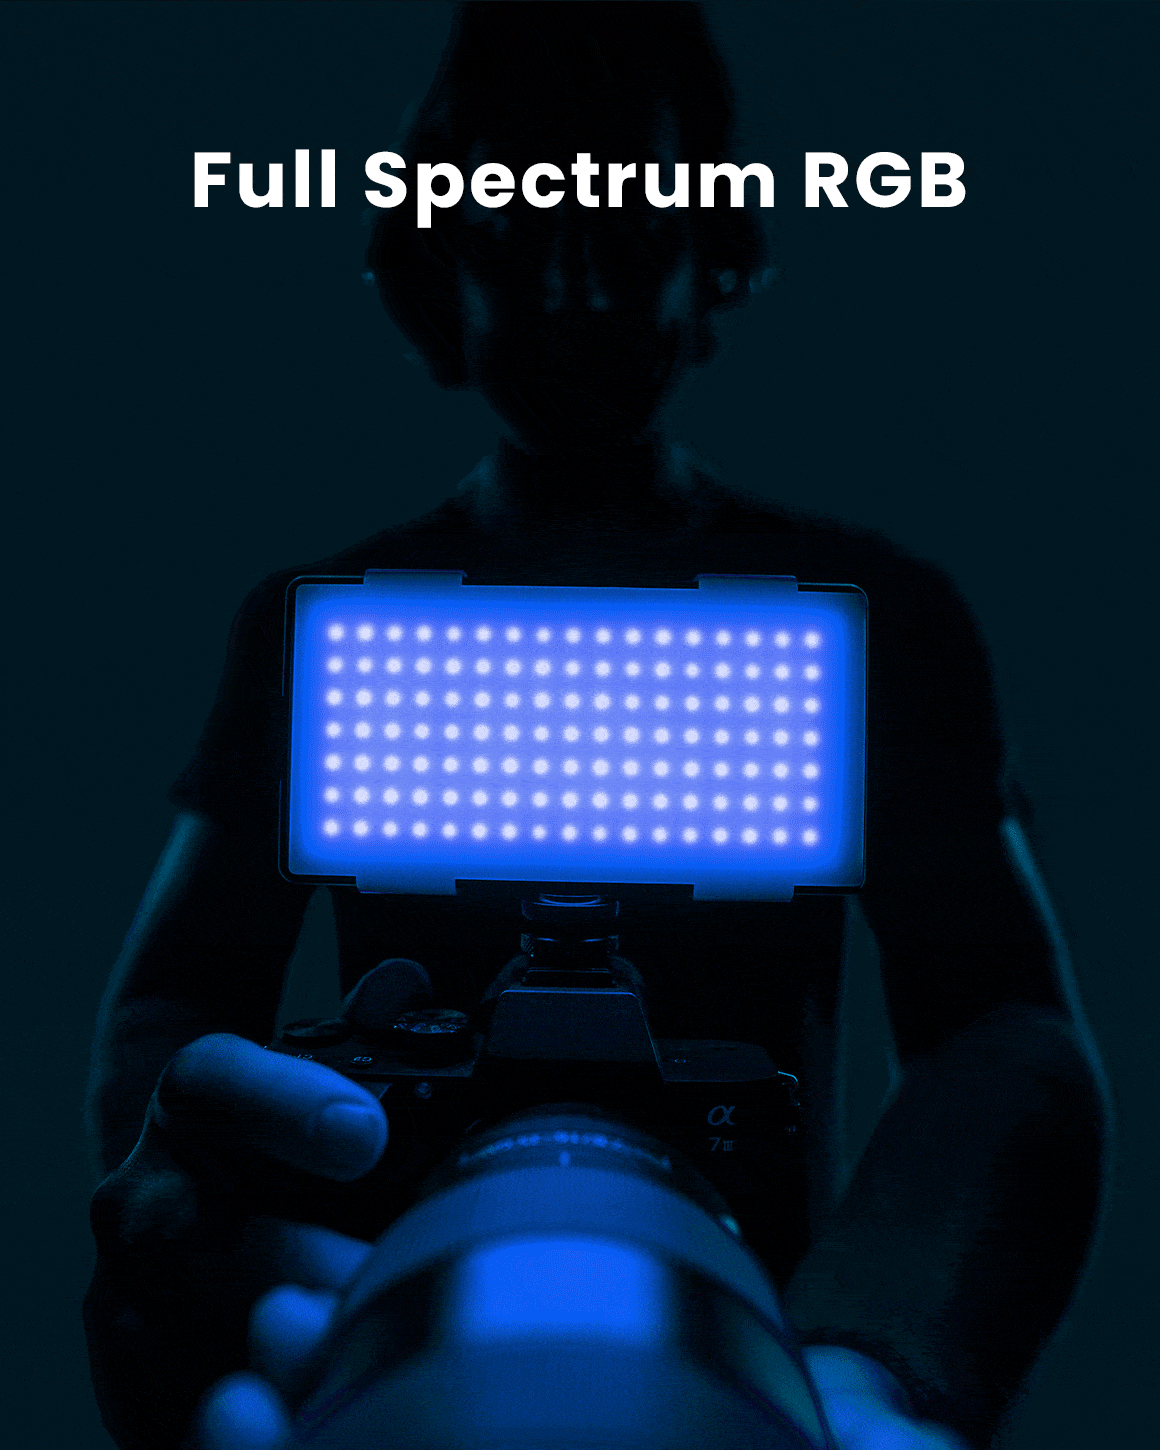
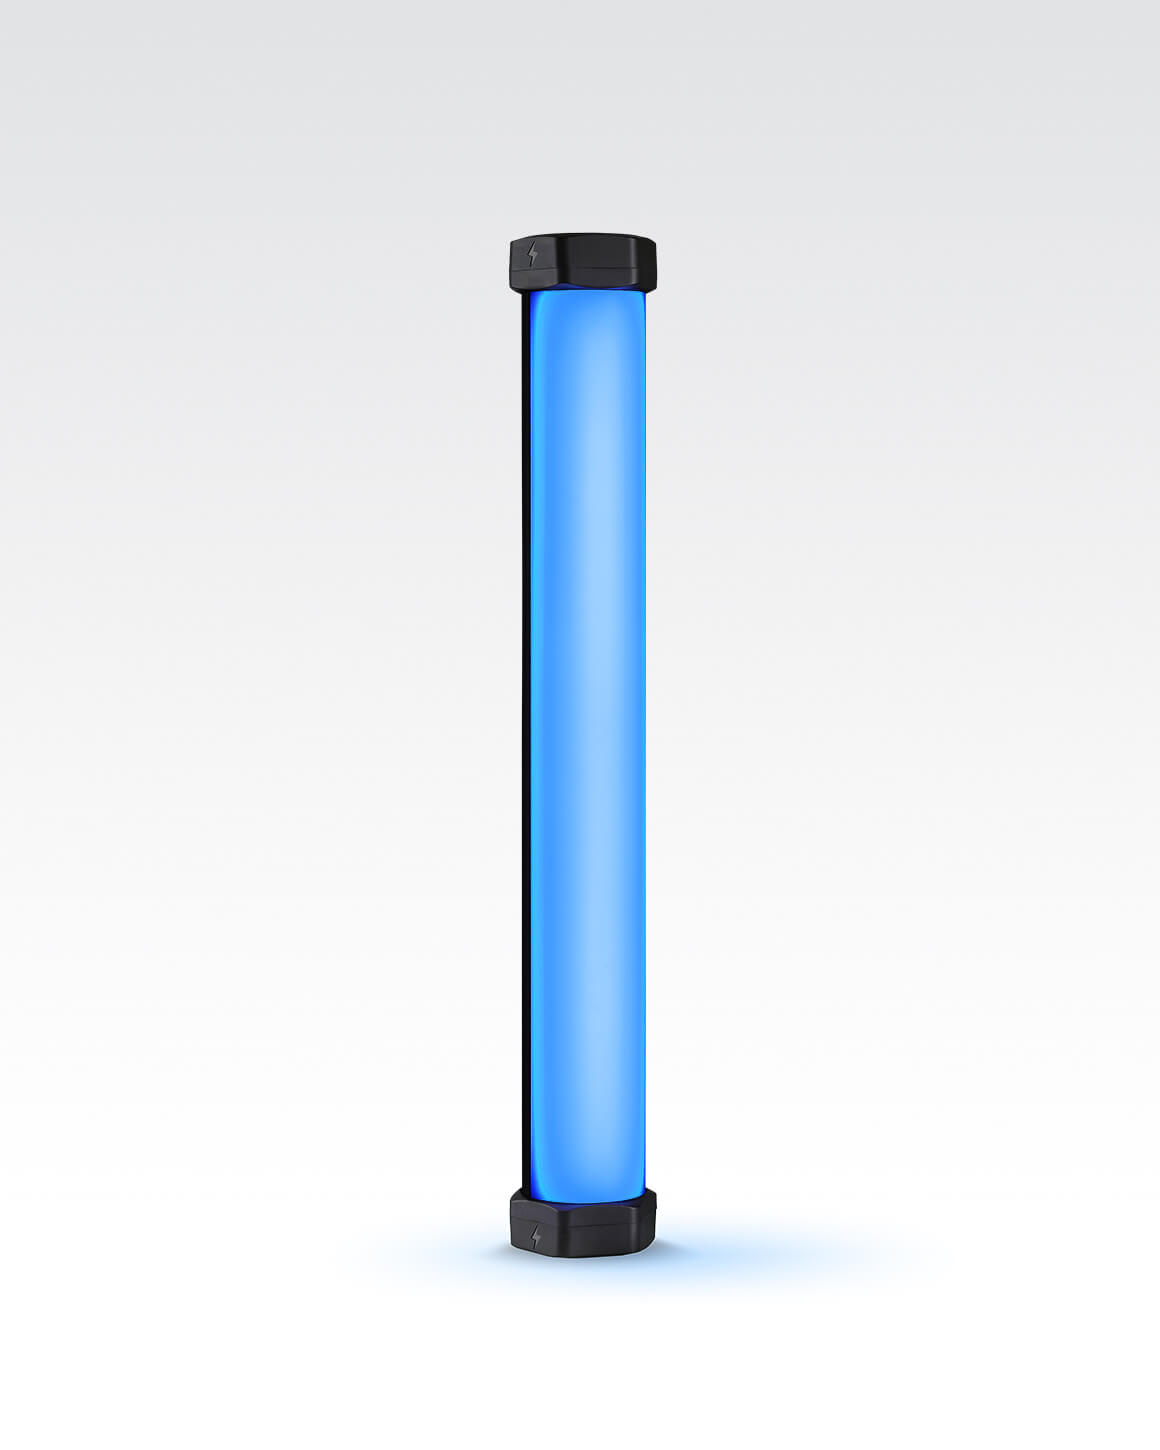
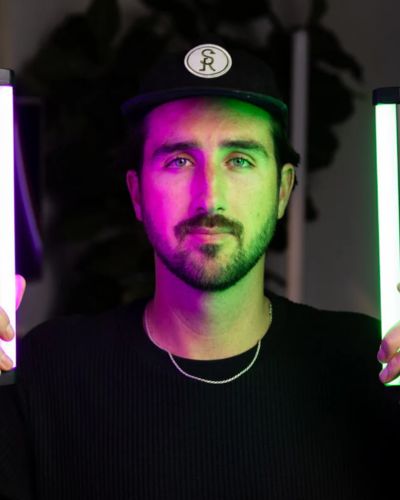
Tip #2 - Use Bold Color For Hero Moments
Throw a deep-red Tube Light Mini just off-axis when you want something to feel powerful or dangerous. Jason recently used red lighting on his face, then digitally added a laser-beam effect from his eyes. It looked like the laser beams were emitting that light back into my face. Result: The lighting grounded the VFX, so it felt real, not fake. The Lesson: Color = Emotion

Tip #3 - Lightning Fast VFX Starts With Real Light
Jason created scenes where electricity ripped across his body - but that look began with practical rim lighting. To achive this, he placed a Panel Pro 2.0 behind him to create a glowing outline, then added animated lightning in post-production. Without that rim light, the VFX would have looked sticker-flat. The Lesson: Always give your effects a light source to react to.

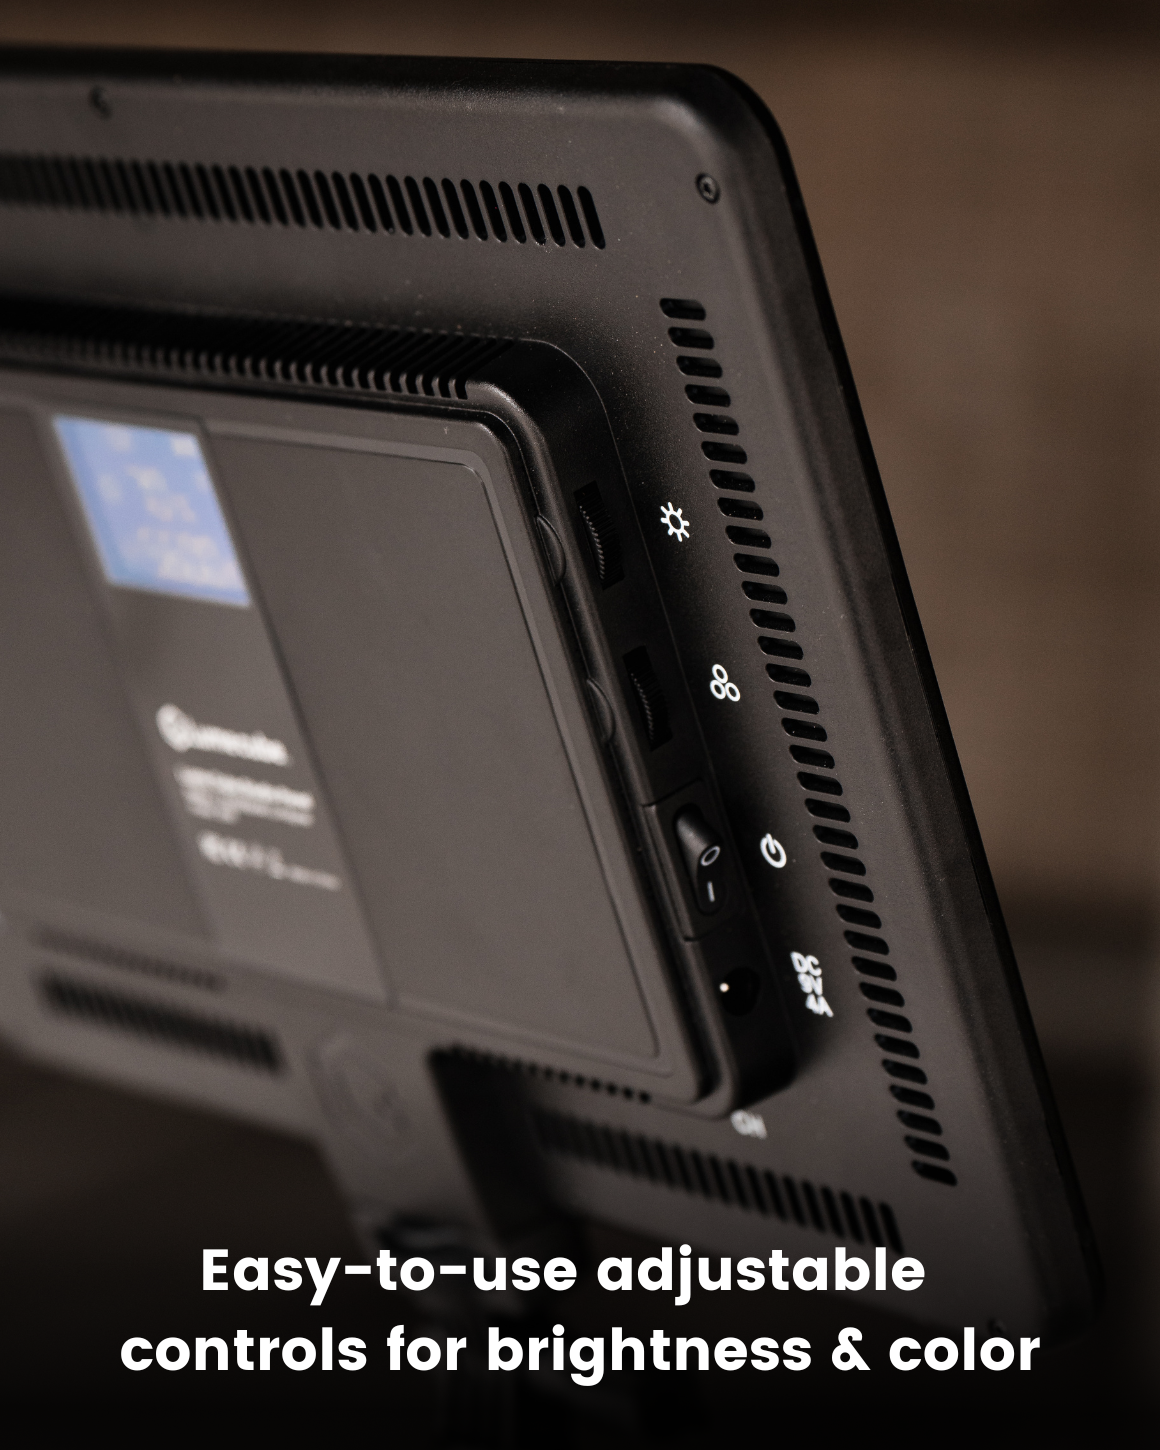
Tip #4 - Add Separation With Blacklight
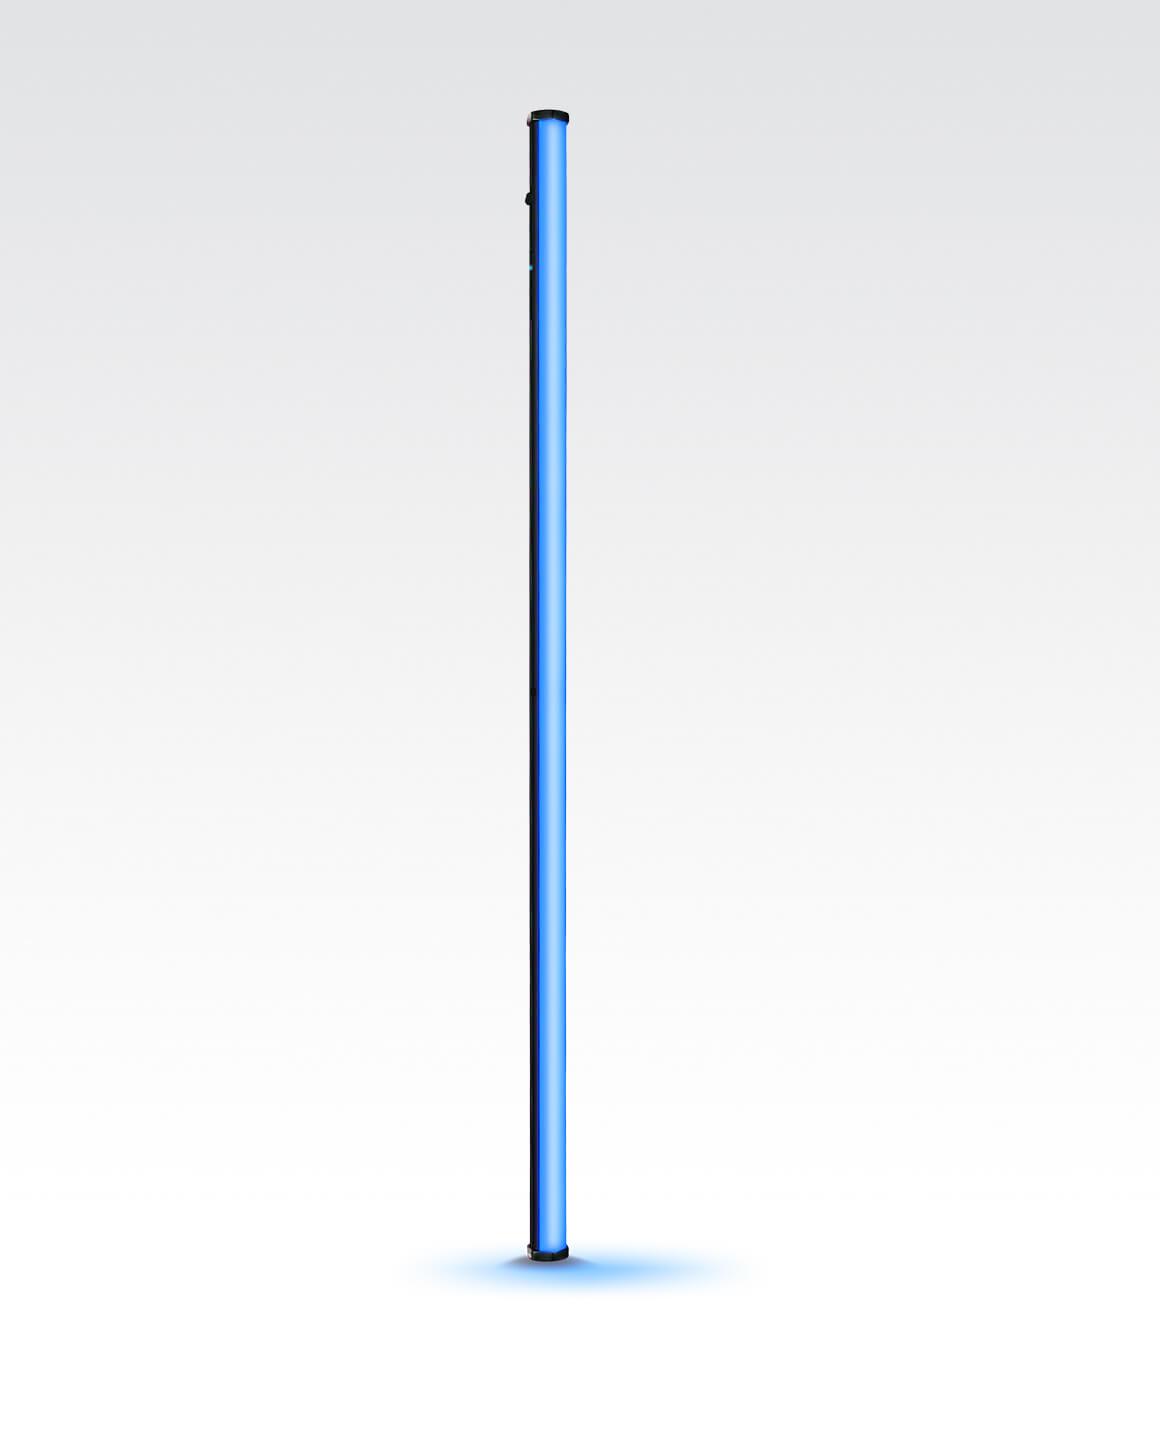
Backlighting is one of the fastest ways to make a scene feel cinematic. Place a Tube Light XL behind your subject to carve them out from the background and add depth - especially outdoors near trees, rocks, or walls.Even a subtle edge light makes your subject pop.
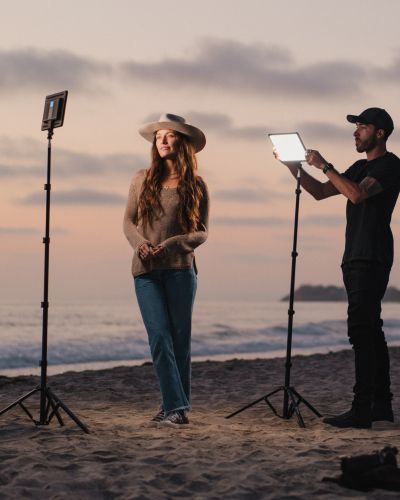
Tip #5 - Build A Simple 3-Point Setup
Point #1 - Key Light
(this acts as the main light shaping the face)
• Tube Light Mini
• Studio Panel
• Tube Light XL
Point #2 - Fill Light
(this will soften any shadows)
• Panel Pro 2.0
• Studio Panel
Point #3 - Backlight
(this will add separation and glow to your sujbect)
• Tube Light Mini
• Tube Light XL
• Lume Cube XL
• Lume Cube 2.0