


Hey guys, my name is Trevor and I am here to break down the art of Macro Photography! In my opinion, Macro Photography is one of the most mind-blowing forms of Photography where you can find small objects, shoot them up close, and make them appear clear & life-size.
There can be some nuances with macro photography that make it a little harder to capture a perfectly crisp macro shot. So in this blog, we will go over some tips on how to get great macro shots, as well as the gear that you need to start shooting today.
Tip #1: Macro Photography Camera & Lense
So first off, what gear do you need to shoot macro photography? Obviously, you’ll need a camera. You can use anything from a DSLR to a smartphone but the most important thing is the lens. You’ll also need a macro lens to get up close and personal with your subject. Without a macro lens, your camera has a minimum focusing distance that isn’t considered ‘macro range’. Macro lenses have a very close, minimum focusing distance. Macro lenses have what's called a one-to-one to one magnification range where it makes small objects appear very big and lifesize. Some Macro Lenses I recommend are Canon RF 100mm f/2.8L Macro IS USM Lens or the Sony FE 90mm f/2.8 Macro G OSS Lens.
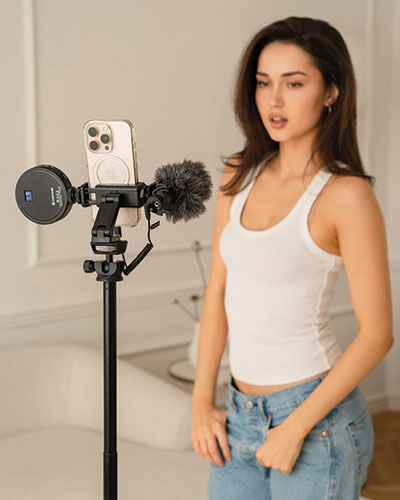
Tip #2: Get a Camera Tripod
The second piece of gear you'll want when starting out is a tripod. Shooting on a tripod will allow you to have more stability so you can slow things down and control your shutter speed better. If you’re shooting handheld you likely don’t want to shoot below a 1/100th of a second shutter speed. On a tripod though, you can lower that down which gives you more flexibility with your settings. Using a tripod also allows you to nail your focus. In the macro world, focusing can be difficult since your subject is so small, adding a stable tripod allows you to focus in a controlled way. My favorite tripod right now is Peak Design’s Travel Tripod.
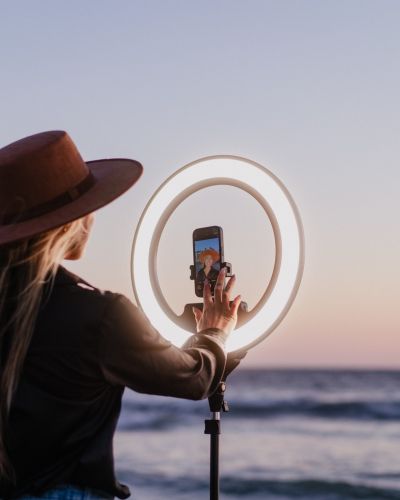
Tip #3: Use a light source
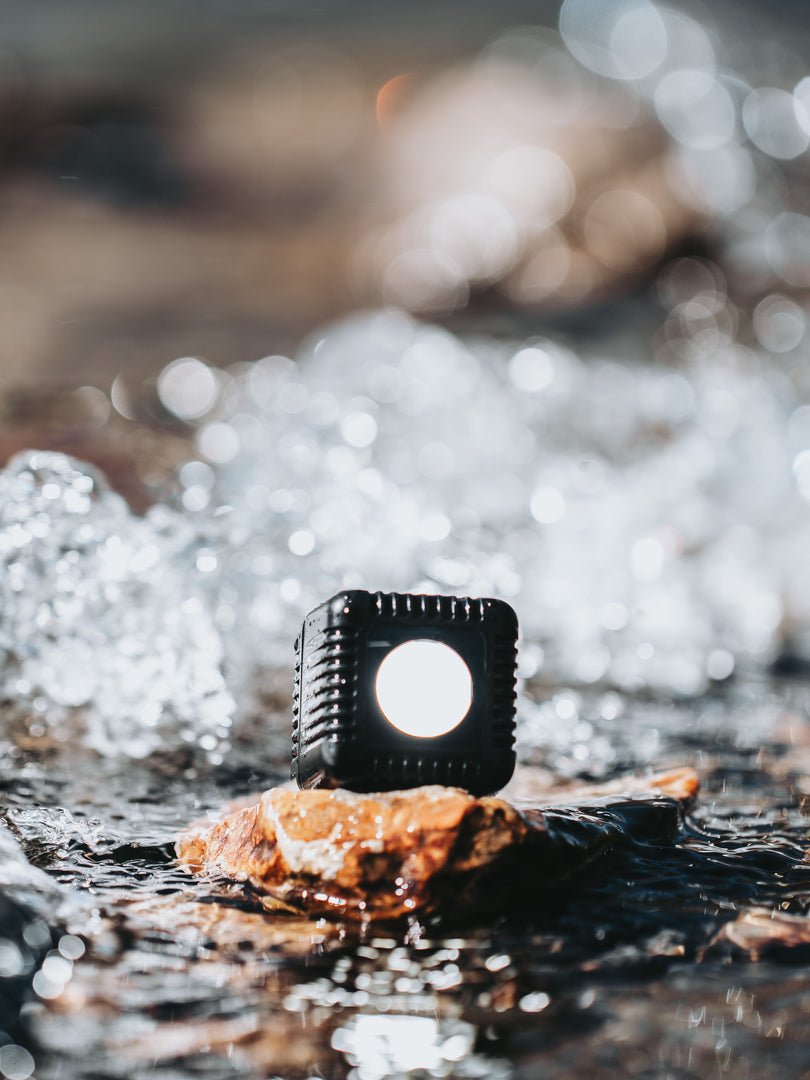
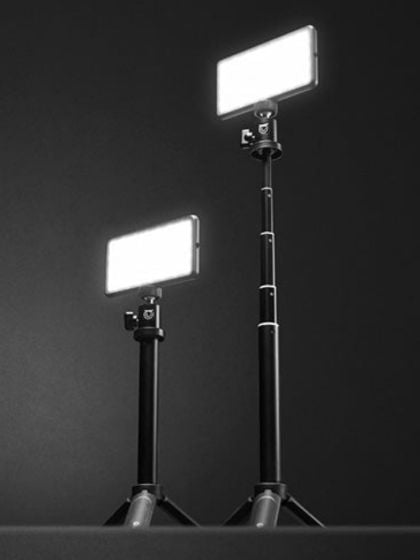
The third thing you’ll want when shooting macro photography is a light source. The RGB Panel Pro or the Panel Mini from Lume Cube are perfect for macro photography because they provide continuous light & are very lightweight. The biggest issue you'll have when you start shooting macro photography is the very small depth of field. If you're shooting at an aperture of 2.8, the amount of area in your image that's in focus will be a tiny little sliver. So what you need to do is shoot at an aperture of F8, F11, or F16 so most of your image is in focus and sharp. You can raise the ISO, you can lower your shutter speed (which is why a tripod is super handy), or you can introduce a light source like Lume Cube to achieve proper exposure.
Tip #4: Focus on Your Subject
One of the hardest parts about macro photography is nailing focus on your subject, especially when you're in the macro range. Something I like to do (if I don’t have a tripod) is put my camera in manual focus in that 1-to-1magnification ratio (the macro range) and then move towards and away from your subject while you fire off a couple of shots. As you move closer and away, the subject will go in and go out of focus. Fire a couple of extra shots just to ensure at least one of them is sharp and focused.
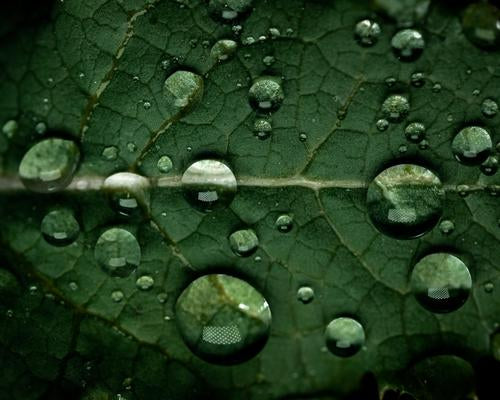
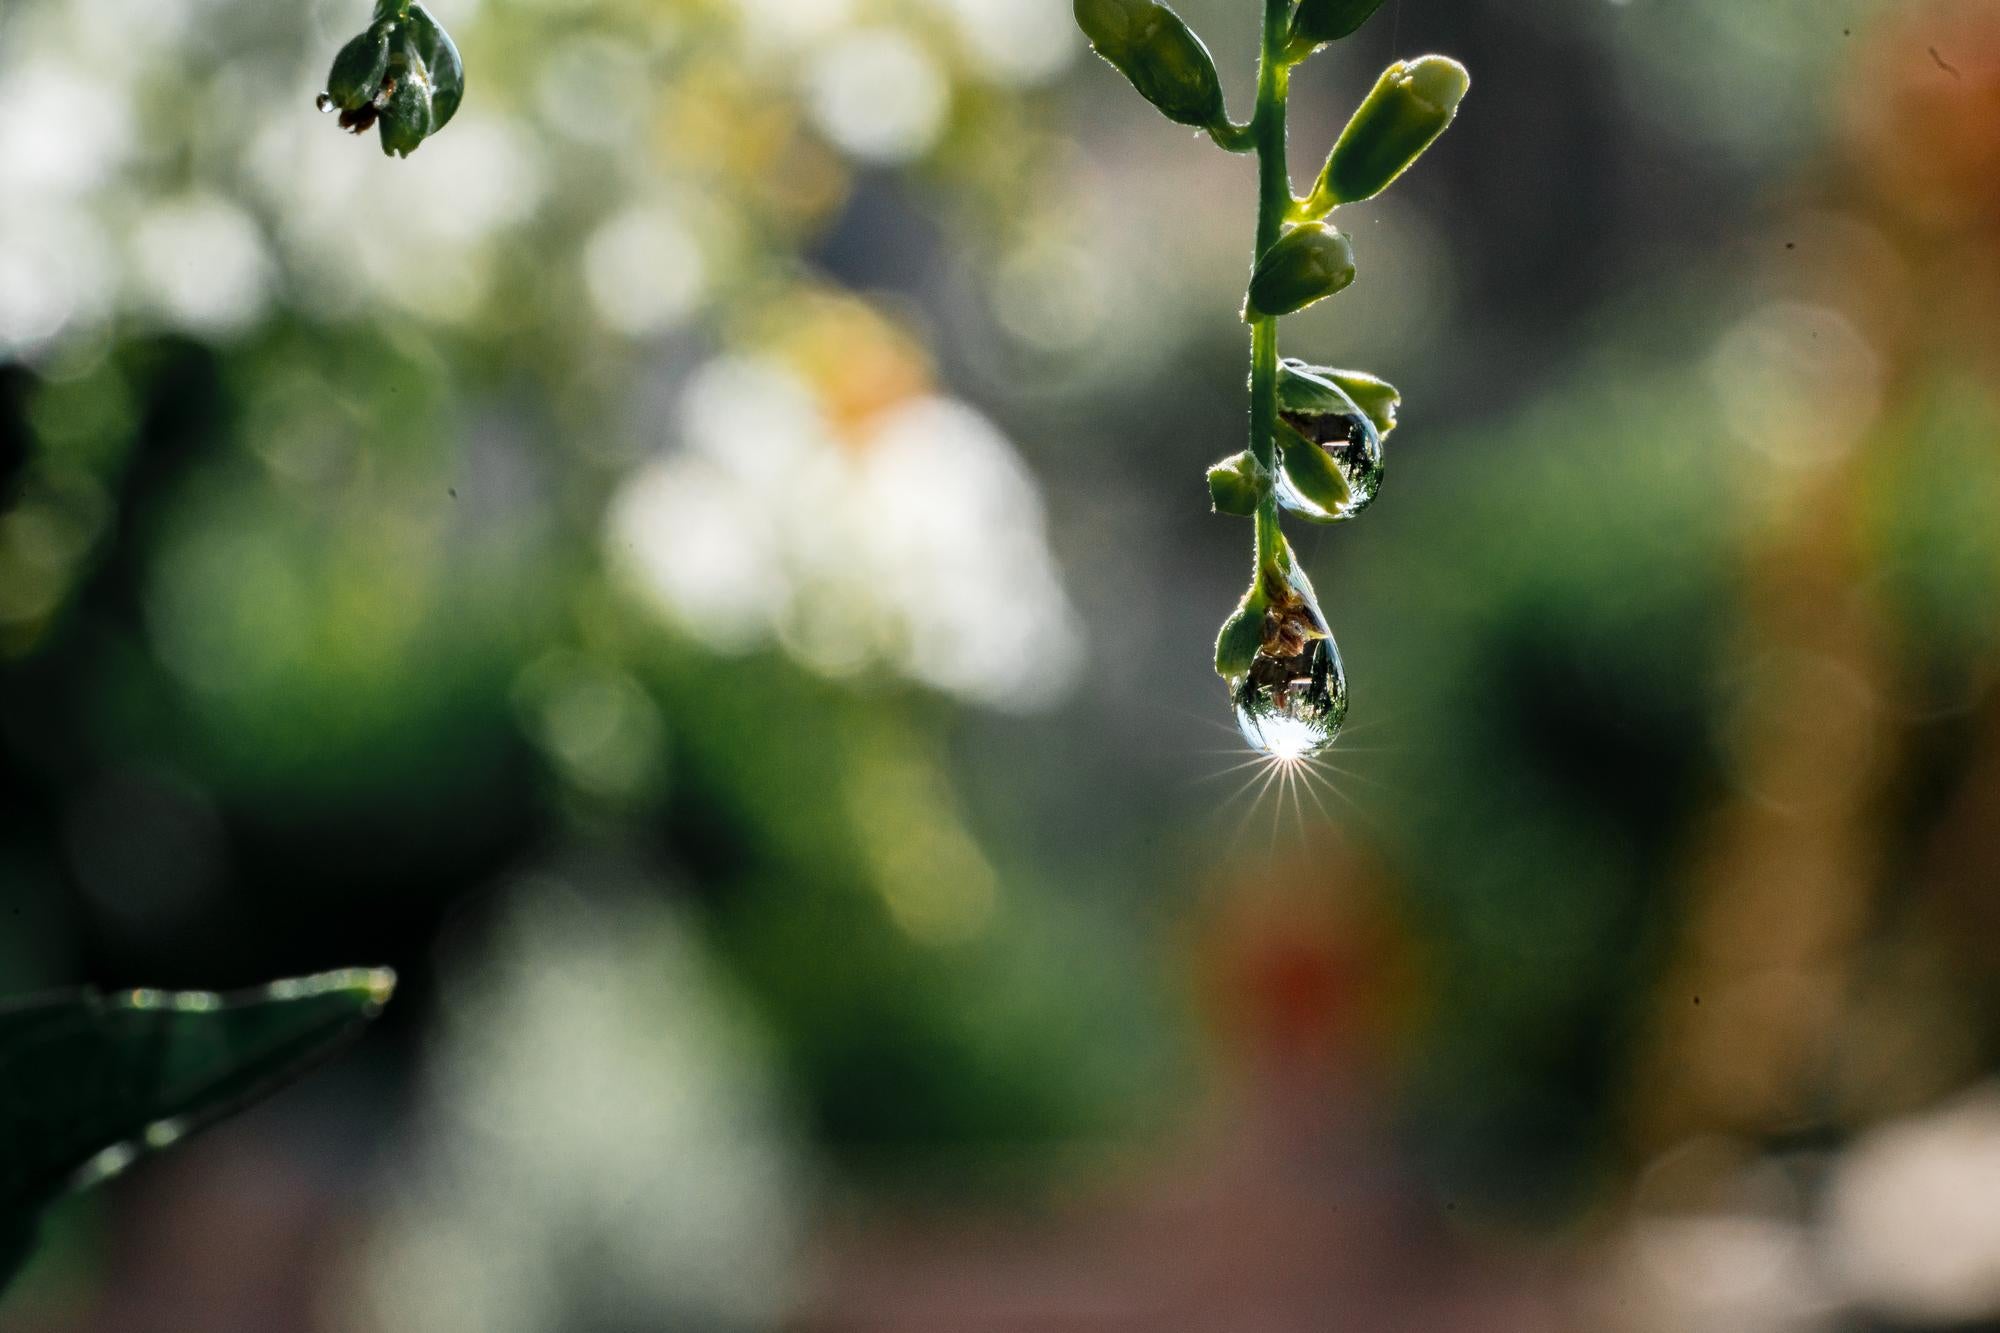
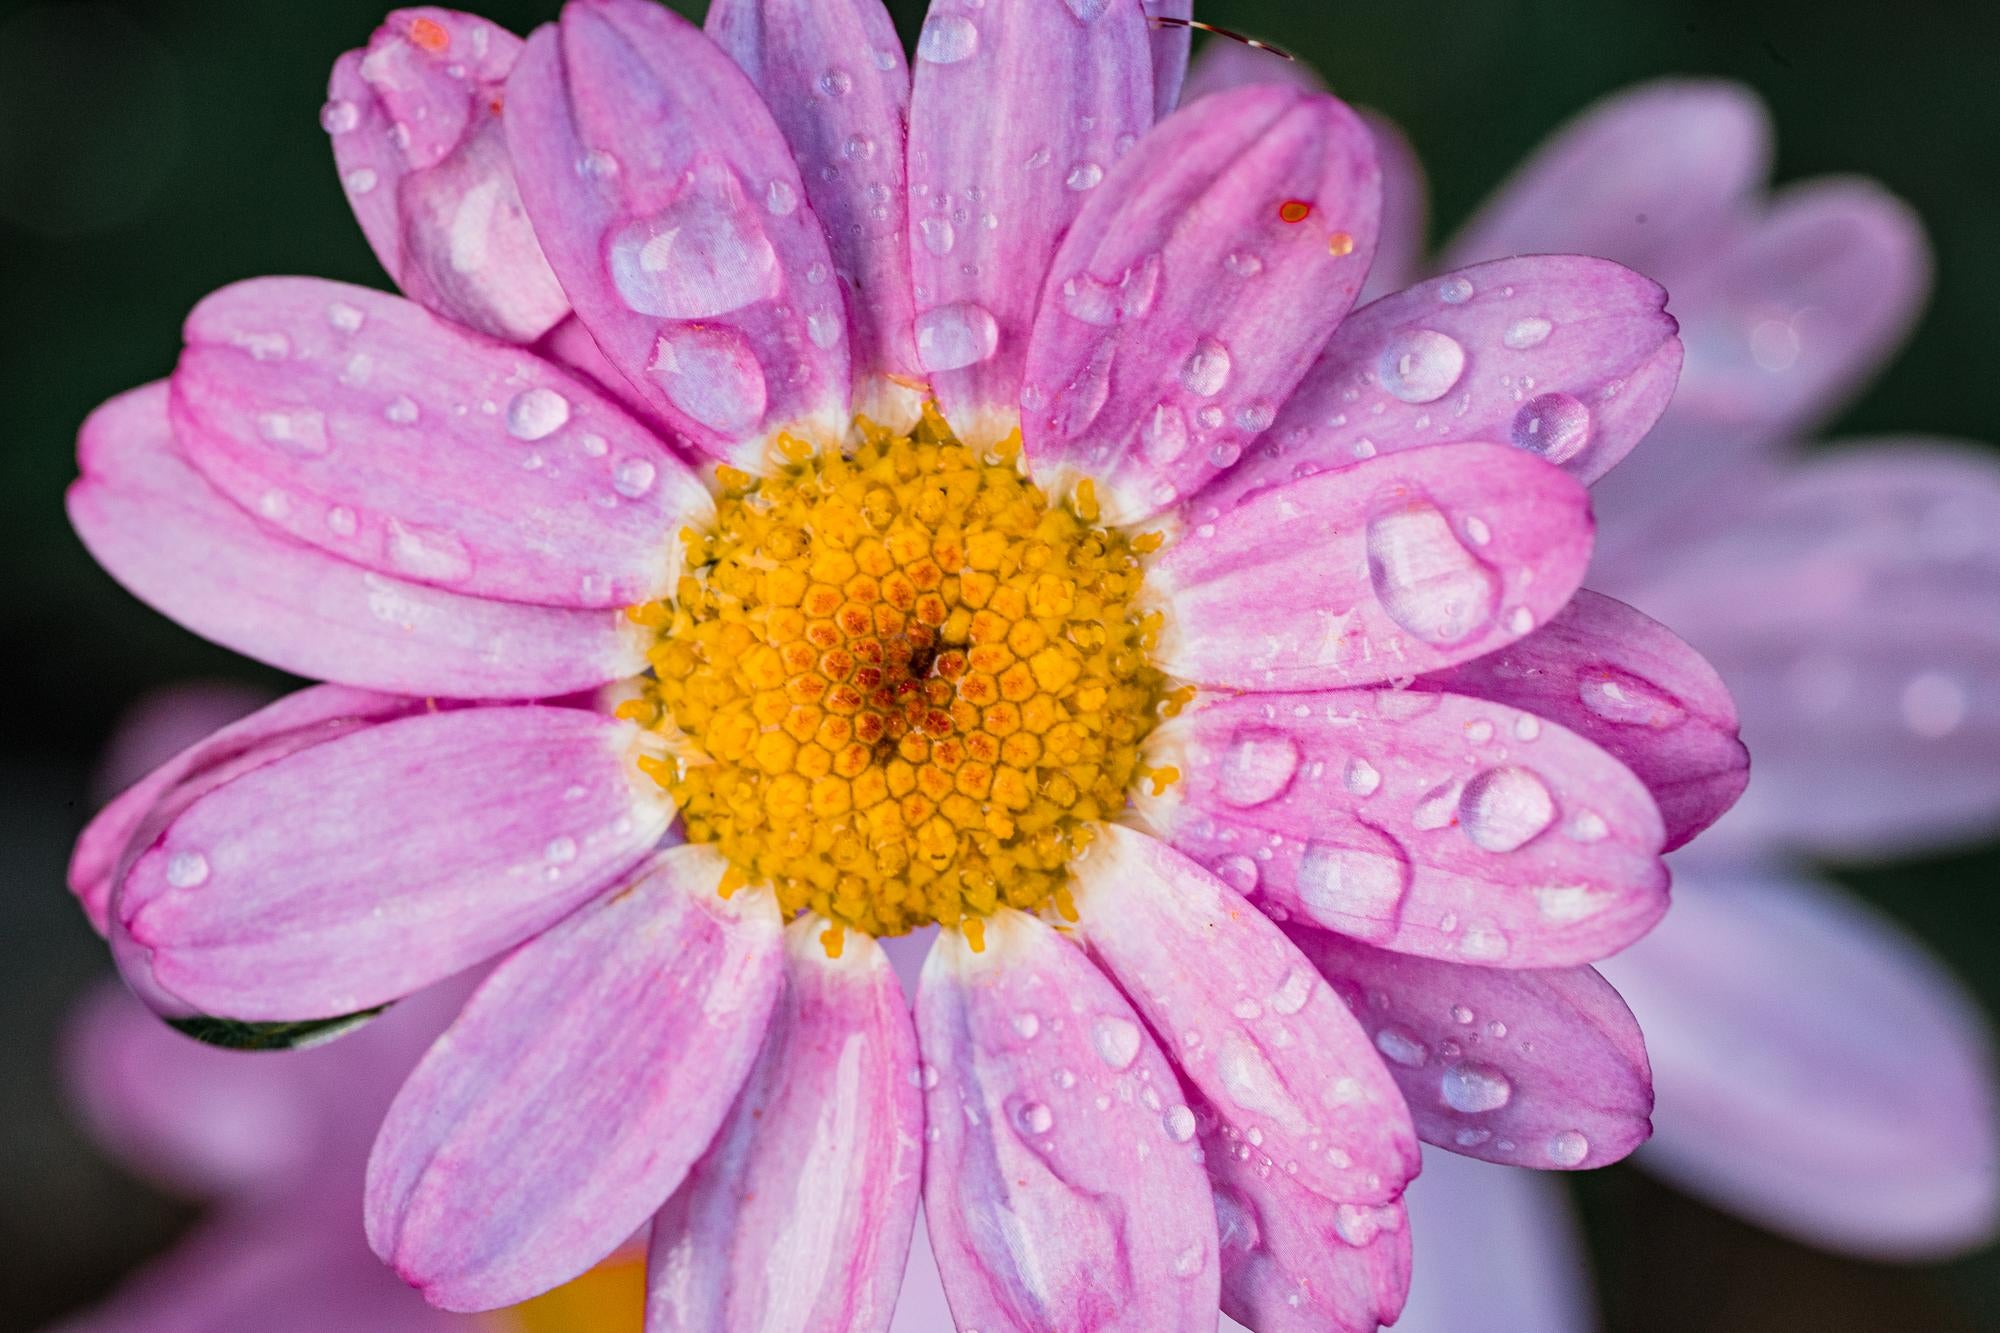
Tip #5: Try Shooting Water Droplets
If you are shooting macro and you find a water drop, make sure you shoot it! You can also bring a spray bottle to create water drops of your own if nature isn’t providing them. Shoot it at an F value of F11 or higher and you can get these cool starbursts if the sun is shining and hitting water droplets.

Tip #6: Patience
One of the biggest pieces of advice I could give you when shooting macro is to be super patient. If you're out in nature, it can take a long time to find the perfect leaf, insect, or something you want to shoot. Secondly, I've never shot more out-of-focus and blurry images in my entire life. When you're shooting you need to be super patient with the process and don’t get frustrated! Mess around your settings and subjects, and just know that it'll take you a couple of shots until you get a keeper.
Tip #7: Get Level With Your Subject
Another tip when you're shooting macro and trying to get your whole subject in focus is to try to be on a level plane with your subject. You want to even up so that the entire face of your subject is facing your camera. If you're at an angle because your depth of field is so small, part of your subject may be out of focus and part of it might be in. if you're going for that, more props to you, but I like my whole subject to be in even focus, so to try to get on an even plane and you’ll have to mess around with the angle to find what's best.

Tip #8: Test Out Backgrounds
Another tip for shooting Macro is to swap the background out. Since your scene is so small, you don't need a big object to completely change the background element in your scene.
Tip #9: Try Different Angles
Next tip, angles! The most convenient angle issue is never the shot of going to look the best so don't be afraid to get down on the ground and find your angle. Don't be afraid to get down on the ground, lay on your back, stomach, whatever works to give your subject justice.
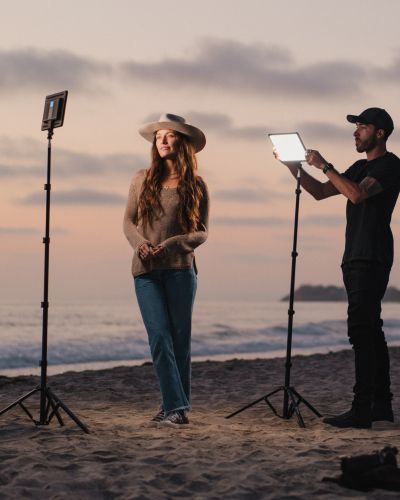
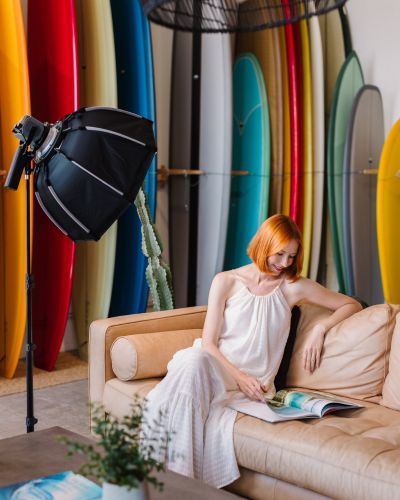
Tip #10: Continuous Light Source
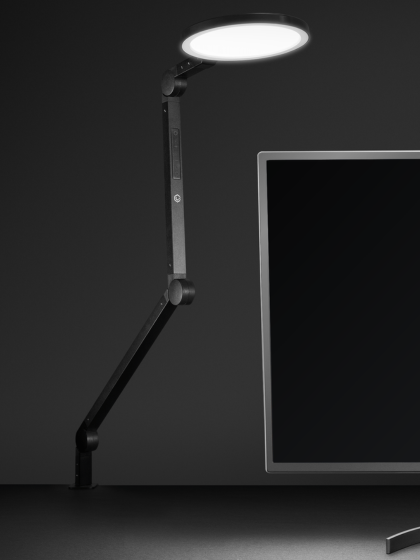
When you're shooting macro it's extremely helpful to shoot using constant light. With constant light, like panel pro, you can see how light is affecting your steam in real-time. Since you're shooting such a small subject, your light source completely changes the mood of your image. Using a light panel, if you want to move your light around to the back of your subject you'll see exactly how that affects your shot before having to take an image.
If you are shooting flash, you can get to the same endpoint but it's a lot of shooting adjusting and going from there. With constant light, you're in real-time and see your adjustments. I find that I can get to my end goal image faster when I'm using constant light and macro compared to if I was using flash.
Well, there ya have it, step number one to mastering the art of macro photography! We hope this helps you get a better understanding of how to pick up your camera and start shooting macro shots today. If you do use some of these practices or techniques in your content, be sure to tag us on Instagram so we can see what you're working with!