
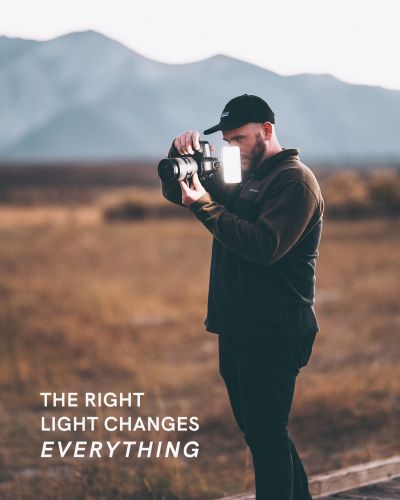


Capturing the perfect product photograph requires more than just a good camera—it demands an understanding of proper studio lighting to enhance detail, texture, and color. Today, we’ll dive into expert tips on using our Lume Cube Studio Panel Kit and Tube Lights, to capture eye-catching shoe ads.
Setting the Scene
We begin by suspending a shoe using a thin fishing line, a clever trick that makes post-editing easier by minimizing visible support. This method ensures the shoe remains the focal point, devoid of distractions.
Lighting Setup
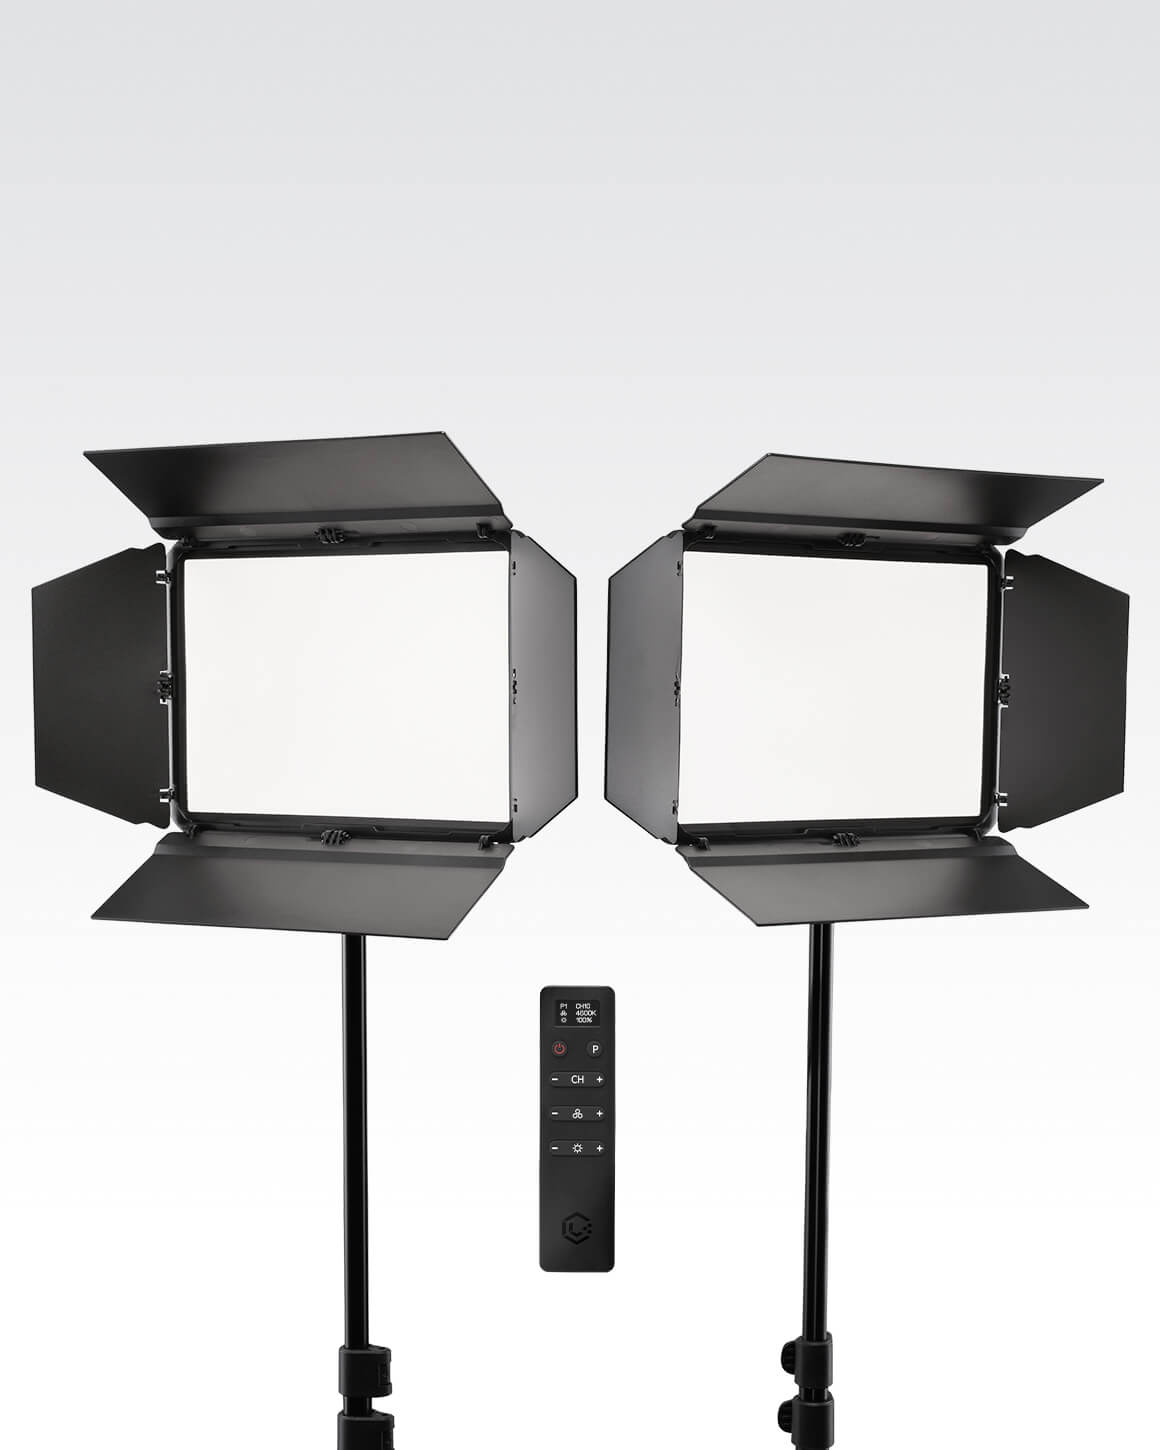
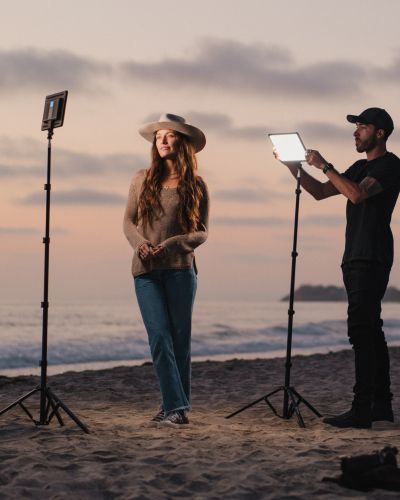
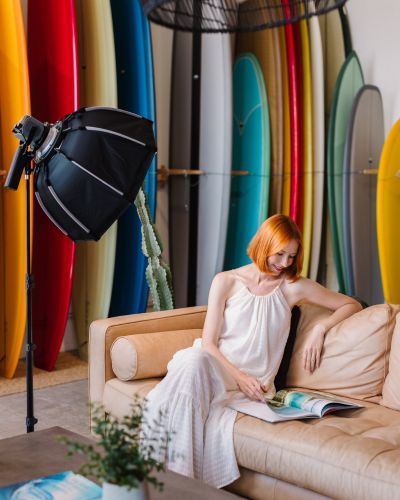
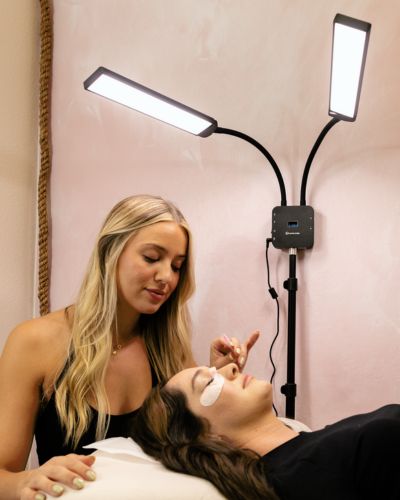
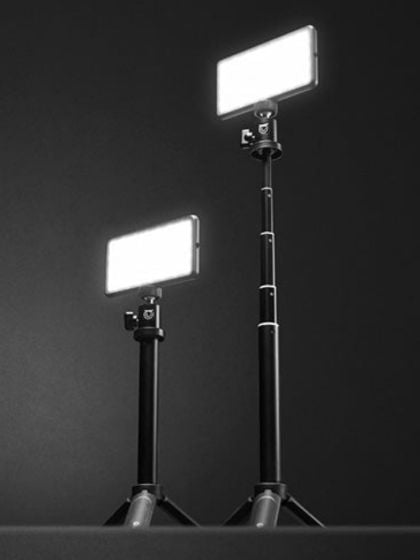
- Key and Fill Lights: We use the Lume Cube Studio Panel Lighting Kit for its 2-point lighting capability, ideal for setting up both key and fill lights. The key light, positioned at a 45-degree angle to the shoe, illuminates the primary features and textures. This angle is critical as it highlights the product's details while casting a soft shadow to add depth.
The fill light, placed on the opposite side, is set at a lower intensity. Its main role is to soften the shadows produced by the key light, ensuring the texture details are not lost in darkness. This setup creates a balanced look, making the product appear more three-dimensional.
- Control Light Spill: An essential feature of the Studio Panel Kit is the barndoors, which help focus the light precisely where it's needed, preventing it from spilling onto the backdrop and washing out the image. This control is particularly useful in maintaining a clean and professional-looking background.
Dynamic Look & Motion
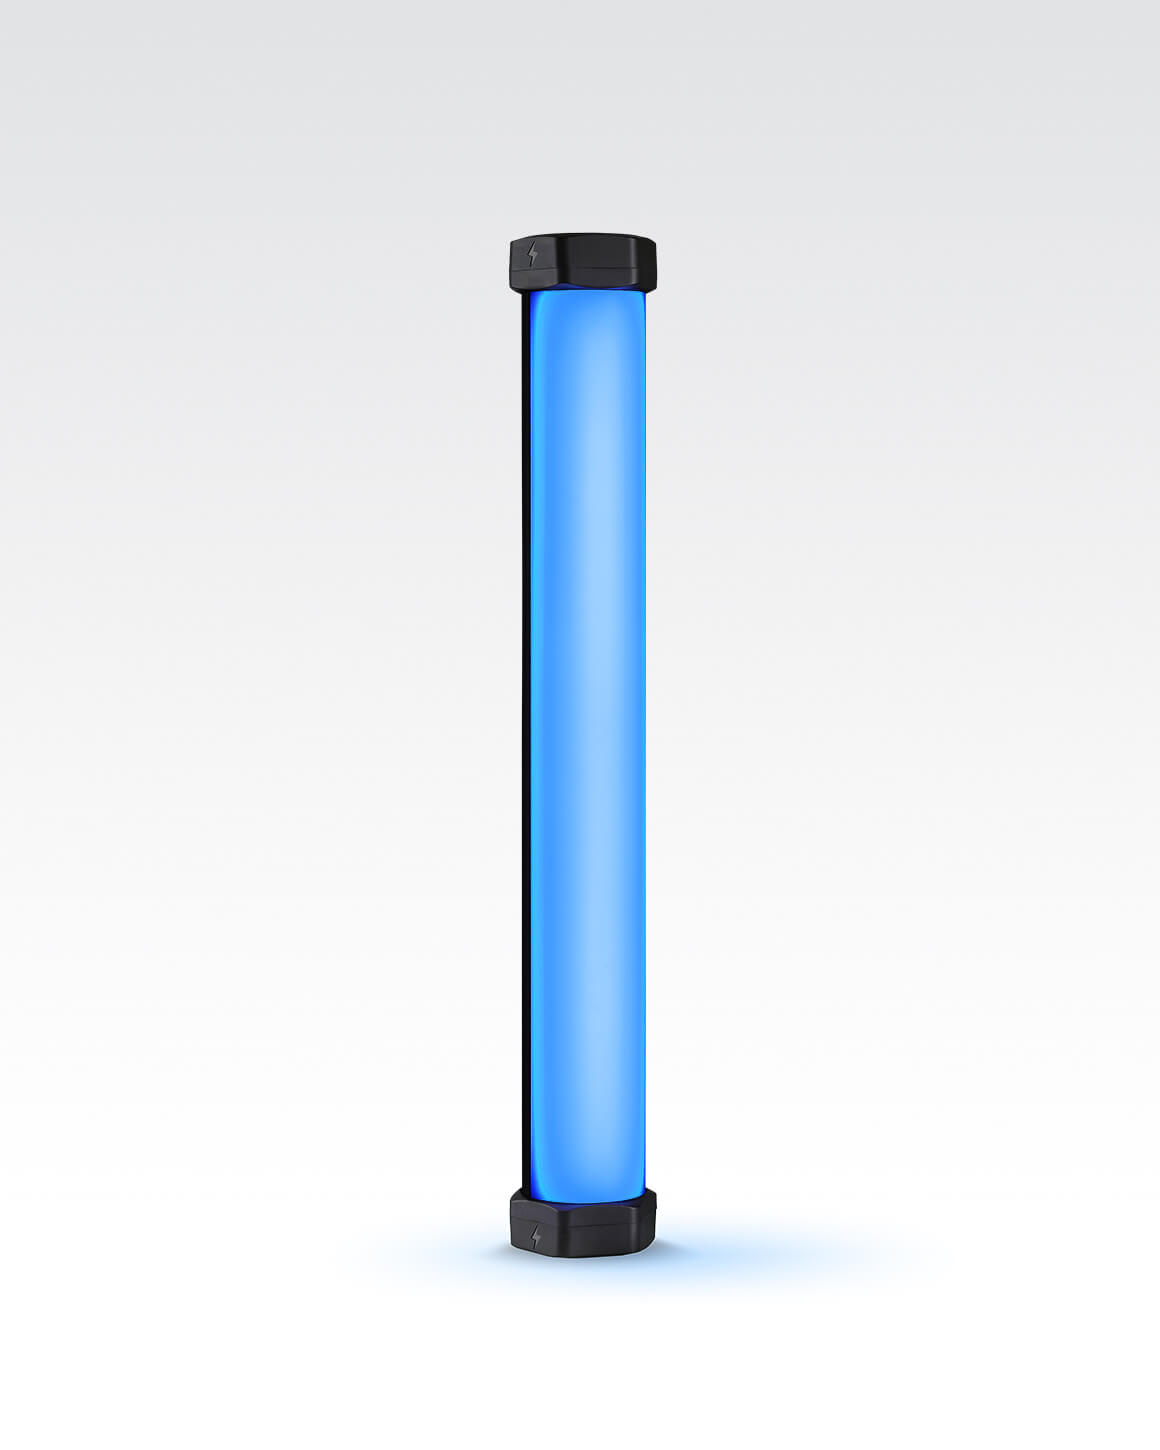
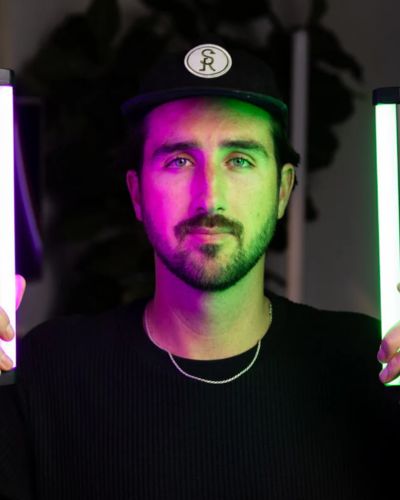
- Utilizing RGB Tube Lights: To add a creative flair, a Lume Cube RGB Tube Light Mini is placed overhead, casting a subtle hue on the heel of the shoe. This not only adds a layer of interest but also helps separate the product from the background, enhancing its prominence in the photo.
- Camera and Action: Positioning the camera slightly below the shoe makes it appear larger and more significant, a technique often used in product advertising to give the item a sense of importance.
- Dynamic Movement: One of the more challenging yet rewarding parts of the shoot involves spinning the shoe. The motion adds a dynamic element to the shot, capturing the shoe in various angles and creating a lively, engaging image. This action requires patience and practice, as timing and control of the spin are crucial for capturing the right moment.
Additional Tips for Mastering Studio Lighting
- Experiment with Angles: ry different angles and distances with your lights. Each position can reveal new details or cast shadows that enhance the product’s features.
- App Control for Convenience: The Lume Control app offers quick and seamless adjustments to the Tube Lights. This feature is particularly useful during shoots requiring quick changes to lighting colors or intensities.
Final Takeaways
This behind-the-scenes look at creating a shoe ad exemplifies how strategic lighting and camera placement can bring a product to life. By incorporating these techniques and using Lume Cube’s versatile studio lighting solutions, photographers can achieve professional and compelling product images. Remember, the key to mastery is experimentation, each product has unique features that can be highlighted through different lighting setups.
Make sure to like, follow, and subscribe on our YouTube channel for more insightful tips on photography and lighting techniques.
FEATURED LIGHTS