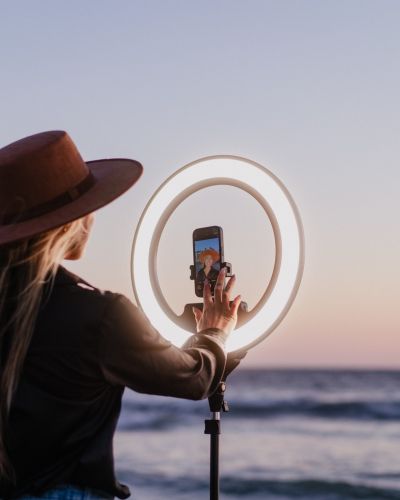


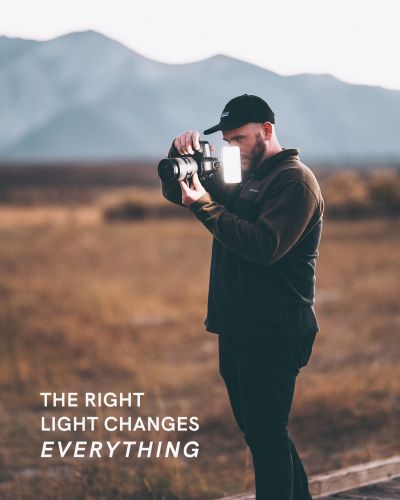


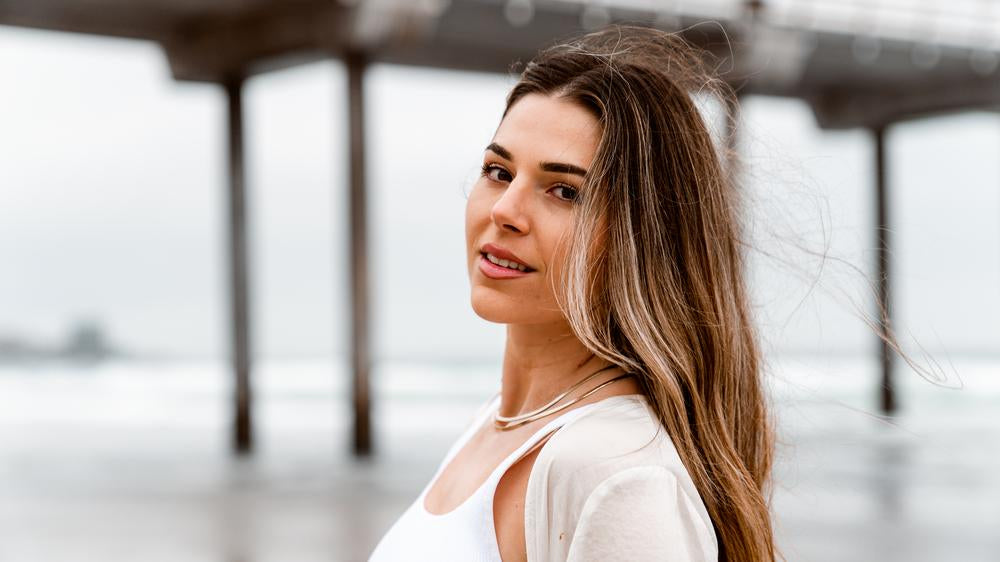
Hey guys, Trevor here from Lume Cube. We are with our model, Shyla, down by the beach to talk about the basics of photography.
Whether you are new to photography, or you're thinking about taking the leap, this blog post should serve as a nice foundation to understand the basics of photography and what is going on inside your camera. So in photography, the goal is to capture an even exposure, meaning your image isn't too bright and it's not too dark. Inside your camera there are three settings you can adjust to control this even exposure.

Shutter Speed
Number one is shutter speed, which is written as a fraction like 1/50 or 1/3000. So if you’re shooting something quick, like sports or your dogs running around, you can shoot it at a faster shutter speed because you want your subject to be sharp and in focus. On the vice versa, if you are shooting something still that isn't moving, like a statue, you can lower your shutter speed down to 1/50 one hundredth of a second. You know it won't be blurry because your subject isn’t moving.
You can also use shutter speed to visually showcase motion in your image. To show the movement of a waterfall, we can slow down the shutter speed and the waterfall would then become blurry. I dropped my shutter speed down to 1/20th of a second and this will create a really nice blur in the image. You’ll want to keep in mind, I can't move a ton and our subject can't move a ton, or else they will be blurry. If I moved, the whole image will be blurry so we have to stay super still. If you want to capture the waterfall nice and sharp where you can see every speck of water, you want to shoot it at a faster shutter speed.
Aperture
The second setting is aperture. This is essentially how much light your lens is letting into your camera’s sensor. Aperture is represented as an F and then a number following after it. The lower the number, the bigger the opening or bigger your aperture blades will open to let more light into your camera. This can be somewhat confusing because the lower the aperture, the bigger the opening and the brighter your photos will be. Vice-versa, the larger the aperture, like f22, the smaller the opening and the darker your photo will be. So with this lens for example, it goes down to a 1.4 aperture so if I'm focusing on Shyla's eyes, her ears will be out of focus, the depth of field is very small. Vice versa, if I take her portrait at f14, her whole head will be in focus and you'll be able to see more of the background.
A fun tip to do when you're shooting, if you want to mess around the aperture, is focus on something past your subject and then your subject will be this kind of blurry “bokeh-ed” out thing in the foreground.

ISO
Last but not least, the third setting in your camera is ISO. ISO is essentially your camera sensor’s sensitivity to light. The lower the ISO, the darker the image will be and the higher the ISO the brighter your image will be. Generally, you want to keep it as low as possible, around 100 if you can. So if you're shooting outdoors in the daylight, you will keep it 100, if you're shooting on of more of a cloudy day, you’ll put it at 200 or 250, and if you're going to shoot indoors, bump it up to 400, 800, or even higher to 1200 or 1600.
So there you have it, your three camera settings to help you get a proper exposure; aperture, ISO, and shutter speed.
Here is what to do if you go to take a photo and your image is too bright. You have a few options. First, bring your ISO down as low as you can. Then you can increase your shutter speed or increase your aperture to find that even exposure. On the other hand, if your image is too dark, you can start by lowering your shutter speed before your image starts to get blurry. You can also lower your aperture, which opens up your aperture blades and lets more light in, or raise your ISO, just remember it'll add a little noise or grain into the photo.
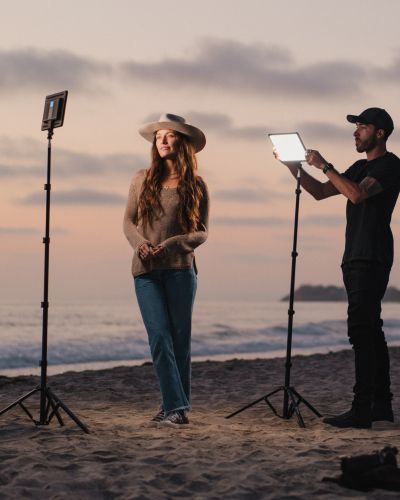
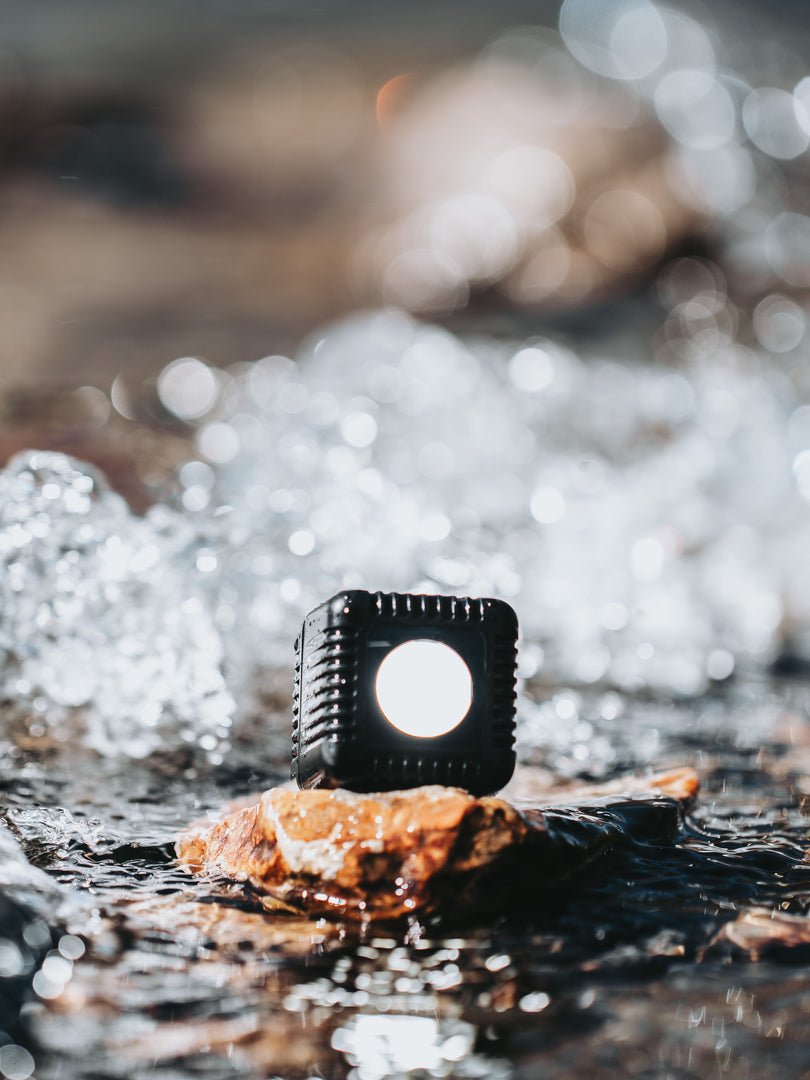
This is where you can add light into your image and this is where Lume Cube comes into play.
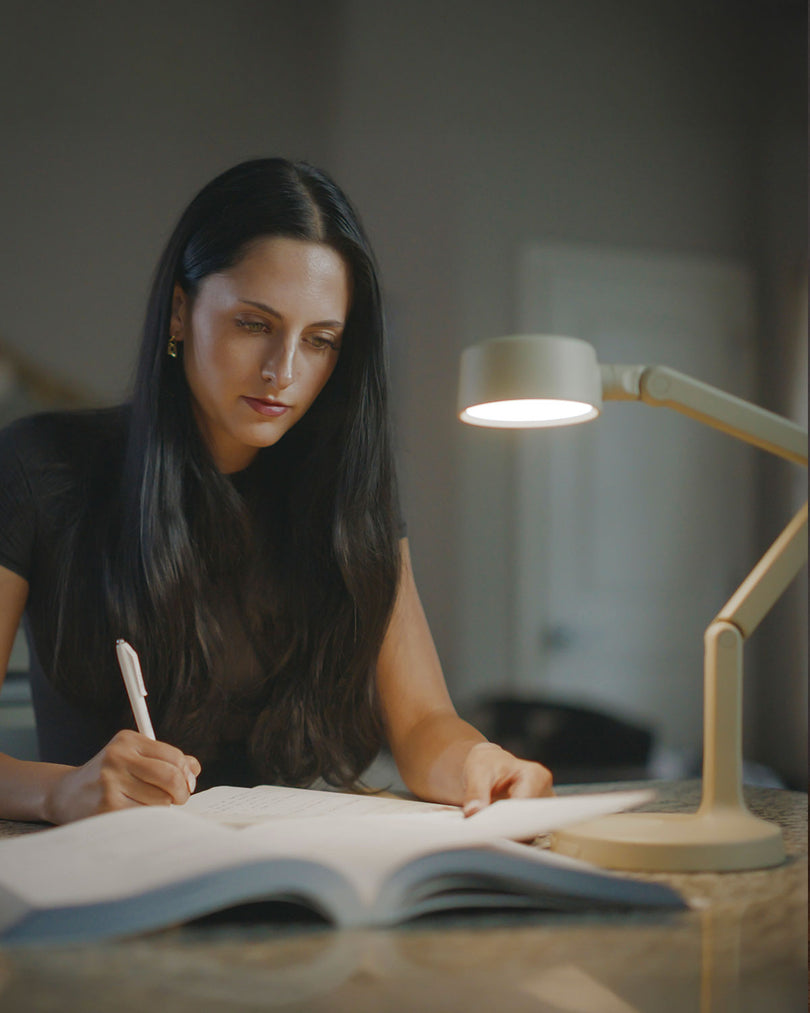
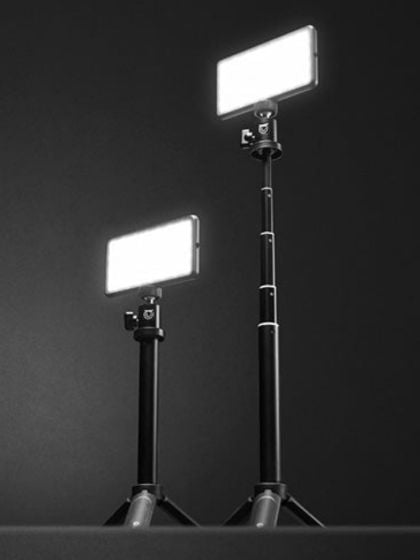
As the sun went down and it got a little darker, and I didn't really like my camera settings. I was having to shoot at an ISO of about 2500 to get the exposure that I was wanting. So this is an example where you can add lighting, like a Lume Cube, to your shot to give you that little extra pop of light and to lower your ISO to get the exposure that you're going for. I took a Panel Pro on our 5 ft Light Stand with one of the honeycomb grids on it to direct the light towards my model.
Now I'm able to drop my ISO to about 500 and keep my settings exactly the same. So that is 2000 less ISO than what I was at before, with a little kick of light. Not only does this change the image and it gives it a nice pop, but it's much higher quality since there's not as much grain or noise.
Now that you understand the basic fundamentals of photography, here are my three favorite composition tips that you can add to your own images. If you aren’t aware, composition is essentially how and where you decide to place your subject within your framing. The goal is to draw your viewer’s eye in and make them interested in looking at your images.

Rule of Thirds
The first tip is the rule of thirds, which is the concept of drawing your viewer’s eye into the interest points of your photos. This is done by imagining two vertical and two horizontal lines on your image. You can set up your camera to visually show these lines when you're shooting. You want to place your subject where the lines intersect.

Leading Lines
Tip number two is leading lines. Leading lines are one of my favorite ways to draw the viewer’s eyes into a photo. Once you start looking for them, they are everywhere. It can be something like the bottom of a pier, a handrail, a park bench, or paint on a crosswalk. So what you’ll want to do is find your leading line and place your subject somewhere along that line so that your viewers attention leads right to them.

Depth
The third tip is depth. Now that doesn't seem as specific as leading lines or rule of thirds, but all of my favorite images have one thing in common, depth. This means there is a foreground, a middle ground, and a background. The key is having your eye look at multiple levels to produce a lot of depth in the image.
A little hack you can do if you don't have a good foreground that you can have in front of your camera, you can always grab something from your surrounding environment. If there is a leaf on the ground, you can hold it up in front of your lense to give it a cool foreground ground element.
Well there you have it, the basics of photography. I hope you enjoyed reading and maybe learned something along the way. If you do take any of these lessons or settings and apply them to your own photography, be sure to tag us on Instagram (@lumecube) so we can see what you're working with. Thank you for reading and we'll see you catch you next time!