Is there a story behind why this shot? How did you come up with the concept?
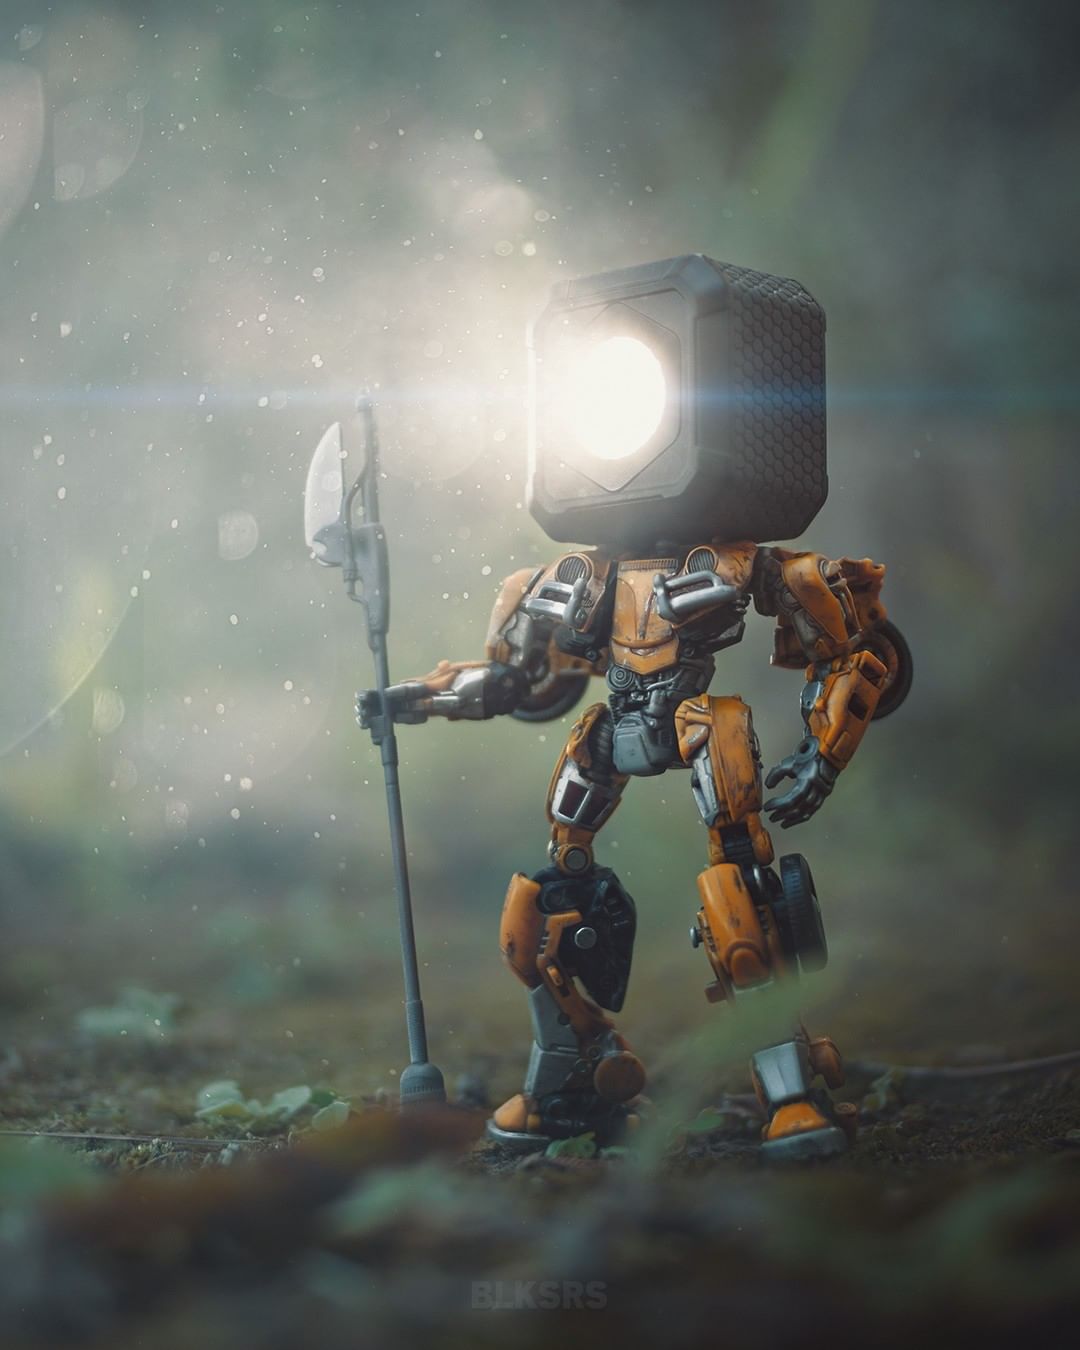
This shot was done to promote my Lume Cube AIR giveaway. I wanted to not only use the light in the shot, but also showcase it in a creative way. I decided that using it as a head for some sort of mysterious character or robot could work well. Fortunately my 4 inch Hasbro Bumblebee figure was a perfect fit!
What material did you use to capture this shot? Any practical effects?
This shot was a pretty simple setup. Just the figure itself and my Lume Cube AIR. For the smoke practical effect, I used my always trusty can of Atmosphere Aerosol.
What camera/lens did you use? And can you share your camera settings used here?
My camera is the Panasonic LUMIX GH5 which is Micro 4/3. My lens is the Canon 35mm F2 lens on an adaptor to fit my camera. With the cropped sensor, the lens becomes closer to a 70mm F2.
My settings for this shot: F4 - ISO200 - Exposure 1/500.
You have a knack for capturing incredibly realistic poses with figures, do you have any consistent shooting strategies that help bring these figures to life?
Well thank you! I believe the pose is one of the most important aspects of creating a believable toy photo! Even a simple standing pose can look either amazing or terrible with the slightest difference between them. Once I decide on the character or concept of the shot I want to create, I take some time with just the figure itself messing around with posing. You’d be surprised how far you can push the limit of a figure’s articulation just with minor tweaks to the posing. Also, certain poses might look good in hand, but terrible in camera. So there is always a back and forth on trying to get the best pose! Time spent here can be frustrating but is probably the most important part of the process!
How many Lume Cubes were used in the shot and where were they? Do you remember the brightness settings?
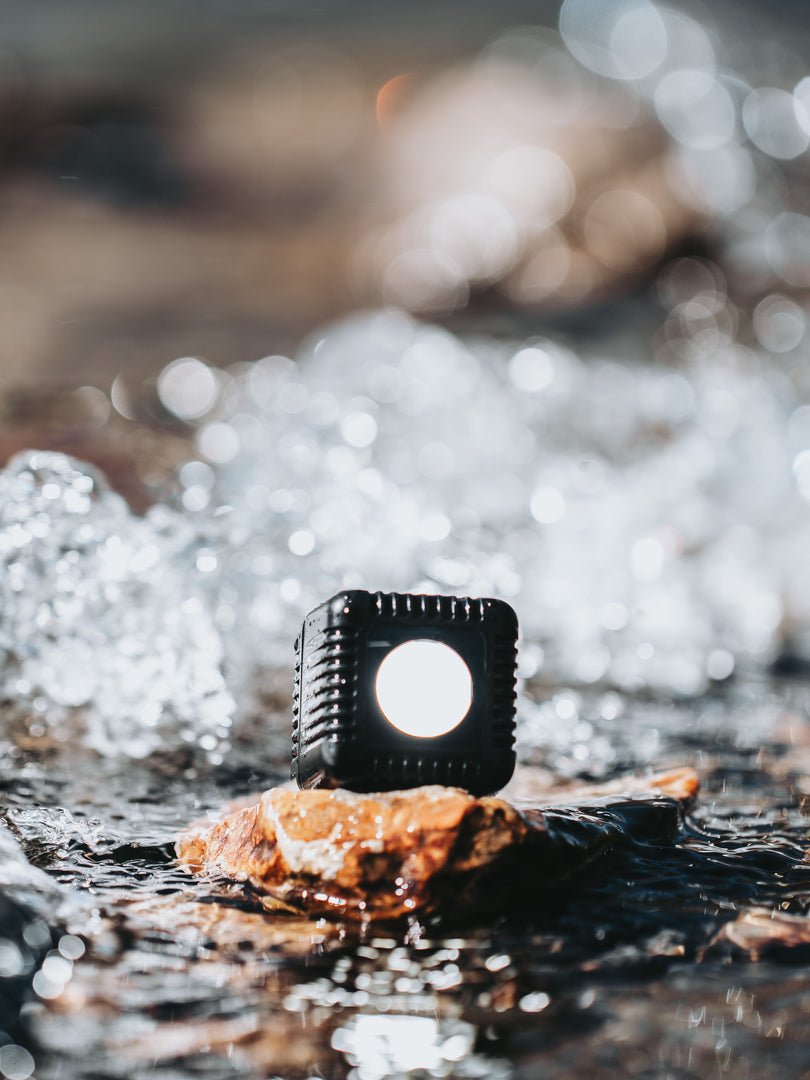
I used a single Lume Cube for this shot. My Lume Cube AIR for the character's head. It was an overcast day here in CA, so the overall lighting had a nice soft tone. The brightness for the AIR was mid-level, so as not to blow everything out, but strong enough to get a good beam through the Atmosphere Aerosol.
Can you explain your post-process on this image? Walk us through your editing process for a shot of this complexity. Which effects are done in real life, and which were added in post?
My process is maybe a bit unorthodox and probably overly complicated, haha. Firstly, I open my image in Adobe Lightroom and start by tweaking the overall color balance, tones, and feel. I then bring the photo into Adobe Photoshop. Here is where I go through and clean up any areas that might be distracting or need a little touch-up. For this shot, I added the dust particles you see in the beam of light. I also do more color correction and grading here, before bringing the image into Adobe After Effects.
Now in Afer Effects, I do a few more color tweaks while also adding in the lens flare for the light. Lastly, I bring the image back into photoshop where I do the final tone, color adjustment, and output. Image quality is a top priority throughout the process. So starting in RAW, I’m sure to edit the image high bit, high quality throughout the process until final JPEG output.
Do you have any tips on how to best photograph using special effects?
It’s good to have a plan. For instance, if you’re planning on adding in any post special FX, you’ll want to light the image in a way that will help sell it. So orange lighting for sparks, blue for lightsabers, etc. For practical FX, it can vary so much between setups and shots. The more you practice the more comfortable you’ll get at setting up the scene to best capture the particular effect you’re going for.
Did the image turn out how you envisioned it?
Ultimately yes! I had a few variations of the shot. One where he actually was wearing a cape and had a few other accessories. The main goal was to create a compelling, mysterious character that you wanted to know more about. While also showing off the Lume Cube AIR or course. I think I achieved that, so I’m happy.
Describe Lume Cube in 5 words or less.
Durable, Essential, High-Quality Light.

