


Before using the equipment, please read the user manual carefully and refer to it frequently as needed.
Full Video Transcription Below
Hey guys, Trevor here to break down the newest lights in the Lume Cube lineup, Meet the long awaited “Lume Cube Tube Light Mini” and “Lume Cube Tube Light XL”
Our Tube Light’s come in 1 foot and 4 foot options and offer full bi-color adjustability, unlimited color selection for including hue, saturation, and tint control, they’re wirelessly controlled through the Lume Control App, can double as a power bank and much much more.
Whether you got the Tube Light Mini or the Tube Light XL, this video will break down all you need to know about our Tube Lights including how to use and operate them. Lets get into it!
_______________________________________________________________________
What’s Included
Inside the Tube Light Mini Box you will receive:
(1) Tube Light Mini
(1) Mini tripod
(1) Wrist strap
(1) USB Power cable
And (1) Molded hard shell travel case for transport and storage.Inside the Tube Light XL Box you will receive:
(1) Tube Light XL
(1) Aluminum tripod legs
(2) Coated steel loops + mounting bolts
(1) AC power adapter
And (1) Padded travel bag for transport and storage.
_______________________________________________________________________
Physical Features
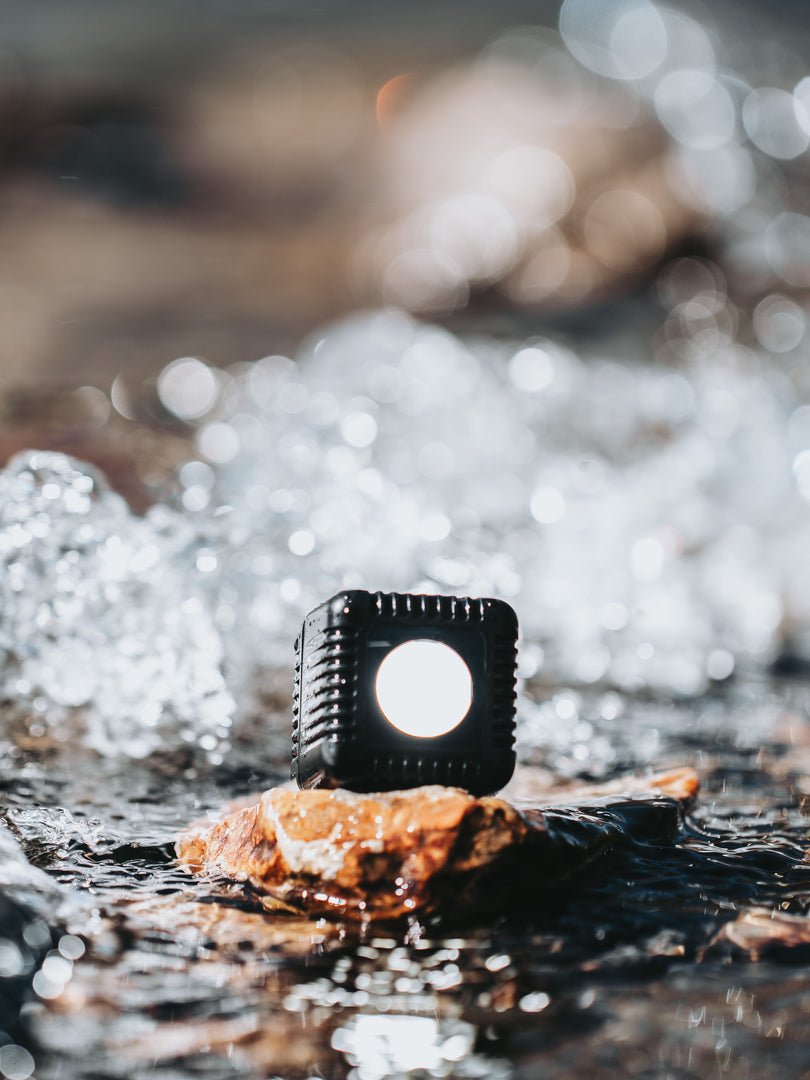
Simply put, these tube lights are built to last. They’re made with a full aluminum body that is drop-proof, durable, and weatherproof. These lights are made to take a beating and keep on shining. We also have hexagonal end caps to keep them from rolling.
The Tube Light Mini stands tall at 12” with a weight of 0.77lb’s (350 grams) making it the perfect on-the-go tube light.
The Tube Mini features two ¼” 20 threads, one on top and one on bottom of the light to easily mount to any ¼ 20 mounting device, like the included tripod legs.
On the Tube Light Mini, we’ve installed Magnets on both end caps to offer an easy, low-profile mounting option. On the outer end caps you’ll notice a lightning bolt, this indicates which side of the endcap is magnetic. You can twist the end caps to ensure the lightning bolt is facing the side you will be mounting a metallic surface. We placed magnets on only one side to ensure the Tube Light Mini is as lightweight and portable as possible.
The Tube Light XL stands tall at 4 feet with a weight of 3 lb's 1.3oz , making it a great addition to any studio or on location shoot. But is still very portable with the included carrying case.
On the Tube XL there are the two screw mounts on top and bottom, like the tube light mini, as well as seven ¼ 20” threads and three ⅜”16 threads on the back. These line the back of the light, and we’ve also placed one ¼ 20 thread on bottom for added versatility. _______________________________________________________________________
How To UseDraw your attention to the back screen of the Tube light. Both lights have the same set up here. You have an adjustment dial, a blue toggle button, on/off switch, a USB-C port, and the 4’ tube light will also have a circular 15 volt port for a faster charge.
Keep in mind, both lights also double as a powerbank, so that little USB-C port is your best friend when you’re in a bind. Just plug in any USB-C compatible cable to recharge your phone, camera, air pods, or what ever gear that needs some juice.
To operate the light, slide the power switch on the back of the light and the light will turn on. These Tube lights were built to emit soft, customizable and accurate light source with a CRI of 96+.
On back, you’ll notice our simple and intuitive LCD screen turn on. This is where you can see the HSL, FX, CCT, Battery Indicator and Bluetooth menus.
Menu Operation
Each tube light comes equipped with full RGB, 2700- 7500 bi color range, built in effects, strobe speeds, and more. You can locate your current menu by looking here on the back screen. You can use the dial to toggle between the different light modes. Once you’re ready to jump into that mode, press the blue button and your arrow will appear below. You can then use the dial to further adjust your settings.
Lets take the CCT menu for example. I’ll tap the blue button once which will drop me down to adjusting the sun icon which controls brightness from 0%-100%
The sun icon controls brightness 1 to 100%
The three circle icon controls a color temperature range of 2700k to 7500k
And the G/M controls the green and magenta tint in the light. The G/M control is especially useful for ultimate lighting accuracy in any shooting atmosphere.
Under the HSL menu we have three options: Luminance, Hue and Saturation.
The sun icon controls Luminance, the lights brightness from 0 to 100%
H is Hue and controls a full RGB spectrum of up to 360 colors
And S is Saturation which controls the color intensity of the hue from 0 to 100
The combination of these settings gives you endless colors.
Moving to the FX menu we have 3 options: Brightness, FX Type and Speed.
The sun icon controls the brightness of the FX
The Lightning Icon controls the FX type: These include Strobe, Color loop, Lightning, Fire, Candle, Siren and TV.
The pulse icon controls the hertz rate or speed at which your FX will play at within a range of 1 to 10 Hz.
The next menu is the SET menu. This is where you can turn bluetooth functionality on and off. We’ll dive more into how to set up bluetooth later.
Battery Life
In the top right of the LCD screen you’ll see a little battery icon. This is your battery indicator. The numbers to the left show how much time you have left before your light runs out of power. When adjusting brightness these numbers will change. The lower the brightness, the more time you will have and the higher the brightness the less amount of time.
Charging
To charge the Tube Light Mini battery simply plug in the included USB-C power cable into a power source and the USB-C port on the light.
To charge the Tube Light XL, use the included AC power adapter and plug it into the AC port to the right of the USB-C port and an outlet. You can also leave it plugged in to run indefinitely.
And as mentioned earlierAdditionally either light can be used as a power bank to charge other gear as long as that gear has a cable that is compatible with USB-C.
_______________________________________________________________________
Bluetooth Setup
Both the Tube Light Mini and the Tube Light XL and bluetooth compatible and can be wirelessly operated throught the Lume Control App.
First download the Lume Control app from the app store
On your tube light, Head to the menu labeled ‘set’ and make sure the bluetooth is on.
Open the app, and head to the the bluetooth pairing button and find your device. Tap the light icon on the far right and your light will connect. Once connected, you can find your device under the device list. Tap the plus sign to the left of your light to dropdown the full control menu.
There are some fun new advances in the Lume Control app, including a color picker where you can take a photo of an object and your lights will color match the image. We made a separate video to dive deeper into the Lume Control app.
If you’d like to learn more about it, we’ll include a link in the description of this video, or on screen here, or somewhere nice and accessible.
Well there you have it. A breakdown of how to use the Lume Cube Tube Light Mini and Tube Light XL.
Care
Safety Regulations and Instructions for Use
1. Use the device in a suitable environment. Operating temperature: -10°C to 40°C. Operating humidity: 65% ± 10%.
2. During use, keep the device away from heat sources and high voltage. Prevent children from playing with the device. Do not drop or strike the device.
3. The device contains a built-in battery. Do not disassemble the device or expose it to moisture to prevent dangers.
4. When not in use for extended periods, store the device properly. Maintain the battery at a half-charged state—neither fully charged nor fully discharged.
5. After use, store the device securely to prevent direct contact with metal or foreign objects, which may damage circuits or the battery. Keep the device in a cool, dry place.
6. Do not use in humid environments.
7. Dispose of discarded devices safely and properly. Do not burn or submerge in water.
8. This product contains batteries. Strictly adhere to relevant operating procedures for battery use, as failure to do so may result in dangers or fire.
Danger Warning
- Do not disassemble the device. The device contains a built-in battery with internal protective mechanisms and circuits designed to prevent dangers. Improper disassembly may damage these protective functions, leading to overheating, smoke emission, deformation, or burning.
- Do not short-circuit the circuitry or battery. Do not store or transport the device with metal objects. If circuits or batteries are short-circuited, it may damage the device or batteries, causing the device to overheat, smoke, deform, or burn.
- Do not heat or burn the device. Heating or burning may cause circuitry or battery separators to melt, safety features to fail, or electrolyte to ignite. Overheating can result in the device becoming hot, emitting smoke, deforming, or burning.
- Avoid using the device near heat sources. Do not use the device near open flames, ovens, or in environments exceeding 80°C (176°F). Overheating may cause internal short circuits, leading to the internal battery overheating, smoking, deforming, or burning.
- Do not expose the device to moisture. Do not get the device wet, and never submerge it in water. Doing so may cause the internal protective circuitry to fail and trigger abnormal chemical reactions, potentially leading to overheating, smoke emission, deformation, or burning. After the equipment has been exposed to water or rain, please stop using it.
- Avoid charging or using the device near open flames or in direct sunlight. High temperatures may cause the internal protection circuit to fail and trigger abnormal chemical reactions, potentially causing the device to overheat, smoke, deform, or burn.
- Use the dedicated adapter and charge correctly. Using non-dedicated chargers to charge the device is dangerous. Charging under abnormal conditions may cause the device's internal protection circuits to fail and trigger abnormal chemical reactions, potentially leading to overheating, smoke emission, deformation, or burning.
- Do not damage the device. Do not use metal tools to pry into equipment or circuits, strike equipment with hammers, drop equipment, or damage equipment by any other means. Doing so may cause the equipment to overheat.
- Never charge the device using other power sources or car cigarette lighters. Connecting to high-voltage or high-current power sources may damage the circuitry or battery, causing the device/battery to overheat, smoke, deform, or burn.
- Do not directly touch leaking batteries. If internal batteries leak, the spilled electrolyte can cause skin irritation. If electrolyte gets into your eyes, rinse them immediately with clean water. Do not rub your eyes, and seek medical attention promptly.
Warning - This device contains a built-in battery and should be kept out of reach of children. Place the device where children cannot access it to prevent play or improper handling.
- Do not leave the device connected to the charger for extended periods. Abnormal charging may cause the battery to overheat, smoke, deform, or burn. Unplug the power source after charging is complete. Do not leave the device connected to the charger for long periods to avoid dangers.
- Do not place in microwave ovens or other pressure vessels. Instant heating or structural damage may cause the battery to overheat, smoke, deform, or burn.
- Keep leaking batteries away from fire. If battery leakage (or an unusual odor) is detected, immediately move the battery away from any fire source. Leaking electrolyte may burn or cause other dangers.
- Do not use under abnormal conditions. If the device emits an unusual odor, shows deformation, discoloration, or distortion, discontinue use immediately. Using a malfunctioning device may cause overheating, smoke emission, deformation, or burning.
-
Do not use in unattended environments. When not in use, turn off the device and unplug the power source. Never operate it in an unattended environment to prevent accidents or dangers.
Important Notes - Do not Use the Device in Direct Sunlight. Avoid operating the device under intense sunlight exposure to prevent overheating, deformation, or smoke emission. This helps maintain device performance and prolong its lifespan.
- Anti-Static Measures The device incorporates protective circuitry to prevent various malfunctions. However, avoid using it in static-prone environments, as static electricity (99V or higher) can damage the protective board. This may cause abnormal operation, overheating, deformation, smoke emission, or fire.
- Charging Temperature Range The recommended charging temperature range is 0-30°C. Charging in environments beyond this range may cause reduced device performance and shorten its lifespan.
- Charging Method Use the dedicated power supply to charge the device under the recommended environmental conditions.
- First Use If any unusual odors or other abnormalities are detected during the first use of the device, discontinue use immediately and return the device to the seller.
- Not for Use by Children Children should use the device under parental guidance and supervision, and their usage should be monitored for correct operation.
- Keep Children Away from the Device This device contains a built-in battery and should be kept out of children's reach.
- Warranty Period The warranty period is one year from the date of manufacture. However, the manufacturer will not provide free replacement for issues arising from improper use rather than quality defects, even within the warranty period. After a certain period of use, battery performance may diminish and capacity may decrease, which is a normal phenomenon. If the battery's operational time falls below 50 minutes (with remaining capacity below 60%), it is recommended to stop using the device and dispose of the battery.
Storage - 1Storage Temperature and Humidity Store equipment in a clean, dry, well-ventilated indoor environment with ambient temperatures between -20°C and 45°C and relative humidity between 25% and 75%. Avoid contact with corrosive substances and keep away from fire sources and heat sources.
- Extended Storage For long-term storage, equipment should be kept within a temperature range of -10°C to +30°C, in a low-humidity environment free from corrosive gases.
- When equipment is stored for over three months, perform one full charge-discharge cycle on the battery.
If you have any further questions we didn’t cover. Send us a message on social, reach to support@lumecube.com or post your comment on our Lume Cube Community Group on facebook.
We’ll see you next time.