


What is Rim Lighting?
Rim lighting is a technique used in photography that involves illuminating the edge of a subject to create a halo effect. This technique adds depth, dimension, and drama to your photos, making your subject stand out from the background. In this Light Tip, we will explore the concept of rim lighting and how to achieve it in five simple steps.
How to Achieve Rim Lighting
1. Use a light source with a modifier.
When using a flash or studio light, it's helpful to use a modifier to create a more directional light beam. Barn doors will help control the direction and spread of light, allowing for more precise lighting. In the video above, we are using our RGB Panel Pro with the Barn Doors on the right side behind our subject.
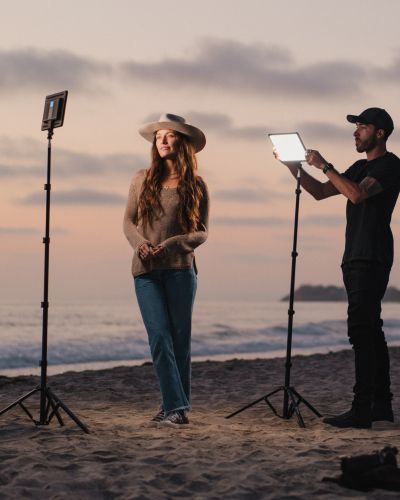
2. Position the light source behind the subject.
The position of the light source is crucial to achieving the halo effect. Place the light source behind the subject, slightly to the side, and angle it towards the subject. This will create a rim of light around the subject.
3. Use a shallow depth of field
Using a shallow field depth will help separate your subject from the background and create a more three-dimensional look.
4. Adjust the intensity of the light.
The light's intensity will affect your photo's overall look. Experiment with different intensities to find the right balance. If the light is too bright, it can wash out the subject and create an unnatural effect. If the light is too dim, the rim effect may not be strong enough to show in photos.
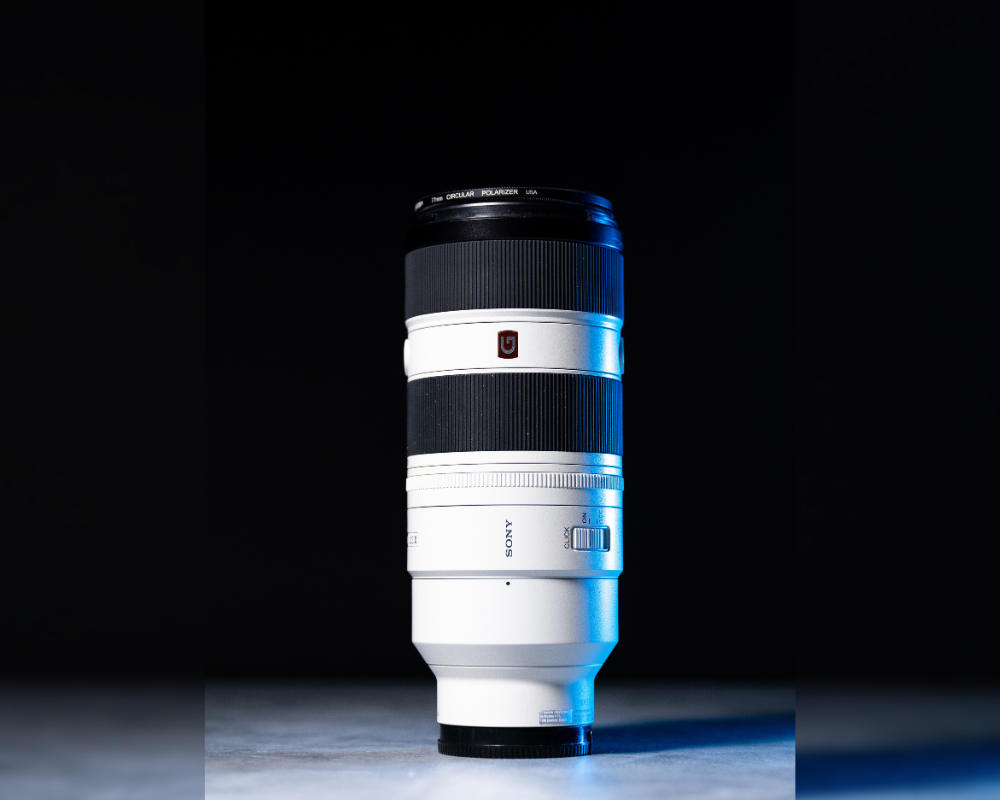
5. Be mindful of the background.
The backdrop you choose can greatly impact the rim lighting effect. Try to position your subject in front of a plain, dark background to create a more dramatic and dynamic look.
6. Test out different lighting.
You can experiment with warmth or color to change the mood or style of your photos. The RGB Panel Pro is great for this because it has a full spectrum of RGB colors to test out.
And remember, rim lighting is just one of the many tools in your lighting toolbox. The overall composition, posing, and setting still come first... But sometimes, a nice rim is all you need to give your image that last bit of sauce to set it over the top.
Try it out and see how it can elevate your photos to the next level!