


5 Night Photography Tips
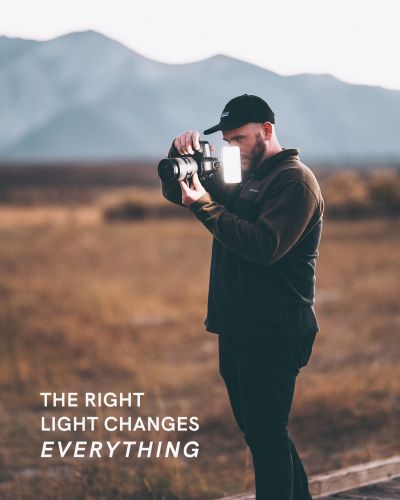
There’s something magical about nighttime photography. Light takes on an otherworldly quality, and everyday, mundane objects are transformed by shadows and stars. Capturing that ethereal brilliance with your camera can be trickier than it seems, but the payoff for investing in the right tips and gear can be truly extraordinary.

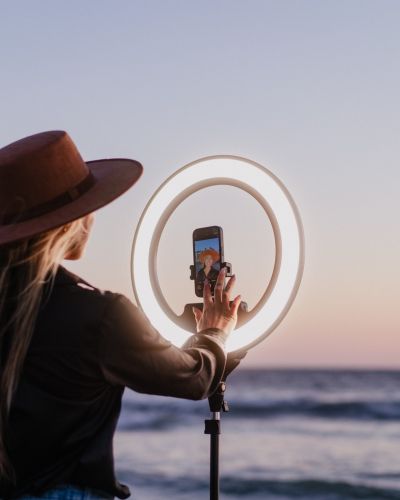
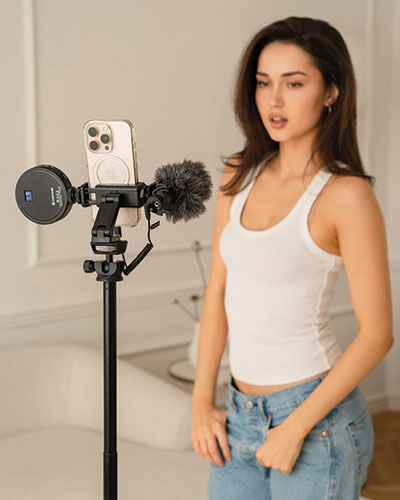
If you’re just starting out with night photography, you can save a lot of trial and error by having a solid plan in place for your first shoot. For starters, you’re going to need a good way to keep your camera or iPhone steady.
1. Find a Versatile Tripod
Night photography requires a significantly longer exposure than shooting in the day, and longer exposures require a camera that’s perfectly still. You’ll need a sturdy, portable tripod that’s versatile enough to fit into a variety of big and small spaces. We recommend investing in something strong enough to hold a heavy camera with telescoping legs that allow you to adjust positioning and travel with ease. By mounting your camera to a tripod, you’ll not only save yourself from shooting blurry images, but also give yourself the freedom to shoot multiple identical shots with different exposures and ISO levels to achieve the perfect balance. If you’re ready to invest in gear, we love Peak Design’s Carbon Fiber Travel Tripod. If you’re on a budget, the Benro Tripster Travel Tripod offers great versatility for your buck.
2. Shoot Raw
Night photography experts recommend shooting RAW to avoid noisy, grainy images. While JPEG images have a conveniently small storage footprint, they don’t maintain the quality and detail that can be necessary for a successful nighttime capture. Shooting RAW will give you a lot more options with the images you shoot - you’ll have more dynamic range, and more opportunity to edit them to perfection. Make sure you have enough space on your memory cards so you won’t feel limited by storage.
3. Experiment
Sure, it’s reassuring to have exact instructions to follow, but the best advice for night photography beginners is to get comfortable with your camera settings and experiment until you find the image you’re looking for. Take a variety of test shots, adjusting the ISO level and aperture to explore different results. Practice bracketing – taking the same shot multiple times with different exposures – to find exactly the right amount of light. If you’ve brought an off-camera lighting source, play with the positioning until you find the right balance. The more you try, the faster you’ll learn, and the better your night photography skills will become.
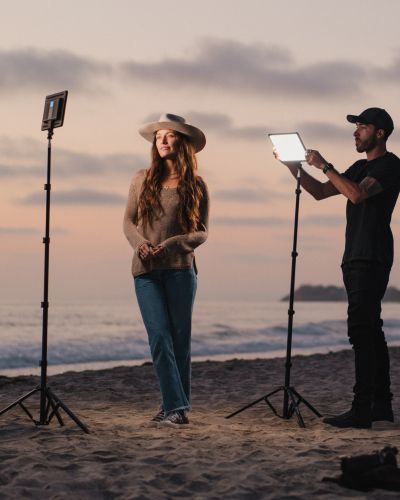
4. Create Depth
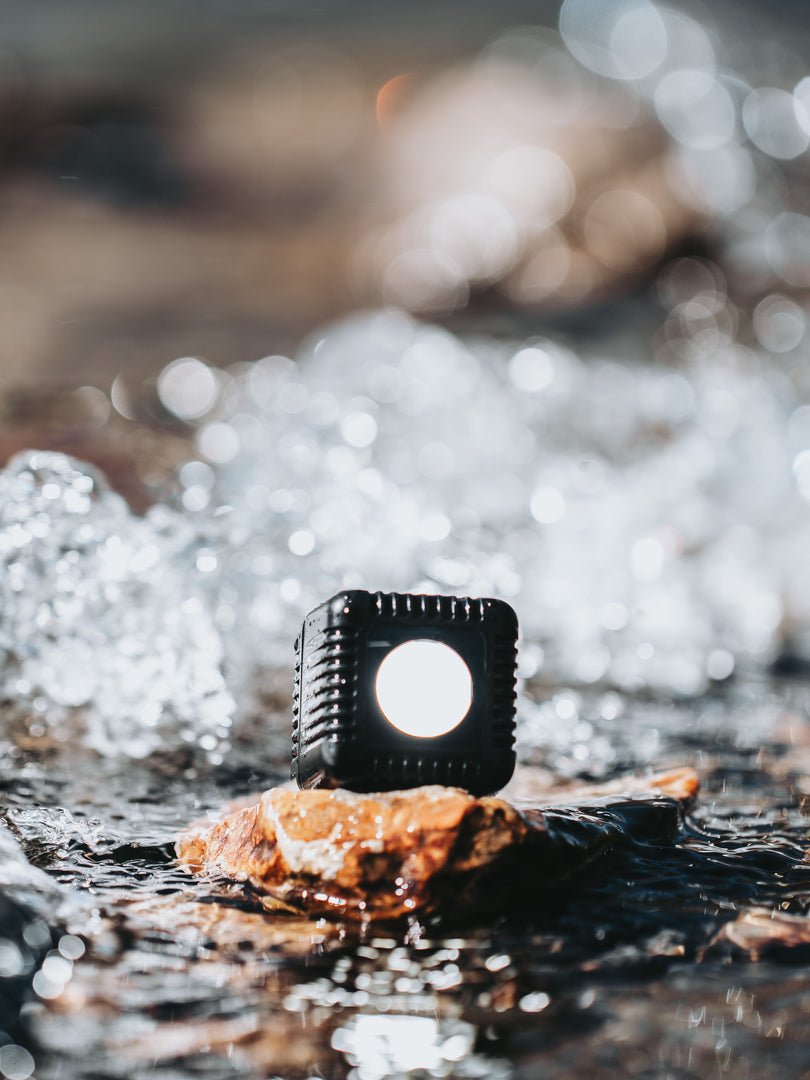
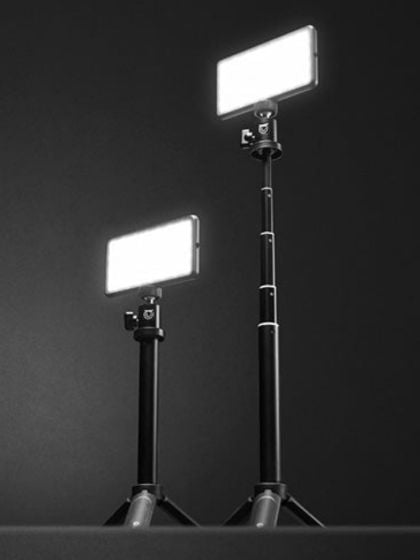
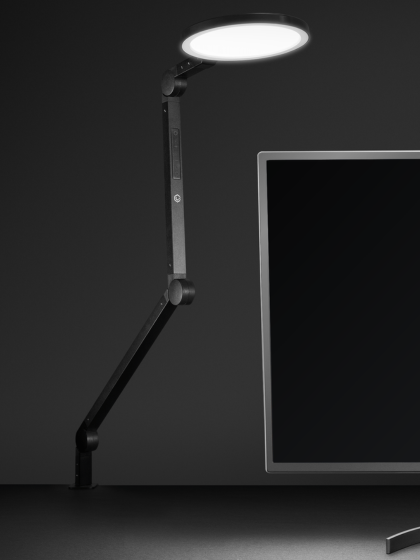
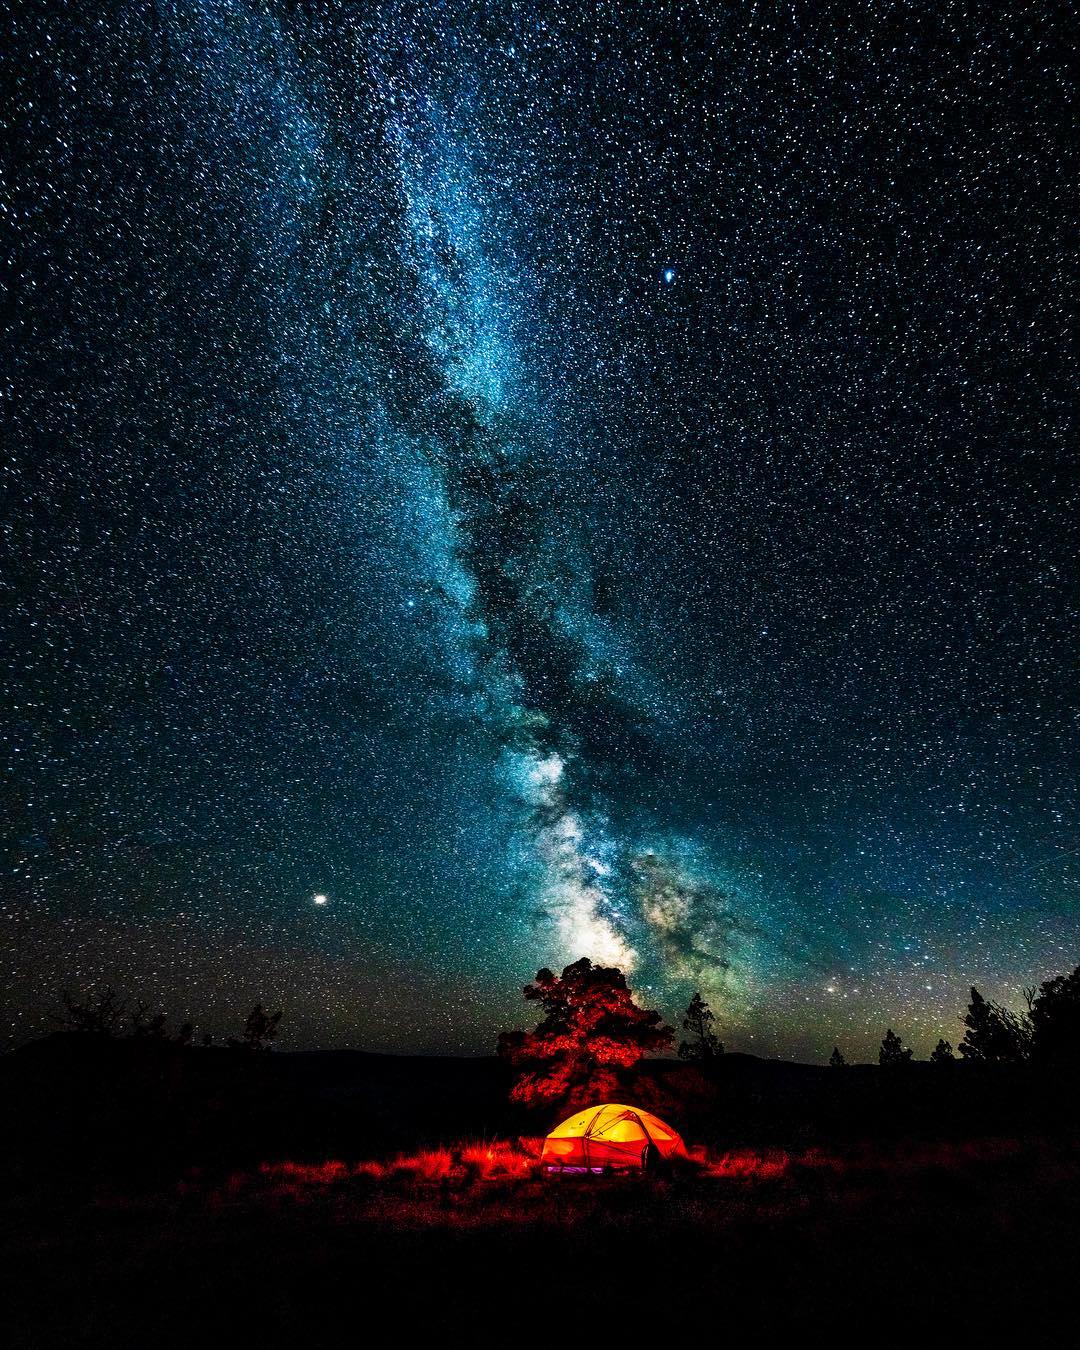
In a lot of nighttime images, you’ll notice the background (the night sky, busy city lights etc) can eclipse the foreground, leaving you with only silhouettes of your subject. While this effect can be beautiful if you’re shooting a meteor shower, it can pose a challenge for shooting portraits or landscapes. A portable off-camera lighting source is the solution. Because balancing light at night is nuanced, we recommend a steady battery-powered LED light that allows you to adjust the brightness and white balance to achieve the perfect conditions. We designed the Lume Cube 2.0 for exactly this purpose, to give photographers the light and versatility they need in an easy to carry, wireless, pocket-sized package. If you’re struggling to get things in focus, try setting your background focus before introducing the light on your subject, then adjust your light settings to balance subject and background. Again, don’t hesitate to take multiple images, experiment with settings, and play. You never know when “breaking” the rules will result in something unexpected.
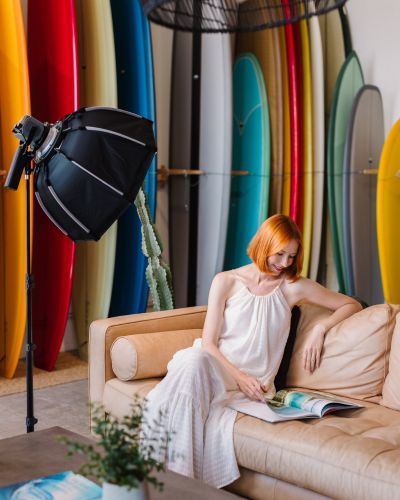
5. Get Creative with Light
The additional bonus of a portable light is the ability to place it just about anywhere! Experiment with backlighting your subject for dramatic profile portraits, or placing a light inside a building to illuminate otherwise dark windows. Throw light onto boulders in a landscape shot to capture ominous shadows, or use a light in the distance to “paint” in your camera’s Bulb mode. With the versatility of a light like the Lume Cube 2.0, whose low light mode was designed specifically for night photographers, the possibilities are only limited by your imagination and your willingness to experiment.
Night photography is a great way to master all of your camera’s settings while capturing some truly unique and beautiful new ways to see the world. With a little patience, a steady set up, and the right lighting options, nighttime shooting can open up a whole new set of options for content creation or client portraits. Your creativity should never have to stop at sunset. We hope these tips give you the confidence you need to get out there and give night photography a try!
Our Top Night Photography Lights:
- Lume Cube 2.0 Waterproof LED
- Lume Cube 2.0 Pro Lighting Kit
- RGB Panel Pro
- RGB Panel Go Creator Kit
